How to Wash Paint Roller: Step-by-Step Cleaning and Care Guide
Cleaning a paint roller after use is essential for maintaining the tool’s effectiveness and saving money on replacements. The process varies depending on the type of paint used—latex or oil-based—but the main goal is always to remove excess paint thoroughly before it dries. For latex paint, washing the roller with warm soapy water, rinsing well, and drying it upright preserves the roller’s fibers and usability.
Oil-based paints require a different approach, using solvents like mineral spirits to break down the paint before a final wash with soapy water. Addressing both types of paint ensures the roller stays in good condition, ready for future projects without sacrificing quality. Understanding these cleaning steps can extend the life of any paint roller, making it a simple but valuable skill for any painter.
Why Properly Cleaning Paint Rollers Matters
Proper care of paint rollers affects their performance, longevity, and the quality of future painting projects. Cleaning paint rollers thoroughly prevents build-up, protects the materials, and supports cost savings and environmental responsibility.
Extending the Life of Paint Roller Covers
Cleaning paint roller covers immediately after use removes excess paint and prevents fibers from clogging. Dried paint hardens the roller cover fabric, reducing its ability to hold and spread paint evenly.
When rollers are cleaned properly, they maintain their texture and absorbency for multiple uses. This allows users to avoid frequent replacements. The roller frame also benefits from cleaning, as paint residue can cause rust or stiffness if left untreated.
Regular cleaning helps preserve the structural integrity of the roller cover and frame, ensuring smooth application and consistent results over time.
Avoiding Contamination and Debris
Unclean paint rollers can trap dried paint, dust, and debris, leading to rough finishes and paint defects. Remnants from previous projects can contaminate fresh paint, altering color and texture.
Cleaning not only removes residual paint but also eliminates stubborn particles embedded in the fibers. This reduces the risk of imperfections like streaks or clumps appearing on walls or furniture.
By preventing contamination, clean paint rollers contribute to a uniform coat and a professional-looking finish every time they are used.
Cost and Environmental Benefits
Reusing clean paint rollers cuts down on the need to buy new covers and frames for every job. This reduces material waste and lowers overall expenses on painting supplies.
Proper cleaning minimizes the environmental impact by limiting discarded rollers and reducing chemical disposal. Efficient use of water, detergents, or solvents during cleaning is important for eco-friendly practices.
By extending the usefulness of paint rollers, users achieve better value and contribute to sustainability efforts without compromising paint quality.
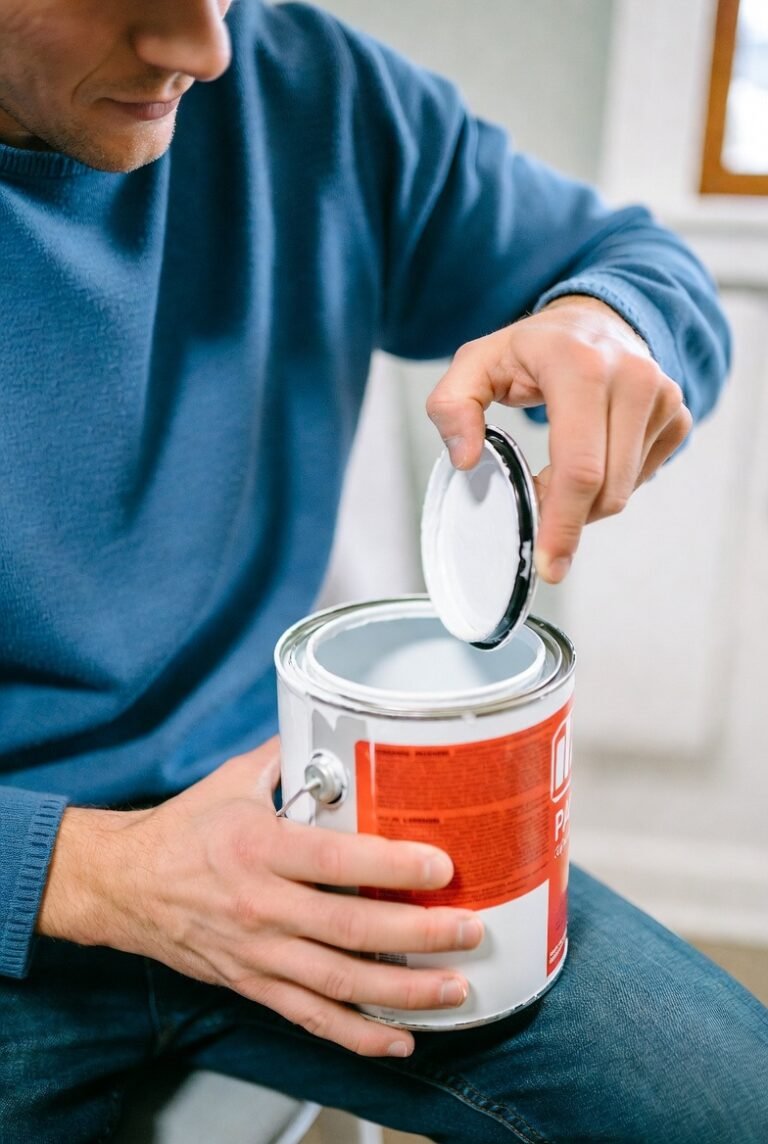
Identifying Paint Types Before Cleaning
Properly identifying the paint type on a roller is crucial to choosing the correct cleaning method. Failing to recognize whether the paint is water-based or oil-based can damage the roller cover and complicate cleanup. Knowing how to test and differentiate between paint types ensures effective cleaning and preserves painting tools.
Water-Based vs. Oil-Based Paint
Water-based paints, such as latex, acrylic, and emulsion, use water as the primary solvent. They dry quickly and are easier to clean with just warm water and dish soap. These paints do not require harsh chemicals for removal, making cleanup faster and safer.
Oil-based paints, including enamels and varnishes, contain solvents like mineral spirits or paint thinner. They take longer to dry and demand chemical solvents for effective cleaning. Using water alone on oil-based paint can leave residue that damages the roller fibers. Proper ventilation and protective gloves are essential when handling these solvents due to their toxicity and strong fumes.
Impact on Cleaning Method
The type of paint directly determines the cleaning supplies and techniques needed. For water-based paint, simple rinsing, scrubbing with soapy water, and thorough drying generally suffice. The roller cover can be cleaned gently without risking damage.
Oil-based paint requires a more involved process. Excess paint must be scraped off first. The roller cover then soaks in mineral spirits or paint thinner. Massaging the roller in solvents helps dissolve the paint binder. Cleaning the roller frame and tray also involves solvents to remove hardened paint residue. Proper disposal of used solvents and drying tools in a dust-free environment are important to maintain tool longevity and safety.
How to Test the Paint Type
A quick test helps confirm the paint type on a roller before cleanup. Dampen a rag with warm water and wipe a small, painted area on the roller. If paint easily comes off, it is water-based. Soap and water will remove it effectively.
If the paint resists water, try a solvent like mineral spirits on a rag. If the paint dissolves or softens, it is oil-based. When in doubt, checking the paint can label or project specifications can provide exact information.
Identifying paint type carefully prevents using the wrong cleaning method, protects paint roller covers, and ensures they are ready for reuse.
How to Clean Paint Rollers After Water-Based Paint
Cleaning paint rollers after using water-based paint requires removing excess paint, thoroughly washing the roller cover, maintaining the roller frame, and drying the roller properly. Following these steps ensures the roller can be reused efficiently without damaging its nap or shape.
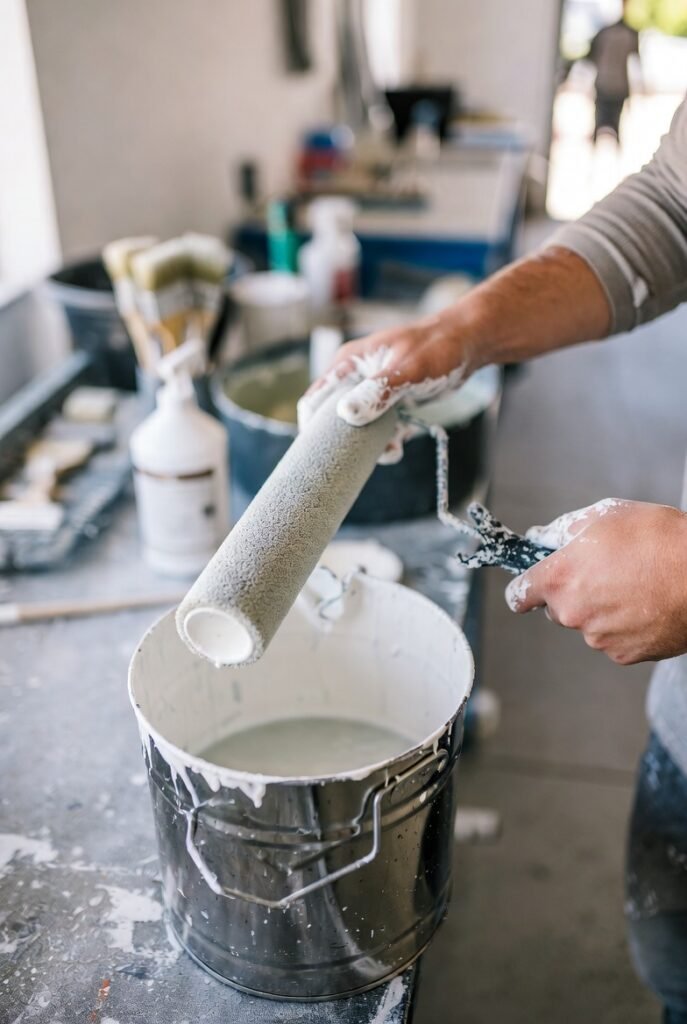
Scraping and Reclaiming Excess Paint
Start by scraping off as much paint as possible from the roller cover using a putty knife or roller squeegee. This step reduces paint waste and makes washing easier. After scraping, roll the excess paint onto scrap cardboard or newspaper to reclaim it.
Removing the majority of the paint before washing prevents buildup and helps the roller clean faster. It also minimizes the risk of dried paint clumping inside the roller fibers, which can ruin the texture and finish in future use.
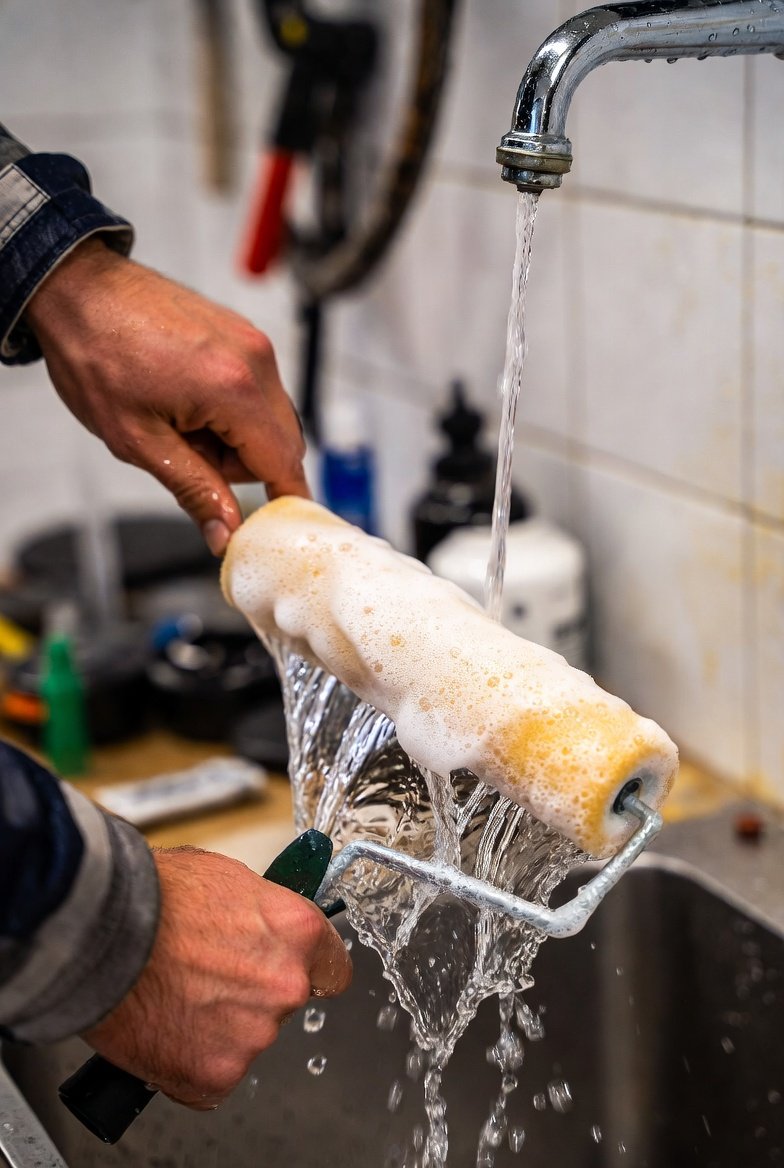
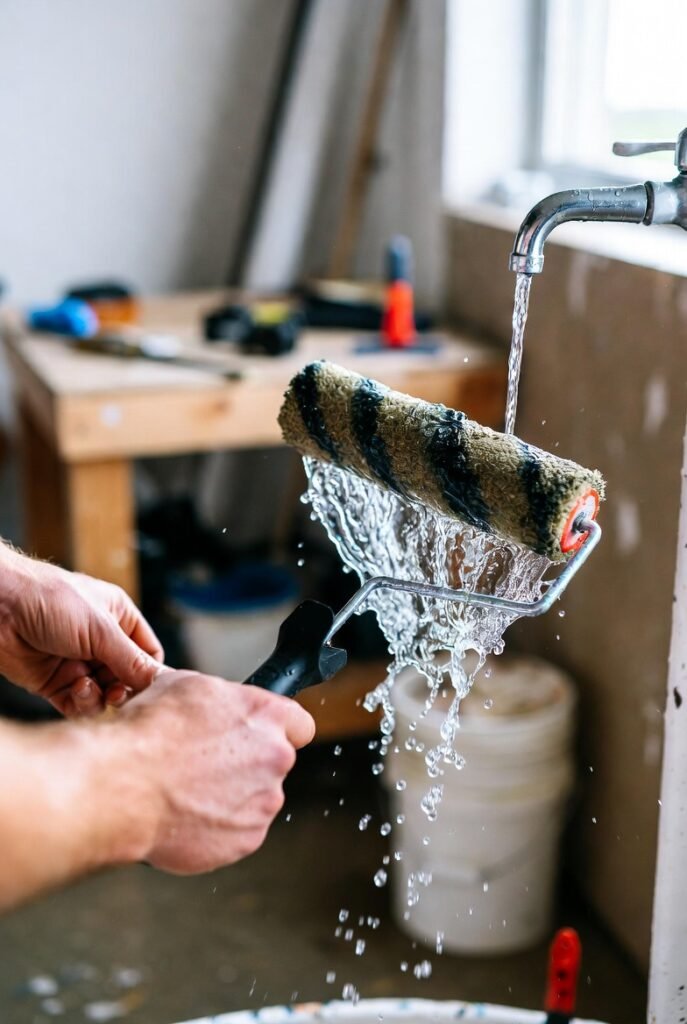
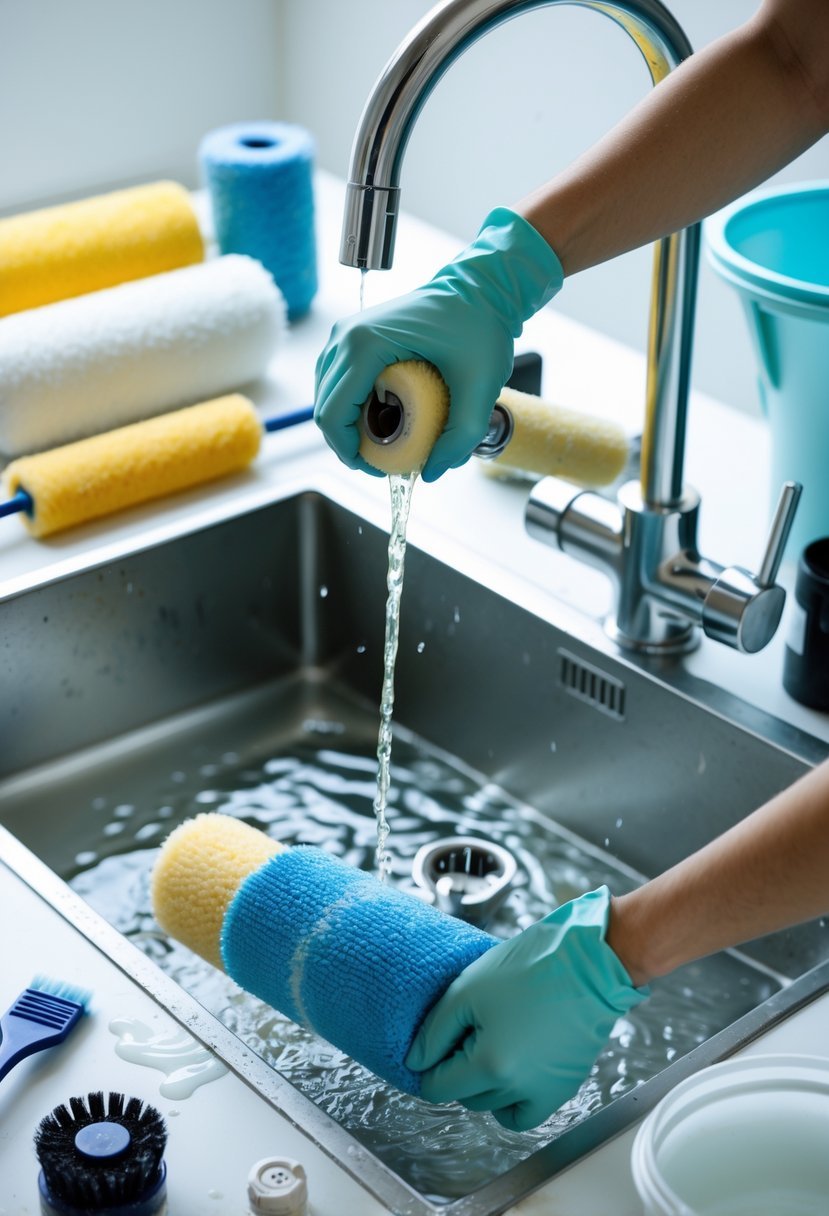
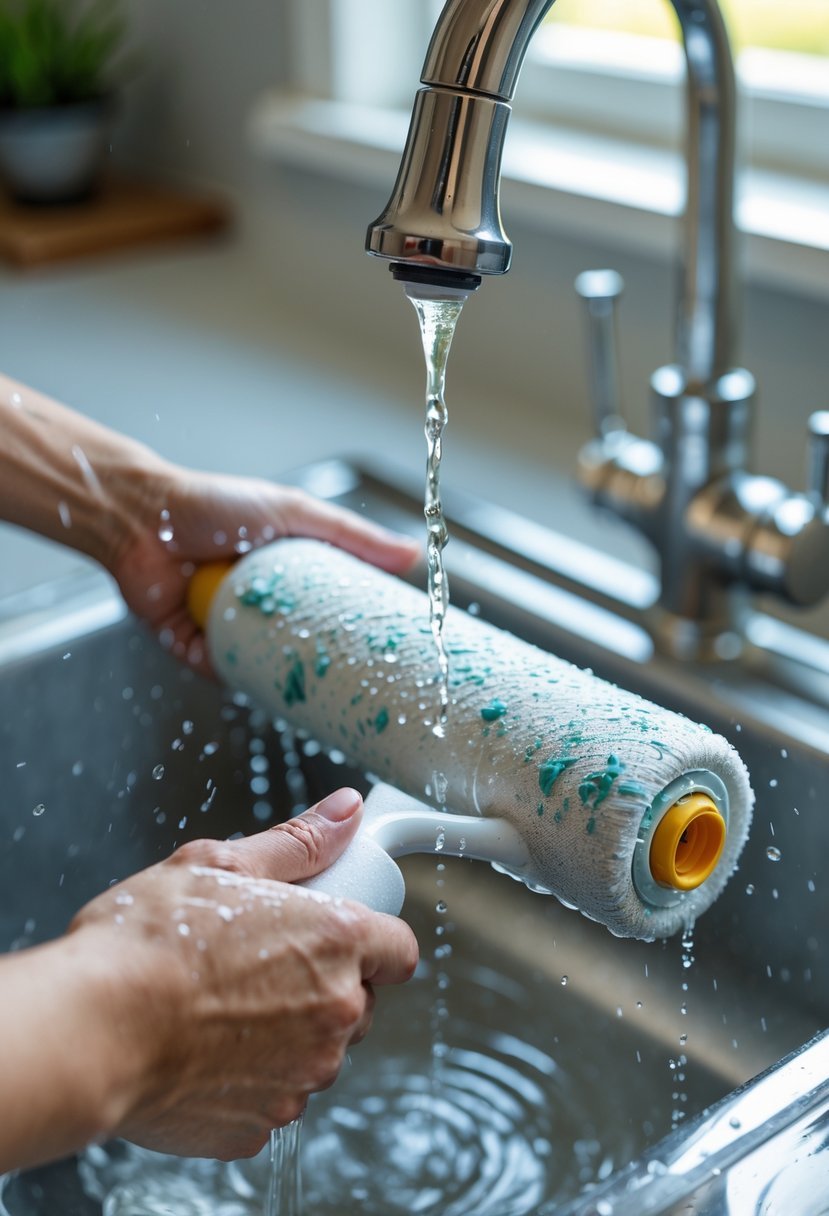
Washing and Rinsing the Roller Cover
Once the bulk paint is removed, the roller cover should be soaked in warm water mixed with a few drops of dish soap. Using hands or a gentle brush, work the soap through the fibers to break down any remaining paint.
Rinse the roller repeatedly in clean water until the water runs clear and no paint residue remains. Avoid using excessive soap, as it can be difficult to rinse out and may leave a residue. Proper rinsing ensures no old paint interferes with the next paint job.
Cleaning the Roller Frame
While the roller cover is soaking or drying, attention should turn to the roller frame. Use warm, soapy water and a stiff brush to scrub away any paint splatters or drips. Paint buildup on the frame can affect the roller’s rotation and ease of use.
If paint is stubborn, a putty knife can carefully lift dried spots. After cleaning, rinse the frame and let it air dry fully before reassembling the roller cover to avoid rust or damage.
Proper Drying Techniques
Drying the paint roller cover correctly is crucial to maintaining its shape and nap. Stand the roller cover upright on its end or hang it on a clean, narrow object. Never lay it flat, as this compresses the fibers and ruins the roller’s surface.
Let it dry in a well-ventilated area away from direct heat. After it’s completely dry, store the roller in a plastic bag or wrap it in plastic wrap to keep dust off and preserve the nap until its next use.
How to Clean Paint Rollers After Oil-Based Paint
Cleaning paint rollers used with oil-based paint requires the right materials and techniques for effective removal, safety, and proper disposal of solvents. This ensures the roller remains in good condition and reduces harmful environmental impact.
Preparing a Safe Cleaning Area
A well-ventilated space is essential to avoid inhaling fumes from mineral spirits or paint thinner. Outdoors or a room with open windows works best. The floor and surrounding surfaces should be protected with newspaper or a drop cloth to catch drips.
Wear gloves to protect skin from harsh chemicals. Avoid open flames or sparks near the cleaning area, since solvents are flammable. Have a container lined with a plastic bag ready to hold the used solvent. This setup minimizes risks and prepares the user for an efficient cleaning process.
Using Mineral Spirits or Paint Thinner
Start by scraping off excess paint from the roller with a putty knife or similar tool. Pour a small amount of mineral spirits or paint thinner into a container just large enough to fit the roller cover.
Submerge the roller and roll it back and forth in the solvent to loosen the paint. Let the roller soak for several hours if paint is stubborn. Afterwards, rinse with warm, soapy water to remove solvent residue.
Use mild dish soap without harsh chemicals for rinsing. Shake out excess water and stand the roller upright to air dry, keeping the fibers intact.
Disposing of Solvents Responsibly
Used mineral spirits and paint thinner cannot be poured down drains or into the soil. These substances are hazardous and can contaminate water and harm wildlife.
Store used solvents in a sealed container and take them to a local hazardous waste disposal facility or recycling center. Follow local regulations regarding solvent disposal to ensure environmental safety.
Proper disposal protects both health and the environment while complying with legal requirements.
Cleaning and Maintaining Paint Roller Accessories
Maintaining paint roller accessories involves careful cleaning and proper storage to extend their usability. Knowing how to handle paint trays, recognizing when roller covers should be replaced, and storing rollers correctly helps keep tools in good condition and saves money.
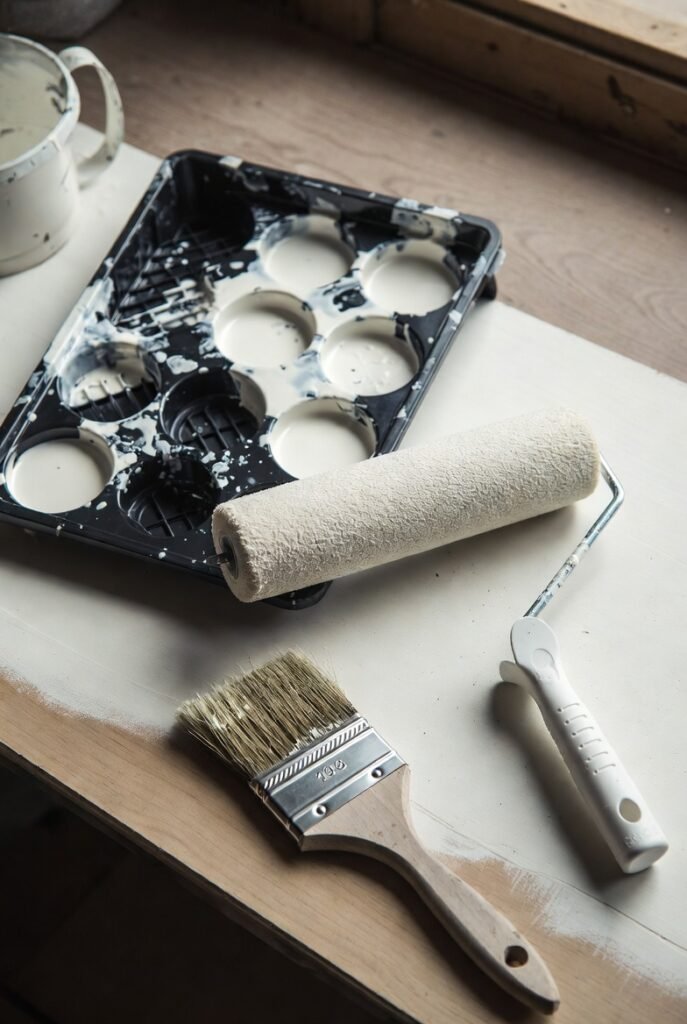
Paint Trays and Other Tools
Paint trays should be cleaned immediately after use to prevent paint from drying and becoming difficult to remove. For latex paint, rinsing with warm, soapy water is usually sufficient. Oil-based paints require wiping with a rag soaked in mineral spirits or paint thinner, followed by scrubbing to remove residual paint.
Other tools, like putty knives or scrapers used to remove paint from rollers, should also be cleaned carefully. Avoid leaving paint to dry on any accessory, as hardened paint can compromise the tool’s effectiveness. Proper cleaning ensures these tools remain functional and ready for future projects.
When to Replace a Paint Roller Cover
Roller covers are designed to be reusable but have a limited lifespan. A roller cover should be replaced if it shows signs of shedding fibers, has flattened nap that no longer holds paint evenly, or if dried paint clogs the texture and cannot be cleaned out.
Repeated use generally allows for up to four cleanings before performance degrades. Using a worn-out roller cover can lead to uneven paint application and lower quality finishes. Inspect the roller cover after each job and consider replacement if these signs appear.
Storing Cleaned Rollers Properly
After cleaning, roller covers must be dried thoroughly to prevent mildew and damage. Shake off excess water and stand rollers on their end or hang them to air dry in a well-ventilated space.
Once dry, store rollers in plastic wrap or resealable bags to keep dust and debris out. This also helps maintain the roller’s shape and nap. Avoid compressing the roller during storage, as this can deform the cover and affect future performance.