How to Remove Paint from Wood Floor Quickly and Safely
Removing paint from wood floors can seem like a challenging task, but with the right approach, it’s manageable and can preserve the beauty of your flooring. The key to successfully removing paint is to identify whether it’s water-based or oil-based, as each requires different methods and products to avoid damage. I’ve found that using gentle scrapers, appropriate solvents, and careful cleaning makes the process much smoother.
I’ve learned it’s important to act based on whether the paint is wet or dry, as this determines whether quick cleaning or more involved removal techniques like sanding or using commercial paint removers are necessary. Knowing which tools and products are safe for hardwood will save you time and prevent potential harm to your floors. This guide will walk you through practical, tested methods to get your wood floors paint-free without unnecessary hassle.
Assessing Paint and Wood Floor Types
Before removing paint, I first identify the paint type, the finish on the wood floor, and check the floor’s condition. This helps me choose the right removal method and prevents damage to the floor’s surface.
Identifying Paint Types
I start by determining if the paint is water-based (latex or acrylic) or oil-based. Water-based paints tend to soften with soap and water or mild solvents, while oil-based paints require stronger chemical strippers or heat for removal. Fresh paint is easier to clean; dried or aged paint often demands more aggressive methods.
Testing a small, hidden spot with a cotton swab and solvent can help me confirm the paint type. Knowing this guides me in selecting appropriate products to avoid harming the floor.
Determining Wood Floor Finishes
Next, I identify the finish protecting the wood, such as polyurethane, varnish, shellac, or wax. Each finish reacts differently to paint removers and sanding.
I check the floor’s sheen and test a small area with a solvent like mineral spirits or denatured alcohol. If the finish dissolves or softens, it’s likely shellac or wax. Polyurethane and varnish are more resistant but can still be damaged by harsh chemicals or heat. Understanding the finish ensures my removal techniques don’t strip the finish unintentionally.
Inspecting Floor Condition
I carefully examine the wood for scratches, dents, or existing wear. Floors with delicate or damaged areas require gentle approaches to avoid further harm.
I also look for gaps or loose boards since aggressive removal methods might worsen floor stability. If the wood is raw or unfinished, I can use stronger methods but must protect the surface from gouges or splintering. This inspection helps me balance effective paint removal with preserving the wood’s integrity.
Preparing for Paint Removal
Before starting paint removal from a wood floor, I focus on assembling the right tools, protecting areas around the work zone, and testing methods on a small section. These steps help ensure a smooth process and prevent damage to the wood or surrounding surfaces.
Gathering Essential Tools and Supplies
I begin by gathering all the necessary tools and supplies to avoid interruptions. Key items include:
- Protective gear: Gloves, safety glasses, and a face mask to handle chemicals safely.
- Cleaning materials: Microfiber cloths, tack cloth, and mild detergent for initial cleaning and final wipe-down.
- Paint removal tools: Chemical strippers, a scraper or putty knife, a heat gun, and fine-grit sandpaper.
- Wood filler and brushes: For repairing any cracks or nicks after paint removal.
Having these ready allows me to choose the most appropriate method for the paint type and floor finish without stopping mid-task.
Protecting Surrounding Areas
I prioritize covering furniture, vents, and baseboards to prevent accidental damage. I use heavy-duty plastic sheeting or drop cloths taped securely to the floor edges and walls.
For ventilation, especially when using chemical strippers or heat guns, I open windows and doors to maintain airflow. I also remove rugs or carpets around the work area to avoid stains or residues.
Protecting these areas reduces cleanup time and helps maintain the overall condition of the room while I work on the wood floor.
Testing Paint Removal Methods on a Small Area
Before committing to a full removal, I always test the chosen method on a discreet corner. This helps me evaluate how the paint responds and if the wood finish remains intact.
I apply a small amount of chemical stripper or use the heat gun briefly and then attempt to remove loosened paint. If sanding, I test a fine grit on a hidden spot.
Testing also alerts me to any adverse reactions like discoloration or damage, allowing adjustments to technique or products before affecting the entire floor.
Manual Paint Removal Techniques
Removing paint from wood floors by hand requires patience and the right tools. It’s about carefully loosening and lifting the paint without damaging the wood or finish beneath. Here, I cover practical methods that rely on direct physical action and controlled heat.
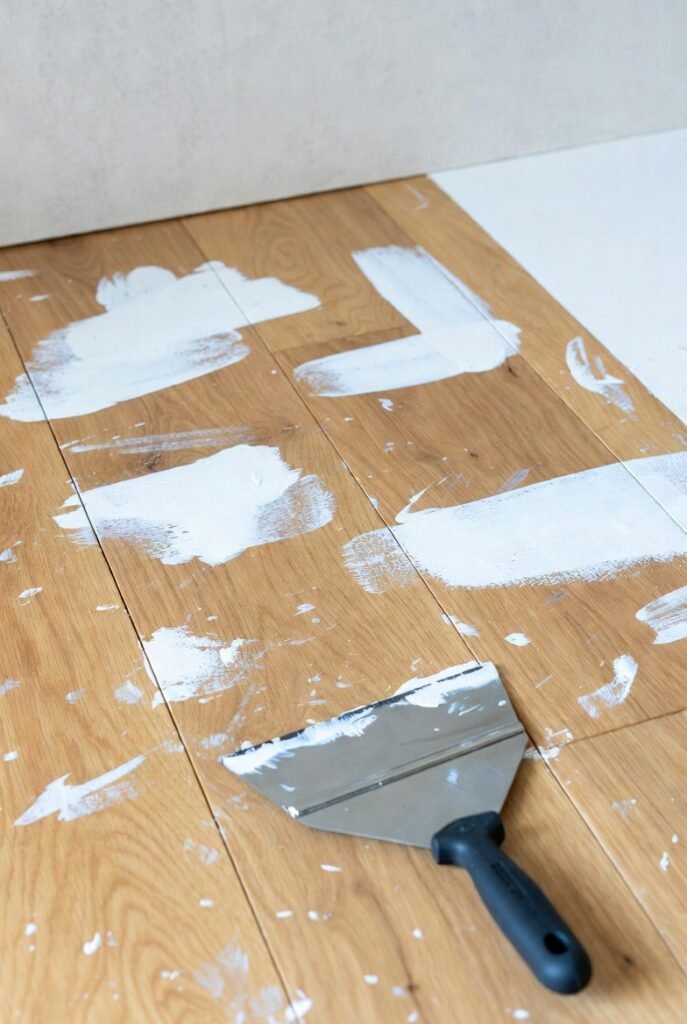
Using Scrapers and Putty Knives
I start with scrapers or putty knives to physically remove paint. Choose a flexible putty knife or a scraper with a thin, flat blade. Hold the tool at a low angle and gently push under the paint to lift it off.
Be cautious to avoid gouging the wood surface. For stubborn spots, repeatedly slide the knife back and forth rather than forcing it. Use fine detail knives for edges or tighter areas.
If the paint is fresh or thin, this technique can work well alone. For thicker, older paint, combining scraping with other methods improves effectiveness. Always test in an inconspicuous spot first.
Applying Heat Guns Safely
Heat guns soften paint, making it easier to scrape away. I set the heat gun to a moderate temperature and keep it moving steadily over the paint.
Avoid holding the gun too close or in one spot, which can scorch the wood or cause damage. As the paint softens and bubbles, scrape it off gently with a putty knife.
Wear heat-resistant gloves and eye protection. Ensure good ventilation, as heated paint can release fumes. Heat guns don’t work well on very thin finishes or delicate wood, so proceed with caution.
Sanding Techniques for Wood Floors
Sanding is effective for removing paint residues and smoothing the surface after scraping. I use a fine-grit sandpaper, starting with 120-grit and moving to 150 or 180-grit for a smooth finish.
An orbital sander helps cover larger areas evenly without gouging. For corners or edges, hand-sanding is safer. Avoid heavy sanding that removes the wood surface or finish layer.
Keep sanding light to protect the floor’s character. Always vacuum or wipe the dust between sanding stages. After sanding, inspect for remaining paint spots and repeat if necessary.
Chemical and Natural Paint Removers
When tackling paint removal from wood floors, I focus on solutions that efficiently break down paint without harming the wood. This involves choosing the right type of paint stripper, applying it carefully to avoid damage, and considering eco-friendly alternatives when possible.
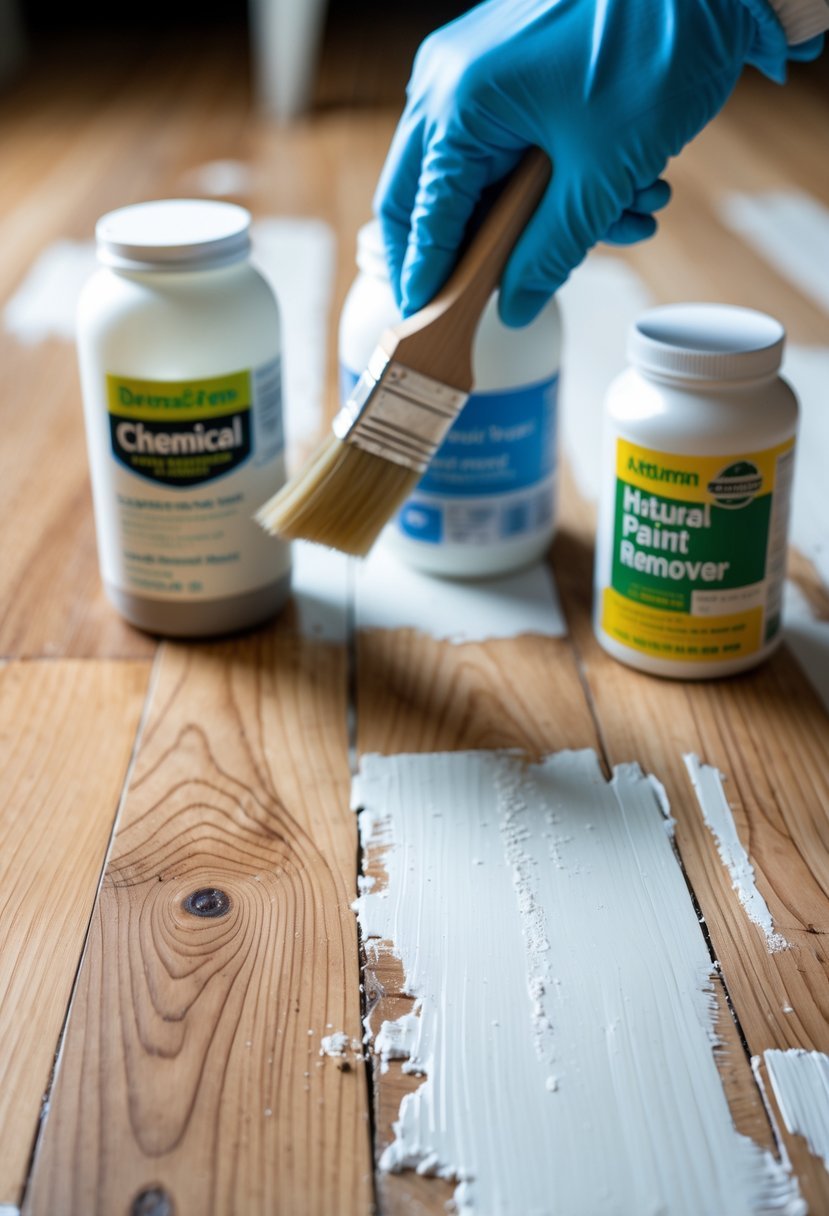
Selecting Paint Strippers
I choose paint strippers based on the type of paint and the wood finish. For oil-based paints, solvent-based strippers are usually more effective, but they can be harsh and require proper ventilation and protective gear. Water-based strippers are gentler and often work well on latex paints but may need more time to take effect.
I always read the product label to ensure compatibility with hardwood or softwood floors, as some chemicals can harm certain finishes like polyurethane or varnish. Testing the stripper on a small, inconspicuous area is essential to avoid unexpected damage.
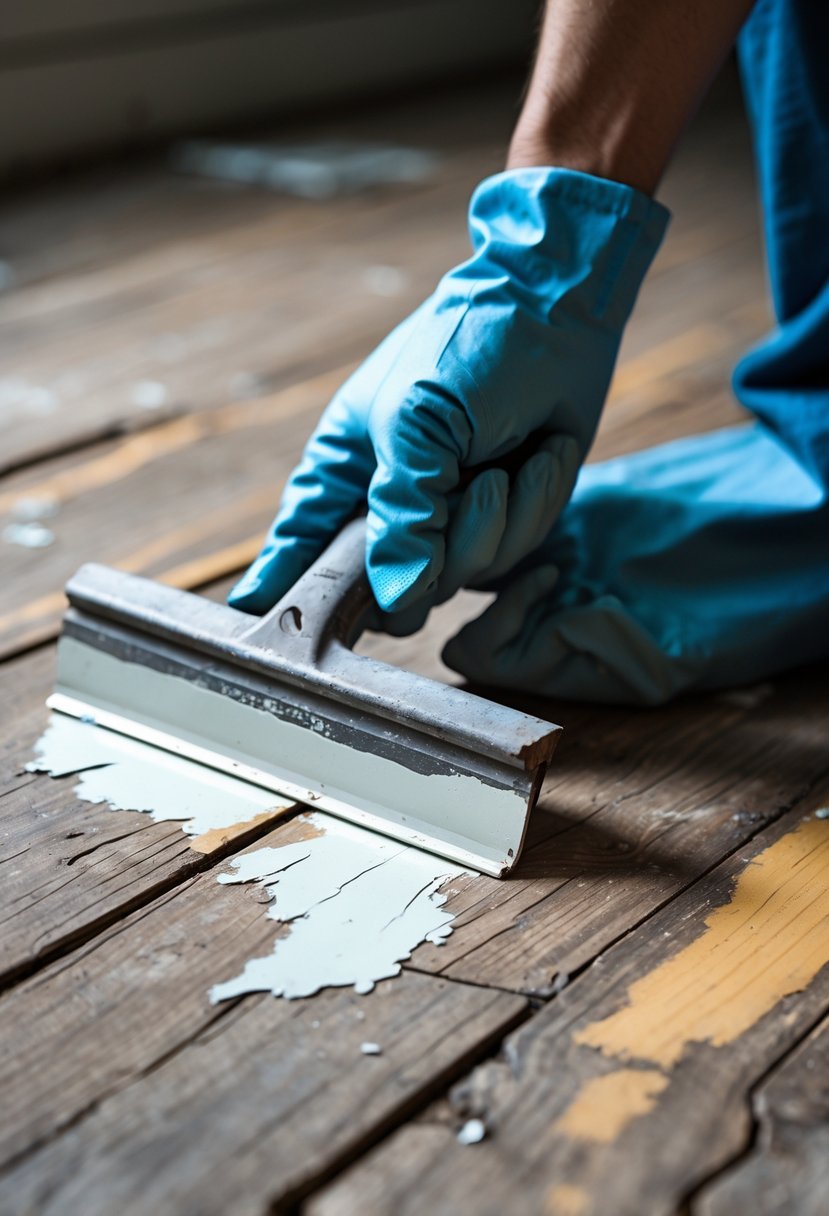
Applying Chemical Removers
When I apply chemical paint removers, I use gloves, goggles, and ensure adequate ventilation to protect myself from fumes. I spread a thin, even layer of the stripper with a brush or plastic spreader, following the manufacturer’s instructions closely.
After letting it sit for the recommended time, I gently scrape off the loosened paint with a plastic scraper to avoid scratching. Multiple applications may be needed for thick or multiple paint layers. Post-removal, I clean the floor with a mild detergent to neutralize any residue before allowing the surface to dry thoroughly.
Using Eco-Friendly Alternatives
I prefer eco-friendly paint removers when possible, especially in indoor settings. These typically use biodegradable ingredients like soy-based solvents or citrus oils, reducing harmful chemical exposure.
These natural options tend to act slower but are safer for wood finishes and indoor air quality. I often combine them with gentle scraping and warm water rinses. This method takes more time but minimizes risk to the wood’s integrity and the environment.
Cleaning and Restoring Wood Floors
After removing paint, the wood floor typically requires careful cleaning, repair, and refinishing to bring back its original look. Each step demands attention to detail to avoid damaging the wood while ensuring a smooth, uniform finish.
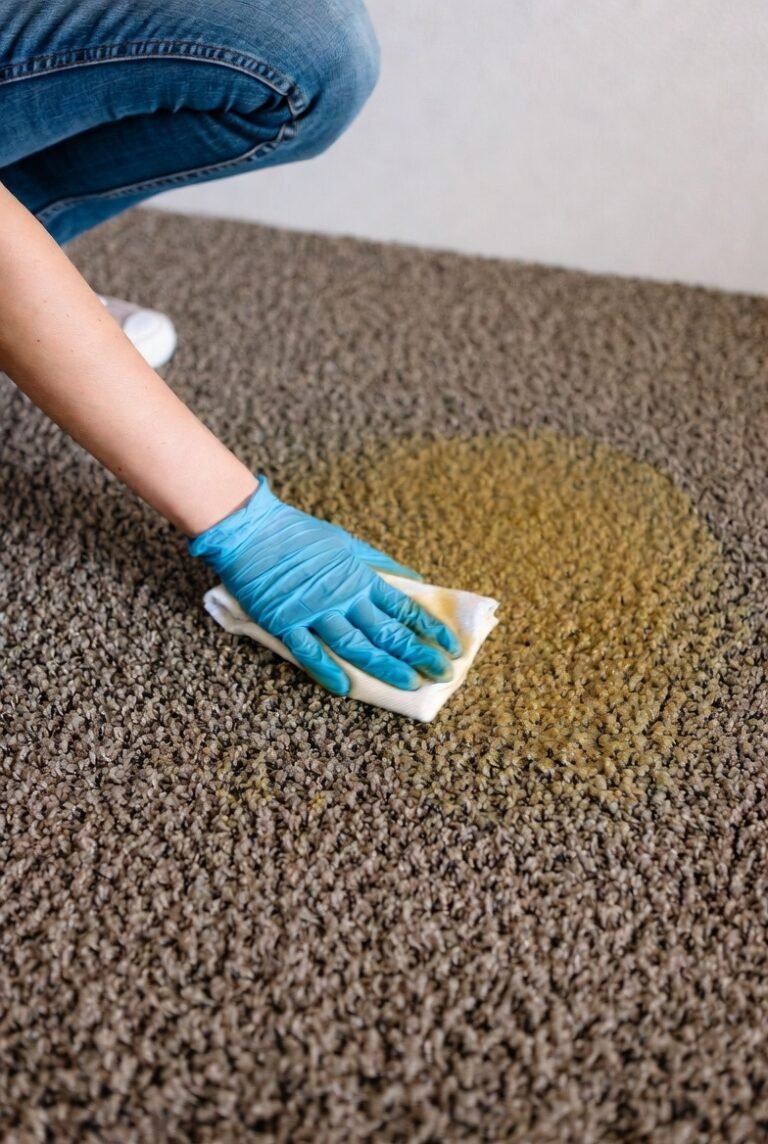
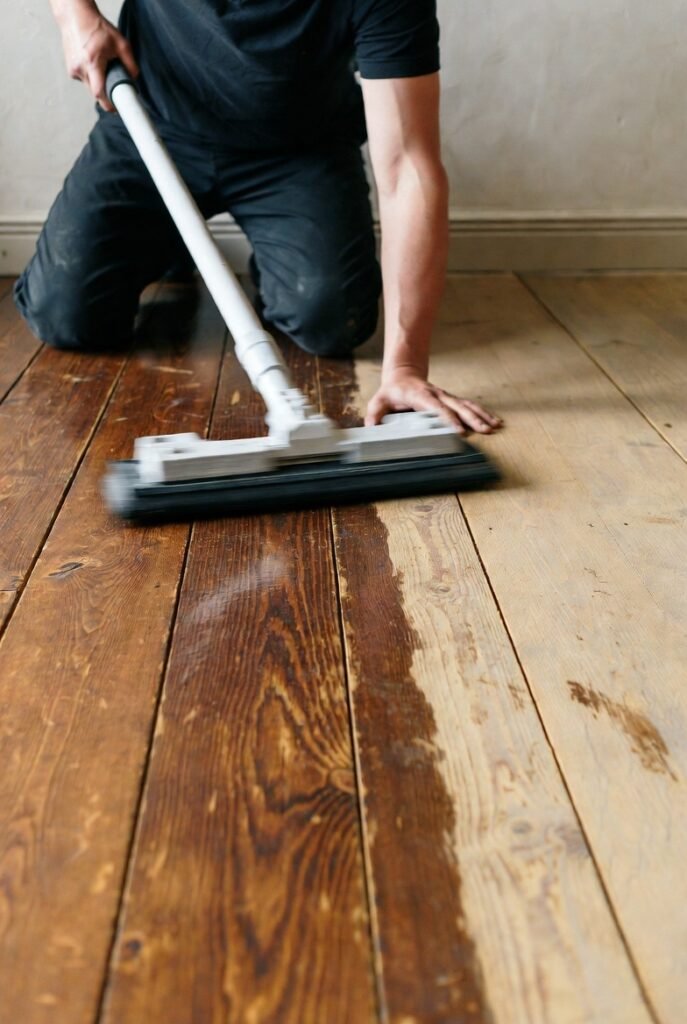
Removing Residue After Paint Removal
Once the paint is lifted, some residue almost always remains. I start by gently wiping the area with a soft cloth dampened in warm, soapy water to remove dust and small paint particles. For stubborn spots, I use a mild solvent like mineral spirits, applying it sparingly to avoid soaking the wood.
Avoid abrasive scrubbing, which can scratch or dull the finish. Instead, patience and gentle rubbing work best. After cleaning, I dry the wood thoroughly with a clean cloth to prevent moisture damage.
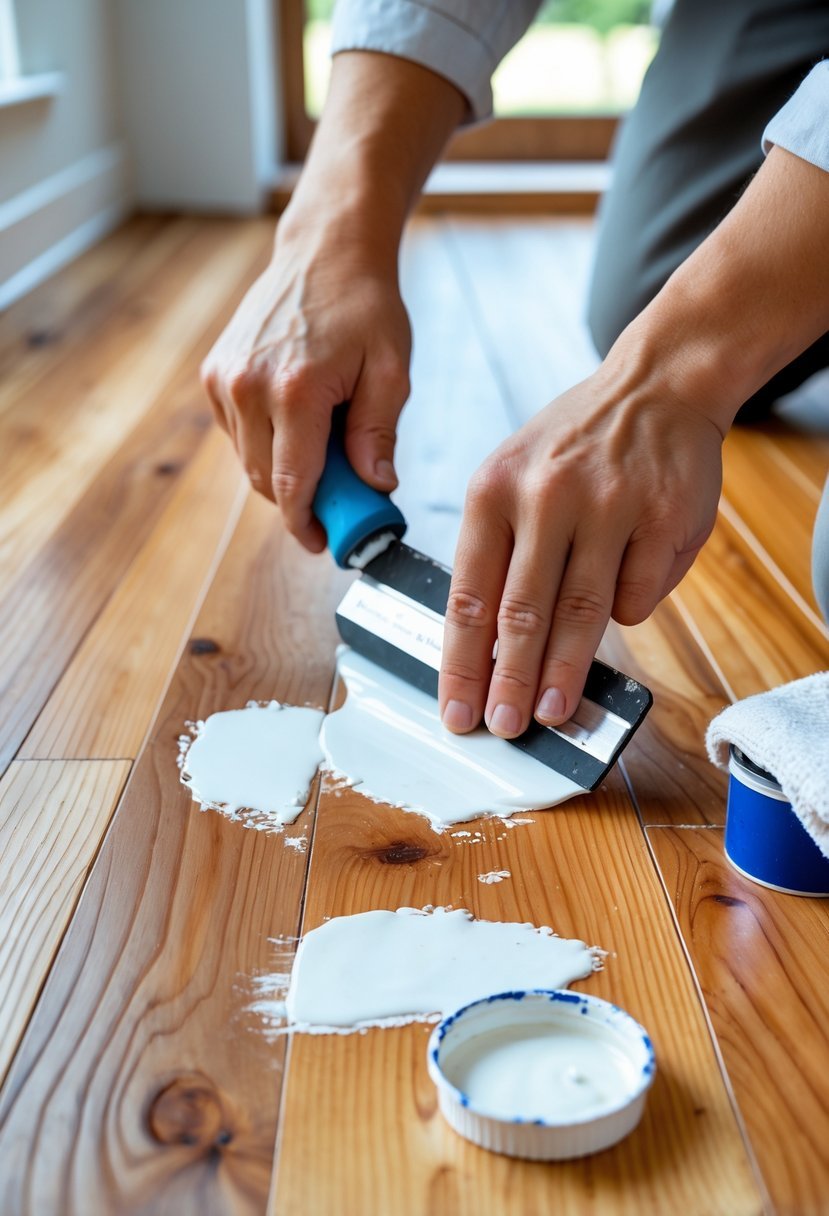
Repairing Minor Surface Damage
Paint removal can leave small gouges or scratches, which I fix before refinishing. I use a wood filler that matches my floor’s color, applying it carefully with a putty knife. After it dries, I sand the area lightly with fine-grit sandpaper, feathering the edges to blend with the surrounding wood.
If there are dents or deeper damage, I sometimes use a wood conditioner to prepare the surface for refinishing. This helps promote an even absorption of stains or finishes, preventing blotchy areas.
Refinishing for a Uniform Appearance
To restore the floor’s sheen and protection, I apply an appropriate finish after cleaning and repairs. Depending on the existing floor, this might be polyurethane, wax, or oil-based finishes. I work in a dust-free environment, applying thin, even coats with a brush or applicator.
Between coats, light sanding with very fine grit paper smooths the surface. Typically, two to three coats are needed for durability and a uniform look. Allow ample drying time to ensure the finish cures properly, protecting the wood and enhancing its natural beauty.