How to Remove Oil Based Paint: Complete Step-by-Step Guide
Removing oil-based paint can be challenging due to its durable, hard finish and slow drying properties. The most effective way to remove oil-based paint is by using appropriate solvents such as mineral spirits or paint thinner combined with gentle scraping and sanding techniques. This approach helps dissolve the paint without damaging the underlying surface.
Different surfaces require tailored methods to avoid harm—metal may respond well to baking soda paste or heat, while wood often needs careful use of chemical paint strippers or light sanding. Proper preparation, including ventilation and protective gear, is essential to safely manage the fumes and chemicals involved.
Understanding these basic principles allows for efficient and safe removal of oil-based paint, whether tackling dried layers on walls, wood trim, or other common household materials. The following details explain how to use these techniques effectively on various surfaces.
Understanding Oil Based Paint
Oil-based paint is known for its durability and smooth finish, but its composition makes it tough to remove once dried. Different surfaces react to oil-based paint in various ways, requiring specific methods for effective removal. Compared to other paint types, oil-based paint has distinct characteristics that influence both application and cleanup.
What Is Oil-Based Paint and Why Is It Hard to Remove
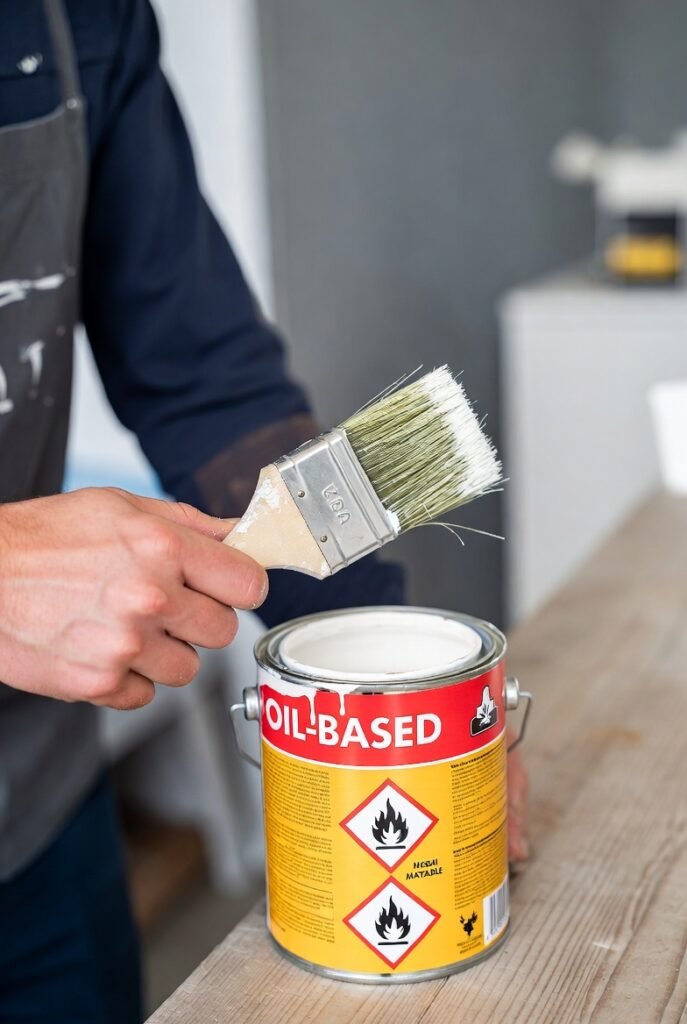
Oil-based paint uses oils such as linseed oil as a binder, which creates a hard, durable layer when it dries. This layer resists wear, chemicals, and moisture better than water-based paints. Because it forms a tough shell, oil-based paint adheres strongly to surfaces, making removal difficult.
Dried oil-based paint is resistant to water and most mild cleaners, so solvents like mineral spirits or paint thinner are typically needed. The extended drying time also allows the paint to cure fully, increasing its hardness. These properties make the paint long-lasting but also more challenging to strip away without the right tools or chemicals.
Common Surfaces and Challenges
Oil-based paint is frequently used on woodwork, metal, concrete, and glass due to its durability. Each surface presents unique challenges during removal.
Wood requires gentle scraping and possibly chemical strippers to avoid damage, while metal can benefit from heat application or baking soda solutions. Concrete and brick absorb paint, often needing power washing or masonry-specific removers. Glass and ceramic surfaces need careful scraping with razor blades and may respond well to vinegar solutions to avoid scratching.
Understanding the nature of the surface is essential to choosing the safest, most effective removal method without causing damage.
Differences Between Oil-Based and Latex Paint
Oil-based and latex (water-based) paints differ significantly in composition and behavior. Oil-based paints dry slower and cure into a hard, glossy finish that is resistant to wear. Latex paint dries fast, typically with less odor and easier cleanup using water.
While oil-based paint yellows over time and emits strong volatile organic compounds (VOCs), latex paint remains more flexible and resists cracking. This flexibility allows latex paint to expand and contract with the surface, minimizing damage. These differences affect how each paint adheres and how they must be removed, with oil-based paint requiring stronger solvents and more care.
Preparation and Safety Precautions
Proper preparation and safety measures are critical to effectively and safely remove oil-based paint. This involves acquiring the right tools and materials, ensuring the workspace is protected and well-ventilated, and using appropriate personal protective equipment, especially regarding potential lead hazards.
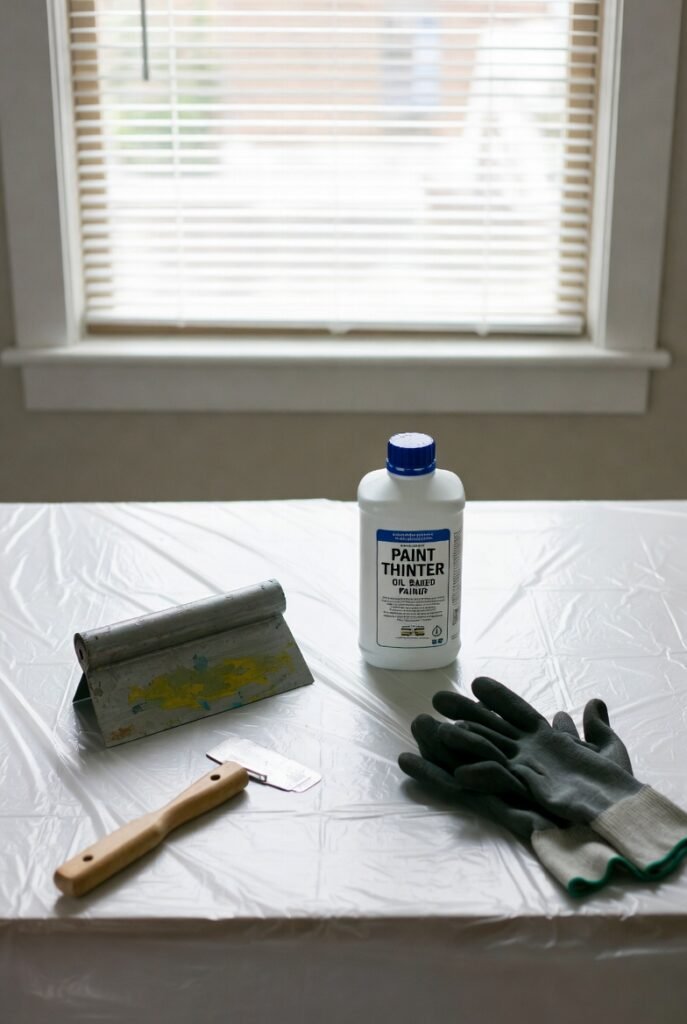
Gathering Essential Tools and Materials
Essential tools include chemical paint strippers formulated for oil-based paints, such as those containing N-Methyl-2-pyrrolidone (NMP), citrus-based strippers, or caustic formulas with lye. Mineral spirits, turpentine, or designated paint thinners are necessary for cleaning and thinning.
In addition to chemical strippers, tools like flexible putty knives, carbide scrapers, and varying grit sandpaper (60 to 220 grit) are needed to remove softened paint layers and smooth surfaces afterward.
Set up with plastic sheeting and drop cloths to catch paint debris and chemical runoff. Store paint-soaked rags in airtight containers filled with water to prevent fire hazards. Ensure all materials are within reach before starting.
Protecting Surroundings and Ventilation
Paint removal releases volatile organic compounds (VOCs) that can be harmful if inhaled. Open multiple windows to create a strong cross-breeze. Use fans to direct fumes outdoors, reducing indoor airborne hazards.
Cover floors, furniture, and any exposed surfaces with plastic or drop cloths to contain paint chips and chemical spills. Seal doorways or vents to prevent chemical fumes from spreading to other rooms.
Avoid working in confined or unventilated spaces. If working in basements or poorly ventilated areas, consider using an exhaust fan or air purifier designed to filter VOCs to maintain air quality.
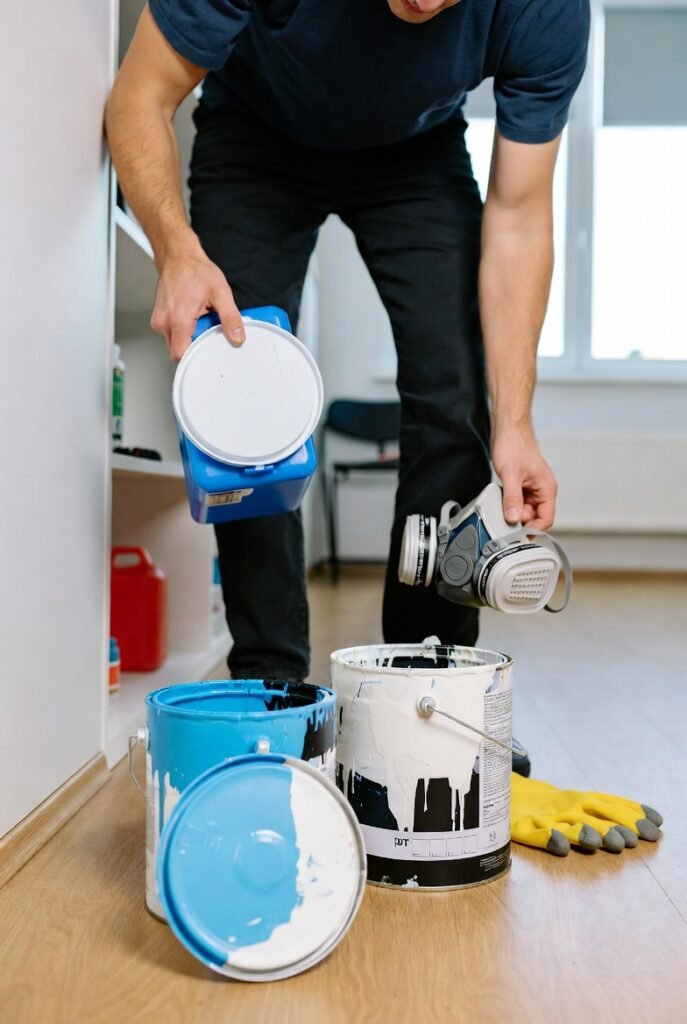
Personal Protective Equipment and Lead Safety
Wearing proper personal protective equipment (PPE) is essential. Use chemical-resistant gloves, such as nitrile, to prevent skin contact with strippers and solvents. Eye protection with side shields guards against splashes.
When working with chemical strippers, wear a respirator equipped with organic vapor cartridges to filter toxic fumes. For scraping or sanding, switch to particulate masks rated P95 or N100 to capture fine dust, especially important if paint may contain lead.
In buildings constructed before 1978, test for lead paint first. If lead is present, specialized removal techniques and disposal methods are required. Take extra precautions to avoid creating airborne lead dust during the removal process.
Step-By-Step Methods to Remove Oil Based Paint
Removing oil-based paint requires careful selection of methods to avoid damaging the underlying surface. Using solvents like paint thinner or mineral spirits, chemical paint strippers, and physical techniques such as scraping and sanding are common approaches depending on the paint thickness and surface type.
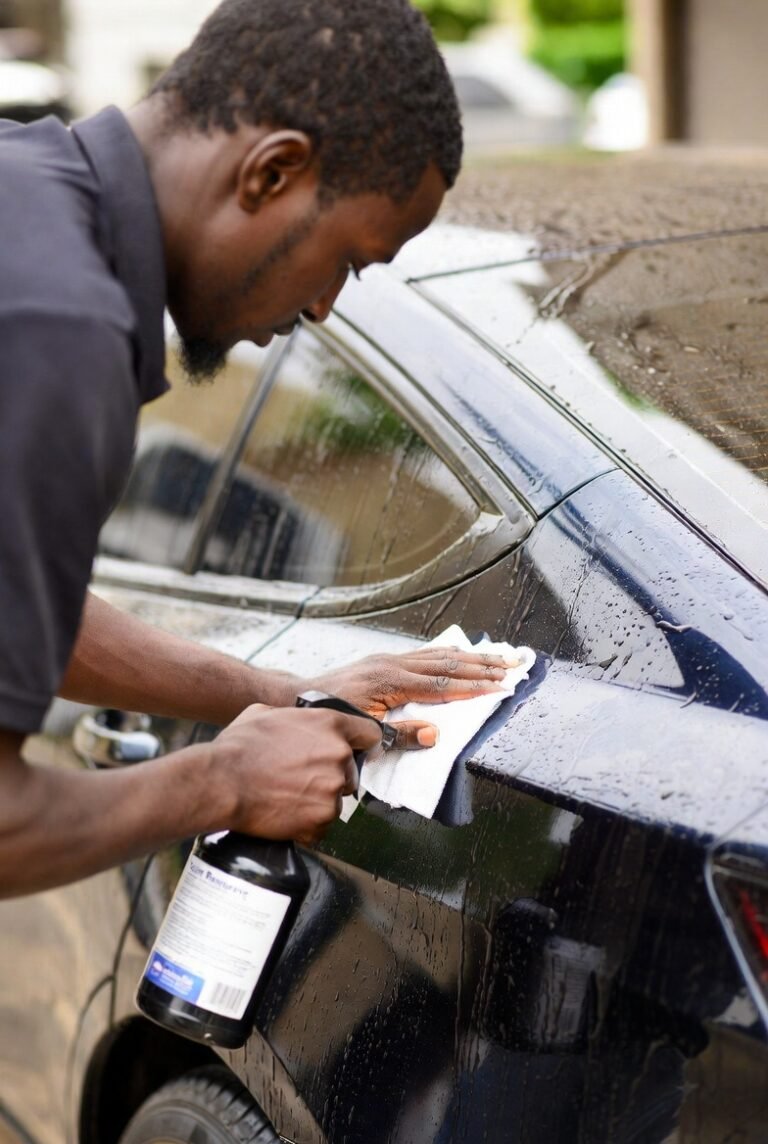
Using Paint Thinner or Mineral Spirits
Paint thinner and mineral spirits are effective solvents for breaking down oil-based paint. They dissolve the paint’s bonding agents, easing removal without harsh abrasion. Start by applying a small amount of mineral spirits or paint thinner to a clean cloth. Gently rub the painted area to soften the paint.
Let the solvent sit for several minutes to penetrate multiple paint layers. Reapply if necessary. Once the paint softens, wipe it away with a cloth or use a plastic scraper to lift stubborn sections carefully.
Always work in a well-ventilated space and wear gloves to protect skin from these chemicals. Mineral spirits are preferred for their relatively lower odor and slower evaporation, offering more working time compared to traditional paint thinners.
Applying Chemical Paint Stripper
Chemical paint strippers target oil-based paint by breaking down the paint’s bond with the surface aggressively. These products often contain solvents like acetone or turpentine and require cautious handling.
To use, brush a thick, even layer of paint stripper over the paint. Leave it undisturbed for 15–30 minutes or as instructed by the manufacturer. During this period, the paint will bubble and lift.
After waiting, use a plastic scraper to remove the softened paint. Avoid metal scrapers as they can easily scratch the surface underneath. Follow by wiping the area with water or a vinegar solution to neutralize any leftover stripper residue.
Because paint strippers emit strong fumes, protective gear such as gloves, goggles, and a respirator are essential. Ventilation is crucial when working indoors.
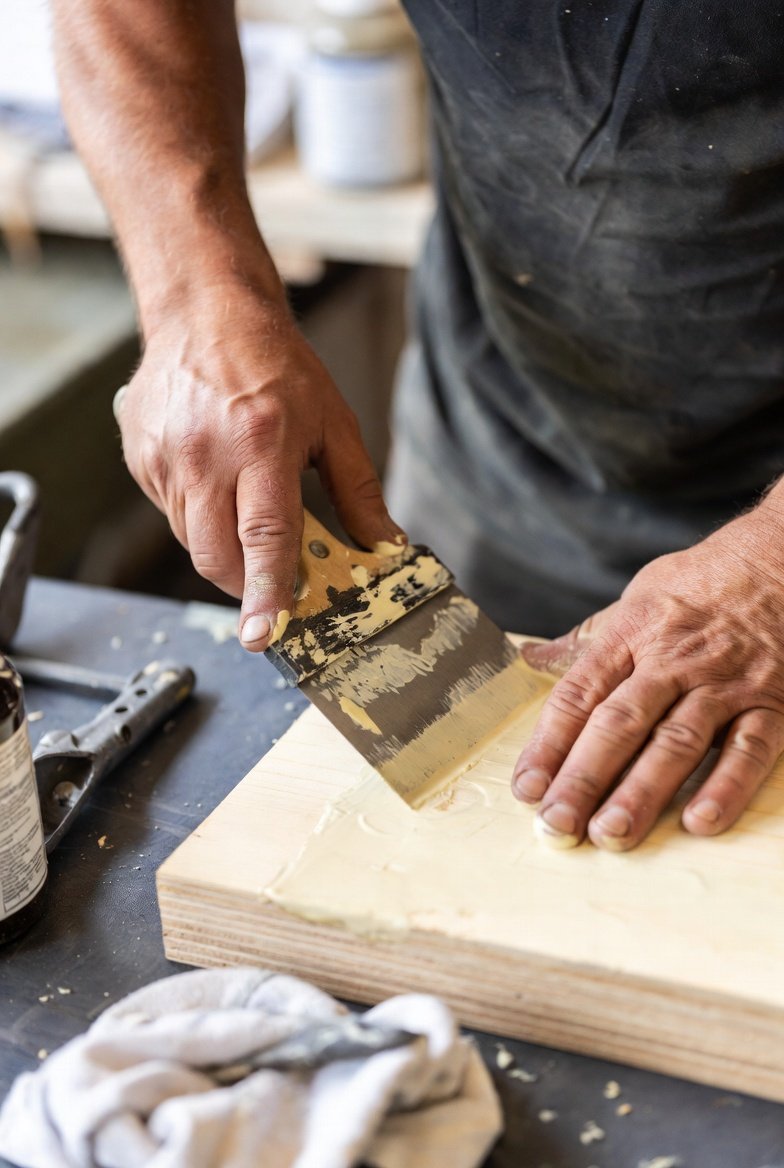
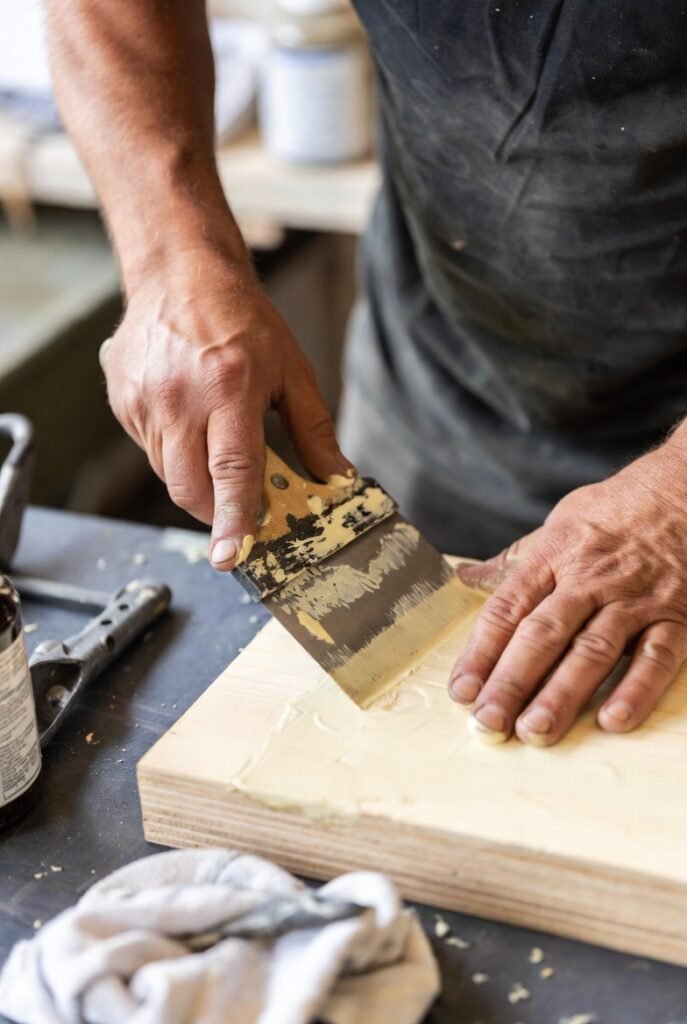
Mechanical Removal with Scraping and Sanding
When chemical methods aren’t suitable, mechanical removal through scraping and sanding provides precise control. Start by using a plastic or metal paint scraper to loosen thick paint layers from the surface. Hold the scraper at a low angle to minimize damage.
For smaller remainings or delicate finishes, sanding is effective. Begin with coarse-grit sandpaper to remove most paint residues. Progressively switch to finer grits to smooth the underlying surface.
Mechanical removal generates dust; wearing a dust mask is recommended. This method requires more labor but avoids chemical exposure. It is especially useful on wood or metal surfaces where chemical use might cause harm.
Cleaning the area with a damp cloth after sanding helps remove dust and leftover particles.
Surface-Specific Removal Techniques
Different surfaces demand tailored approaches to remove dried oil-based paint effectively. Material type, durability, and texture determine whether chemical, mechanical, or heat methods are most appropriate.
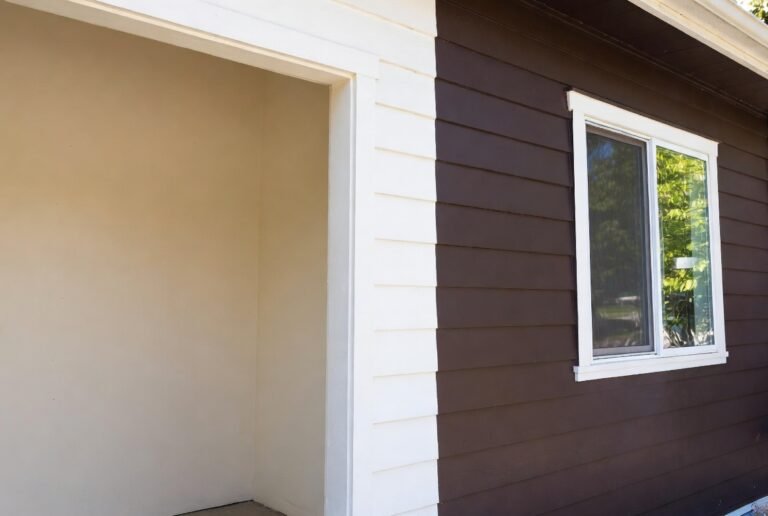
Removing Oil-Based Paint from Walls and Ceilings
Walls and ceilings, often drywall or plaster, require careful handling to avoid damage during paint removal. A chemical paint stripper formulated for interior use is usually the best choice. Applying the stripper with a brush, working in manageable sections, softens the paint for scraping.
Use a plastic or metal scraper at a low angle to avoid gouging. After scraping, clean residue with a damp cloth. Sand any stubborn spots gently with fine-grit sandpaper.
For ceilings, ventilation and safety precautions are critical. Using a paintbrush to apply stripper evenly helps ensure complete coverage. Avoid excessive moisture to prevent warping or weakening drywall.
Restoring Wood, Metal, and Concrete Surfaces
Wood surfaces benefit from a combination of chemical strippers and mechanical methods. Thick oil-based paint may first be softened with a heat gun set on low, then carefully scraped with a putty knife. Follow with chemical strippers designed for wood to remove residues, avoiding aggressive sanding on veneers or softwoods.
Metal requires cautious paint removal to prevent rust or corrosion. For ferrous metals, chemical strippers safe for metal are preferred to avoid surface damage. After paint removal, treat any rust with a wire brush and rust converter before repainting.
Concrete, being porous, absorbs paint deeply. Chemical paint removers with deep-penetrating formulations work best. Multiple applications may be necessary to fully lift dried oil-based paint from rough or sealed concrete. Pressure washing can help clear loosened paint but must be done cautiously to avoid surface damage.
Tips for Delicate or Decorative Details
Delicate surfaces, such as carved wood or decorative moldings, need gentle techniques. Harsh scraping risks chipping or breaking fine details. Using a soft-bristle paintbrush to apply a mild chemical stripper allows controlled paint loosening.
Heat guns on low settings can also soften paint without cracking delicate surfaces. For very intricate areas, cotton swabs dipped in solvent help target small spots without overexposure.
Patience is key: multiple light applications are safer than trying to remove all paint at once. After removal, carefully clean with a soft cloth and ensure no solvent residue remains to protect the finish during repainting.
Aftercare and Proper Disposal
Proper follow-up care after removing oil-based paint ensures tools last longer, surfaces remain ready for new coatings, and hazardous materials are handled safely. Cleaning solvents and residues require careful handling to protect both the environment and personal safety.
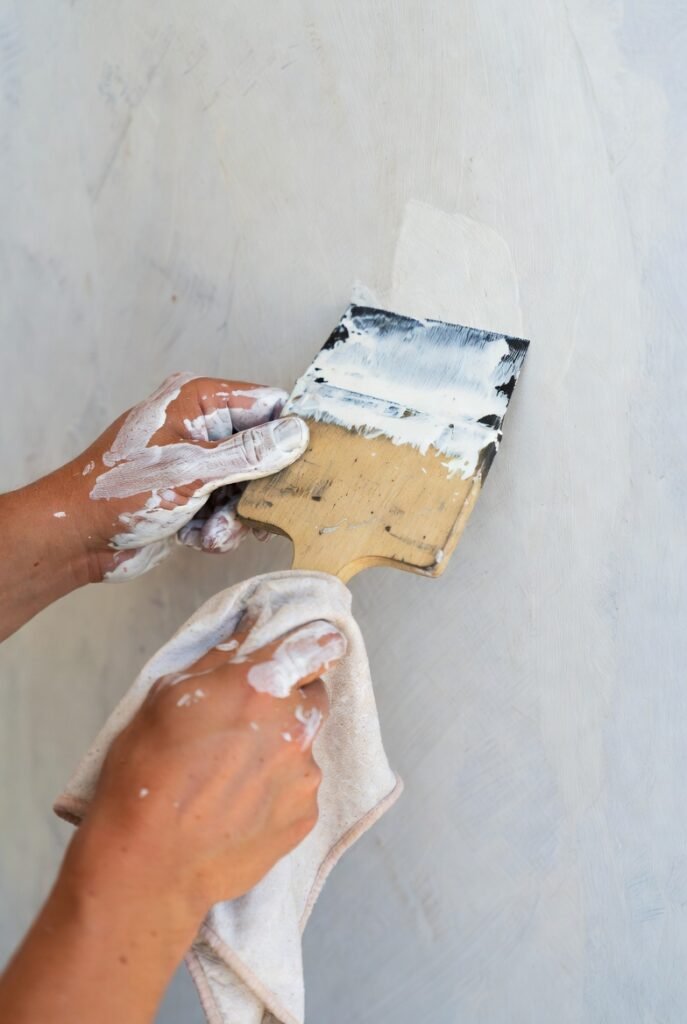
Cleaning Tools and Paintbrushes
Once the paint removal is complete, cleaning tools and paintbrushes promptly is critical. Used brushes should be soaked in mineral spirits or paint thinner to dissolve residual paint. Gently work the solvent through the bristles, then rinse with clean solvent repeatedly until the brush looks clean.
Avoid using water alone, as oil-based paint won’t dissolve in water. After cleaning, let brushes dry on a flat surface with bristles shaped properly to maintain their form. Dispose of the used solvent responsibly, avoiding pouring it down drains.
For scrapers or other reusable tools, wipe off excess paint with paper towels, then clean with mineral spirits or a suitable paint stripper if necessary.
Surface Restoration and Preparation for Repainting
After removing oil-based paint, surfaces often have residue or rough spots. Wiping down the area with a cloth dampened in warm, soapy water helps remove leftover solvents and particles. Allow the surface to dry fully.
For wood or other materials, sanding lightly with fine-grit sandpaper can smooth any remaining unevenness. This step also promotes better adhesion for new paint layers. Inspect the surface for damage such as gouges or cracks caused during paint removal and repair as needed.
A clean, dry, and smooth surface ensures the new oil-based paint adheres well and lasts longer without peeling or cracking.
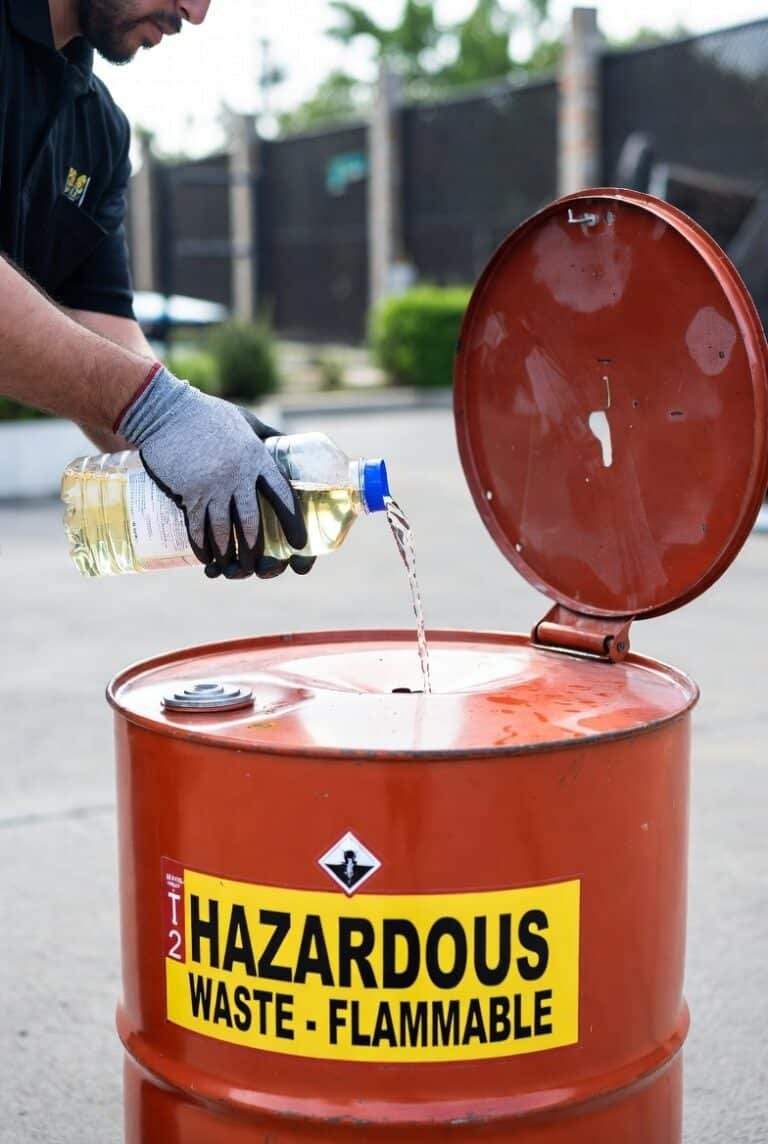
Safe Disposal of Solvents and Removed Paint
Oil-based paint and solvents used during cleanup are considered hazardous waste. Never pour leftover paint, used mineral spirits, or paint thinner down household drains or onto the ground.
Store all waste materials, including solvent-soaked rags and paper towels, in sealed containers or plastic bags. Contact local waste management authorities or hazardous waste disposal centers for drop-off locations or scheduled collection events.
When disposing of paint cans, ensure they are tightly sealed. If the paint is still liquid, consult guidelines for hazardous waste. Dried paint can often be disposed of with regular trash if it is completely hardened, but confirm local regulations first.
Proper disposal protects the environment and complies with legal requirements.