How to Paint Vaulted Ceilings (Complete Guide)
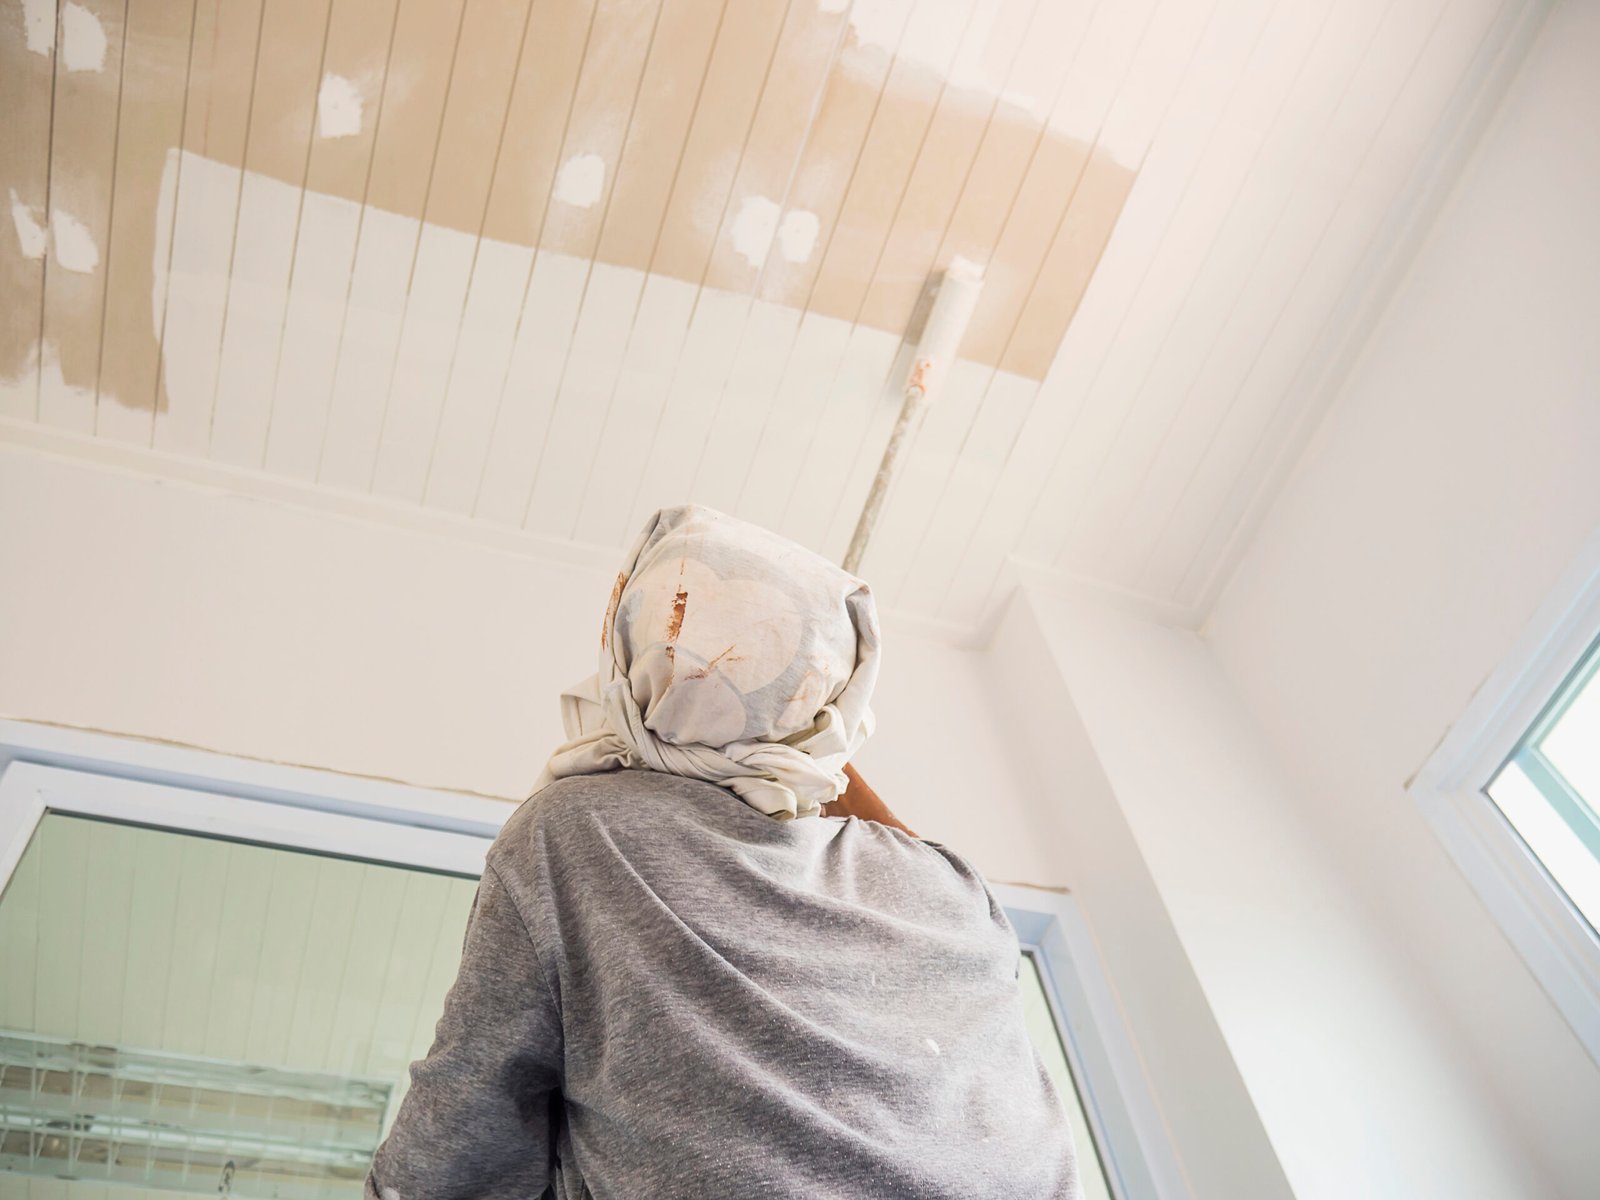
I still remember the first time I stood in my living room, looking up at the vaulted ceiling I had desperately wanted when buying the house. It looked majestic, airy, and open. But a few years later, as the paint started to yellow, that majestic height suddenly felt like a massive headache.
Hiring a professional painter was an option, but when I saw the quote, I nearly fainted. The labor cost for high ceilings is significantly higher than standard rooms due to the risk and equipment involved. I knew there had to be a way to tackle this project myself without breaking the bank—or my neck.
After plenty of research and a few weekends of trial and error, I discovered that painting a vaulted ceiling isn’t actually that different from painting a normal one. You just need slightly different tools and a lot more respect for gravity.
If you are ready to refresh your space and save some serious cash, I’m here to walk you through the process. With the right preparation and a few clever techniques, you can get a professional-looking finish safely from the ground (mostly).
Safety First: Know Your Limits
Before we even look at a paint chart, I need to talk about safety. High ceilings are beautiful, but they can be dangerous to work on. If your ceiling is extremely high—say, over 15 feet—or if the thought of climbing a ladder makes your knees shake, there is no shame in calling a pro.
Falls from ladders are a leading cause of home injury. I always follow a simple rule: if I can’t reach it safely with an extension pole or a stable ladder, I don’t paint it.
For those of you with ceilings around the 10-12 foot mark, this is a very manageable DIY project. Just ensure you have a sturdy ladder and, if you are working on uneven ground like stairs, the correct leveling equipment.
Gather Your Gear
The secret to painting high ceilings isn’t superhuman balance; it’s having the right tools. I used to try to make do with a standard roller handle and a rickety stepladder. I learned quickly that was a mistake.
Here is what I recommend you pick up before you start:
The Extension Pole: This is your best friend. Do not buy the cheapest, flimsiest pole you can find. I prefer a heavy-duty, telescoping pole that locks firmly in place. A wobbly pole leads to messy lines and a sore arm. Look for one that extends at least 4 to 8 feet, depending on your ceiling height.
Roller Frames and Covers: You want a 9-inch roller frame that is sturdy. For the cover (the nap), I suggest a 3/8-inch nap for smooth ceilings. If you have a textured or “popcorn” ceiling, go for a thicker 3/4-inch nap to ensure the paint gets into all those little crevices.
Paint Brush Extender: This is a nifty little tool that clamps onto your brush and screws onto the end of your extension pole. It allows you to “cut in” the corners at the top of the wall without having to climb a ladder every few feet.
Ladders: Even with a pole, you might need a ladder. An A-frame ladder is standard, but if you are working over stairs, you might need an articulating ladder or a ladder leveler.
Canvas Drop Cloths: Plastic is slippery and dangerous, especially when you are looking up. I always use canvas drop cloths. They stay in place and absorb spills rather than letting them pool.
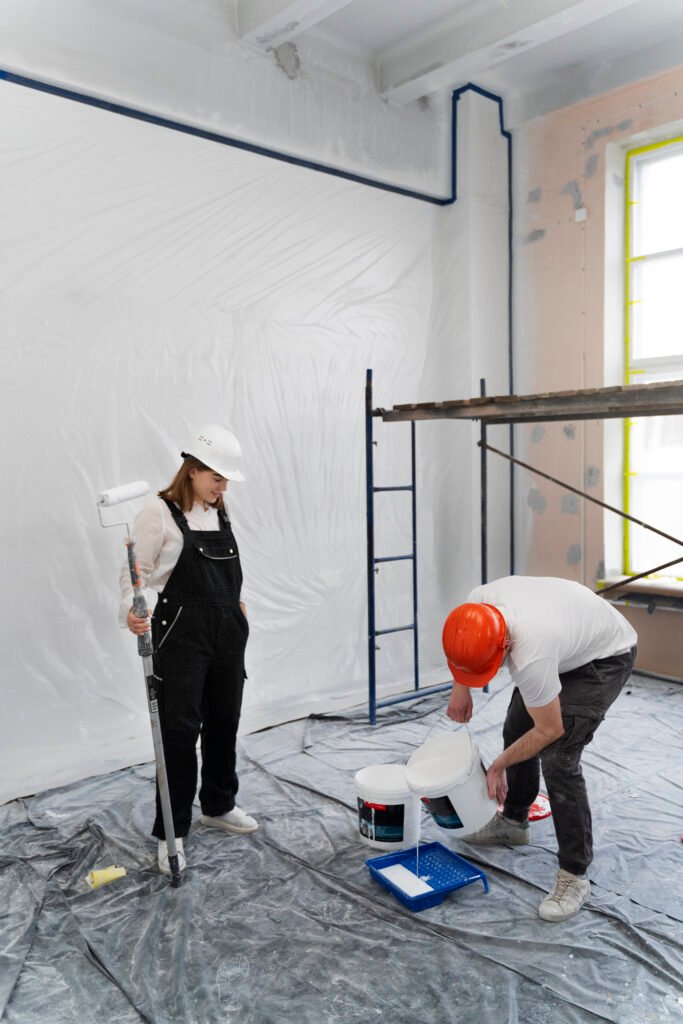
Preparing the Room
I know you want to crack open that paint can immediately, but prep work is 80% of the job. When working with high ceilings, gravity works against you. Paint spatters will fall, and they will fall further and wider than usual.
Clearing and Covering
I start by moving every piece of furniture out of the room. If something is too heavy to move, I push it to the center of the room and cover it completely with plastic sheeting, taping it down so it doesn’t blow off.
Next, cover every inch of the floor with your canvas drop cloths. I overlap them by a few inches to ensure no stray drops find their way to my hardwood floors.
Taping and Cleaning
Take a broom with a long handle or a duster attached to your extension pole and sweep the ceiling corners. You want to remove any cobwebs or dust bunnies. If you paint over dust, the paint will eventually peel off.
I also take the time to apply painter’s tape to the top of the walls where they meet the ceiling. This gives me a safety net when I am cutting in. Just make sure you press the tape down firmly to prevent bleed-through.
Important Note: If you have ceiling fans or pendant lights, turn off the power at the breaker box before you touch them. I usually loosen the canopy (the cover against the ceiling) and slide it down, wrapping the fixture in a plastic bag to keep it clean.
Step-by-Step: Painting the Ceiling
Now that the room is prepped, it is time to paint. I always check the weather before I start; humid days can make paint dry too slowly, while extremely hot days make it dry too fast, leaving lap marks.
Step 1: Cutting In the Edges
“Cutting in” refers to painting the perimeter of the ceiling where the roller can’t reach. I like to do this first.
I attach my angled sash brush to the extension pole using the adapter I mentioned earlier. Dip the brush about an inch into the paint and tap off the excess—don’t wipe it on the rim, or you’ll remove too much paint.
I paint a strip about 2 to 3 inches wide along the edge of the ceiling. I work in sections of about 10 feet. The goal is to keep a “wet edge,” meaning I want to roll the main area while this border strip is still wet so the two sections blend seamlessly.
Step 2: Rolling the Main Area

Once the edges are wet, I grab my roller. I load it up with paint until it is saturated but not dripping.
I start in a corner and roll in overlapping rows. I don’t paint directly over my head—that’s a recipe for paint in the eye and a stiff neck. Instead, I stand slightly behind the roller, pushing it forward.
I apply gentle, even pressure. If I press too hard, I get ridges (called “tram lines”) on the edges of the roller path. If I hear the roller making a sticky, sucking sound, it means it’s dry and I need more paint.
For vaulted ceilings, I usually roll perpendicular to the floor joists if I can see them, or simply parallel to the shortest wall. The key is to maintain a steady pace.
Step 3: The Second Coat
Most high ceilings will need two coats, especially if you are using a flat white paint, which I highly recommend. Flat paint absorbs light and hides imperfections, which is perfect for large, uninterrupted surfaces like a vaulted ceiling.
I wait for the first coat to dry completely—usually about two to four hours. Then, I repeat the process. The second coat always goes on faster and makes the color look rich and uniform.
Step 4: Clean Up
The final step is the most satisfying. I remove the painter’s tape while the paint is still slightly tacky. If you wait until it’s fully dry, you risk pulling up chunks of your fresh paint.
I pull the tape at a 45-degree angle slowly and steadily. Then, I reattach my light fixtures, pick up the drop cloths, and move the furniture back in.
Troubleshooting Common Issues
Even with the best preparation, things can get tricky. Here is how I handle common problems.
Painting Over Stairs
This is the trickiest part. If you have a vaulted ceiling over a staircase, do not try to balance a standard ladder on the steps.
I recommend renting a scaffold for the weekend. It provides a stable platform and is much safer than rigging up a plank between two ladders. If you must use a ladder, buy a specialized ladder leveler tool that attaches to the legs of your ladder, allowing one leg to stand on a lower step than the other.
Avoiding Roller Marks
If you look up and see streaks or “lap marks” where the layers of paint overlap, it usually means the paint dried too quickly or you didn’t keep a wet edge.
To fix this, I make sure to use plenty of paint—starving the roller is the number one cause of streaks. I also try to finish the entire ceiling in one session without taking a lunch break halfway through.
FAQs
Do I need to use a specific type of paint for ceilings?
Yes, I strongly recommend using paint specifically labeled “ceiling paint.” It is usually formulated to be ultra-flat (matte) to minimize glare and hide drywall imperfections. Some brands even offer color-changing paint that applies pink or purple and dries white, which helps you see where you’ve already painted—a lifesaver on white-on-white projects.
Can I just use a sprayer instead of a roller?
You can, and it’s faster, but the prep work is intense. You have to mask off absolutely everything—walls, windows, floors—because the overspray goes everywhere. For a lived-in home, I find rolling is actually less work overall because the cleanup is easier.
How do I fix a mistake if I get paint on the wall?
Keep a damp rag in your pocket at all times. If you smudge the wall, wipe it immediately while it’s wet. If it dries, don’t panic. You can touch up the wall paint later using a small brush.
Wrap Up
Painting a vaulted ceiling is physically demanding, but the transformation is incredible. A fresh coat of bright white paint can make the room feel larger, cleaner, and more modern.
It might seem daunting when you are staring up from the floor, but once you have that extension pole in your hand, you realize it is just a matter of process. You take it one section at a time.
So, grab your ladder, check your safety gear, and get ready to transform your home. Your neck might be a little sore tomorrow, but your wallet—and your beautiful new room—will thank you.