
How to Paint Trim Without Tape (And Get Perfect Lines)
For many DIYers, the most dreaded part of any painting project isn’t the painting itself—it’s the prep work. Specifically, the hours spent meticulously applying blue painter’s tape to every inch of trim, baseboard, and ceiling edge. It feels like a safety net, a guarantee that your lines will be crisp and your mistakes minimal.
But what if that safety net is actually holding you back?
Professional painters often skip the tape entirely. They know a secret that saves hours of setup time and money on supplies: cutting in. Learning how to paint trim without tape isn’t just a party trick; it’s a valuable skill that leads to faster project completion and, often, cleaner results.
Tape can bleed, peel off existing paint, or leave ragged edges when removed. By mastering the art of the freehand cut-in, you gain total control over your finish.
In this guide, we’ll walk you through exactly how to achieve those razor-sharp lines without a single roll of adhesive.
Why You Should Ditch the Tape
Before we dive into the technique, it helps to understand why professionals often leave the tape at the store. While it seems like a helpful tool, reliance on tape can actually create more problems than it solves.
It Saves Massive Amounts of Time
The most obvious benefit is efficiency. Taping a standard-sized room can easily take an hour or more. You have to clean the surface, apply the tape, press it down firmly to prevent bleeding, and then remove it carefully while the paint is still wet (or risk peeling). When you learn to cut in freehand, you skip the setup and teardown phases completely. You simply open the can and get to work.
You Avoid the “Bleed” Effect
We’ve all been there: You peel back the tape, expecting a perfect line, only to find that the paint has seeped underneath, creating a fuzzy, messy edge. Textured walls are particularly prone to this. When you paint manually, you can see exactly where the paint is going in real-time. There are no surprises revealed only after the tape comes off.
It’s Less Wasteful and Expensive
High-quality painter’s tape isn’t cheap. For a whole-house project, the cost adds up significantly. Furthermore, all that used tape ends up in the landfill. By using a steady hand and the right brush, you reduce both your project budget and your environmental footprint.
The Essential Toolkit for Tapeless Painting
You cannot fake good results with bad tools. If you are going to skip the tape, you need equipment that works with you, not against you.
High-Quality Angled Sash Brush
This is non-negotiable. You need a brush specifically designed for cutting in. Look for an “angled sash” brush, usually 2 to 2.5 inches wide. The angle allows you to get the bristles right into the corner, while a high-quality filament holds enough paint to create a long, smooth line without constant dipping. Cheap brushes with stray bristles will make this task impossible.
Paint Pail or Cutting Pot
Painting directly from the gallon can is heavy and messy. Use a small handheld pail or “cut bucket.” These are easier to hold near the ceiling or baseboards, reducing the distance your brush has to travel and minimizing drips.
A Damp Rag
This is your eraser. Even pros make mistakes. Keep a clean, damp lint-free rag in your pocket or looped through your belt. If you accidentally get paint on the glass or the wall, a quick wipe while it’s wet makes it like it never happened.
Paint Shield (Optional but Helpful)
If you aren’t quite confident enough to go completely freehand near carpets or difficult corners, a metal or plastic paint shield is a great middle ground. You hold it against the edge, paint, and wipe it clean before moving to the next section.
Step-by-Step: How to Cut In Like a Pro
Ready to start painting? Follow these steps to master the technique.
1. Prepare Your Surface
Just because you aren’t taping doesn’t mean you skip prep. In fact, prep is even more critical here. Dust and grime on baseboards or door frames will cause your brush to drag or skip, ruining your straight line.
- Clean: Wipe down all trim with a mild detergent or degreaser to remove dust and oils.
- Sand: Lightly sand any glossy trim to ensure adhesion.
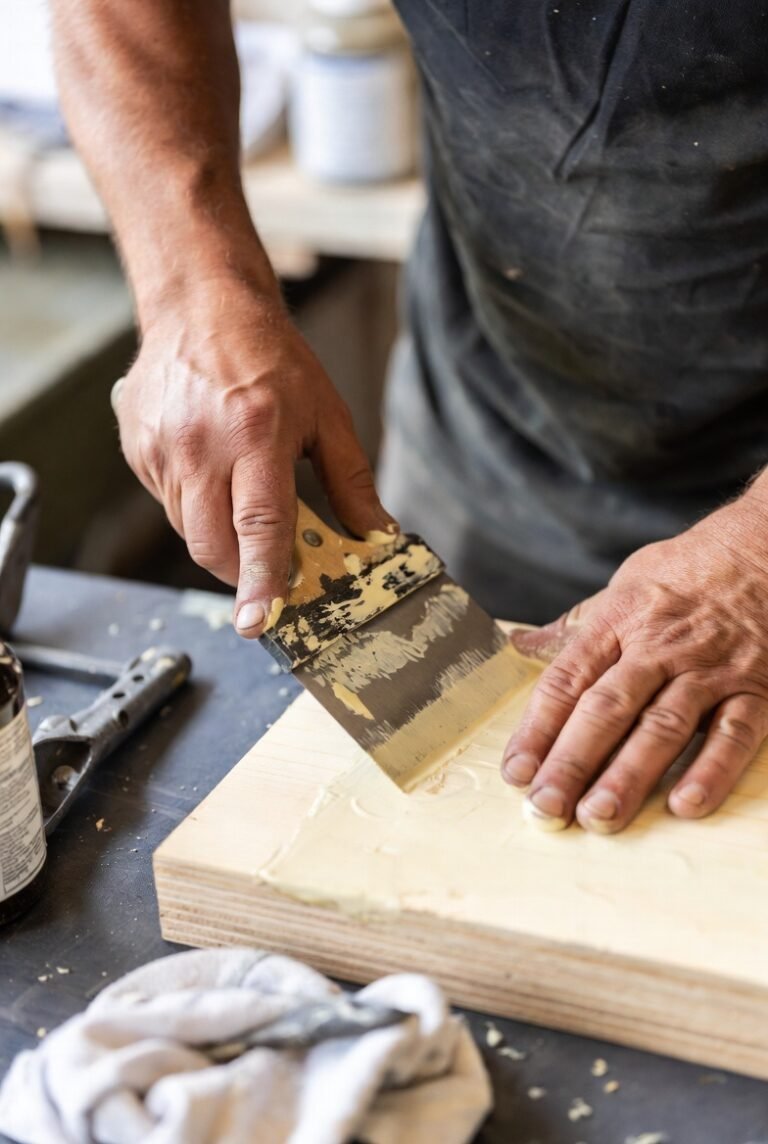
- Fill: Use spackle to fill holes and a high-quality caulk to seal gaps between the trim and the wall. A smooth surface is the secret to a smooth line.
2. Properly Load Your Brush
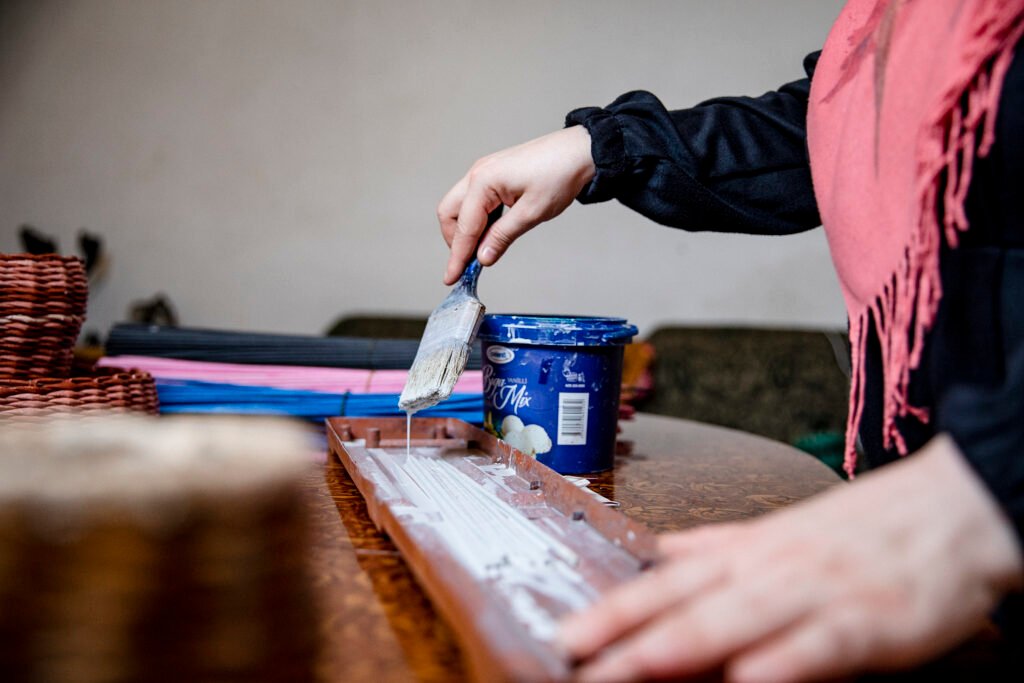
The biggest mistake beginners make is overloading the brush. If you have too much paint, it will drip and pool, making it impossible to control.
- Dip the brush about halfway into the paint (do not dunk it to the ferrule/metal part).
- Tap the brush against the side of the bucket. Do not wipe it. Wiping removes too much paint; tapping removes the excess while keeping the “belly” of the brush full.
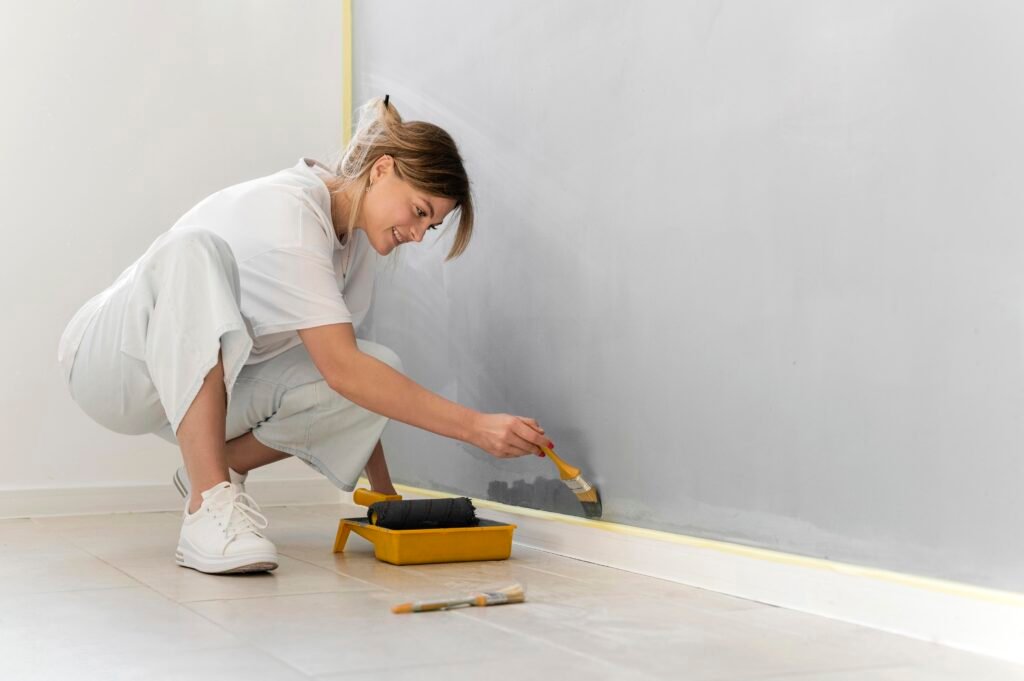
3. The “Wiggle” Technique
Don’t try to shove the brush right into the corner immediately. Start about a quarter-inch away from the edge you are trying to cut in.
- Apply the paint to the wall slightly away from the trim.
- Slowly push the brush toward the line. As you apply pressure, the bristles will fan out.
- Let the fanned bristles naturally reach the edge of the trim.
- Once the bristles are touching the line, pull the brush steadily along the trim in one smooth motion.
4. Move Your Body, Not Just Your Wrist
To get a long, straight line, you need stability. If you only move your wrist, your range of motion is limited, and the line will curve. Instead, lock your wrist and move your entire arm or even your body.
- Find a comfortable stance.
- Breathe out as you make your stroke (it steadies the hand, similar to how photographers take pictures).
- Drag the brush for roughly 12 inches, then reload.
5. Correct Mistakes Immediately
If you get a spot of wall paint on the white trim, don’t panic. Stop what you are doing. Take your damp rag, wrap it tightly around your fingernail or a putty knife, and precisely wipe away the error. Since the trim paint is likely dry and cured (from previous painting), the fresh wet paint will wipe right off without damaging the layer underneath.
Troubleshooting Common Issues
Even with the best technique, you might run into snag. Here is how to handle them.
“My brush is leaving streak marks.”
This usually means you aren’t using enough paint, or the paint is drying too fast. Reload your brush more often. If it’s a hot, dry day, you might need to add a paint conditioner (like Floetrol) to the paint to extend the drying time and help it flow more smoothly.
“The line looks shaky.”
This is often a result of holding the brush too tight. A “death grip” causes muscle fatigue and tremors. Hold the brush loosely, like you would a pencil. Also, ensure you have good lighting; if you can’t see the edge clearly, you can’t paint it straight.
“I can’t get the corner perfect.”
Corners are tricky. Instead of trying to paint straight into a corner, paint out from the corner. Place the brush tip in the corner and pull away. This prevents paint buildup in the crevice.
Conclusion
Learning how to paint trim without tape is a journey. Your first room might take a little longer as you get the feel for how the brush fans out and how the paint flows. But by the second room, you will notice your speed increasing. By the third, you’ll likely wonder why you ever spent money on blue tape in the first place.
Mastering the “cut in” gives you the freedom to tackle touch-ups and full renovations with confidence. Grab a quality sash brush, steady your hand, and enjoy the satisfaction of a perfectly painted room—no peeling required.