How to Paint Over Silicone Caulk: Step-by-Step for Lasting Results
Painting over silicone caulk can be challenging because standard paints do not adhere well to its smooth, non-porous surface. This causes paint to bead up or peel off, making simple repainting jobs frustrating. However, with the right preparation and products, it is possible to achieve a clean, painted finish over silicone caulk.
The best way to paint over silicone caulk is to apply a shellac-based primer first, which creates a surface that paint can stick to. Alternatively, removing the old silicone and replacing it with a paintable silicone caulk ensures long-lasting results and easier painting.
Understanding the properties of silicone and using appropriate primers or paintable caulk can save time and help avoid peeling or flaking. This article outlines clear steps to prepare and paint over silicone caulk effectively for a professional-looking finish.
Understanding Silicone Caulk and Paint Compatibility

Silicone caulk’s chemical structure and physical properties are key reasons why paint struggles to adhere properly. Distinguishing between different types of caulk and knowing how to identify silicone caulk on various surfaces helps in choosing the right preparation and painting approach.
Why Paint Doesn’t Stick to Silicone Caulk
Silicone caulk has a very smooth, non-porous surface. Its low surface energy repels most paints, causing them to bead up and fail to bond. This characteristic is intentional, designed to provide waterproofing and flexibility in wet or high-moisture areas.
Standard latex and oil-based paints usually cannot form a lasting bond on silicone. Without proper surface preparation or primers designed for silicone, paint will often peel, chip, or flake off. The issue lies with the silicone’s chemical makeup, which prevents mechanical or chemical adhesion necessary for paint durability.
Types of Caulk: Silicone, Acrylic, and Paintable Caulk
Silicone caulk is popular for sealing where waterproofing is critical. However, it is generally not paintable on its own. Acrylic latex caulk, by contrast, is porous and designed to accept paint, making it suitable for areas where aesthetics matter.
Paintable caulk is usually a variant of acrylic latex or siliconized acrylic. It offers a balance between flexibility and paint adhesion. Homeowners needing a paintable sealant are advised to use paintable caulk rather than pure silicone to avoid preparation hassles.
| Caulk Type | Paint Compatibility | Best Use Case |
|---|---|---|
| Silicone Caulk | Not paintable without prep | Bathrooms, kitchens, wet areas |
| Acrylic Latex Caulk | Paintable | Dry areas, baseboards, trim |
| Paintable Caulk | Paintable | Interior areas requiring paint |
Identifying Silicone Caulk on Your Surfaces
Silicone caulk is often found around sinks, showers, and windows due to its water-resistant qualities. It is smooth, glossy or matte, and usually retains a slight elasticity when pressed.
A common test to identify silicone caulk involves touching the sealant; silicone feels slick and slightly rubbery. Removing a small sample and trying to paint it can also help determine if it’s silicone—paints that bead instead of covering indicate silicone.
Sometimes labeling on the caulk tube is the easiest way to identify it. If unavailable, noting the location and feel of the seal will usually indicate if it’s silicone or a paintable variety, critical for deciding whether surface preparation or replacement with paintable caulk is necessary.
Essential Materials and Tools for Painting Over Silicone Caulk
Proper materials and tools are critical to ensure paint adheres to silicone caulk effectively. Selecting compatible primers and paints, as well as using the right application tools, can prevent issues like peeling or slippage. Safety equipment should also be considered to protect the user during preparation and painting.
Choosing the Right Paint and Primer
Silicone caulk’s surface is challenging to paint due to its slick texture. An oil-based primer or shellac spray primer is essential to create a surface that paint can bond to. These primers offer better adhesion to silicone than standard latex primers.
For painting, oil-based paint or acrylic latex paint works best after priming. Oil-based paint provides durability and a smooth finish, especially in areas prone to moisture. Acrylic latex paint offers easier cleanup and flexibility but requires a proper primer first.
Latex paint alone should be avoided since it does not adhere well to silicone surfaces without primer. The primer and paint combination must be compatible for a lasting finish.
Recommended Adhesion Promoters
To improve paint adherence, applying a new layer of acrylic latex caulk over the existing silicone caulk is highly recommended. This layer acts as a bonding intermediary, allowing the primer and paint to grip more effectively.
Denatured alcohol applied before this step can roughen the silicone surface slightly, enhancing adhesion. It acts like a mild abrasive without damaging the caulk. Using caulk remover beforehand is advisable if the old silicone is cracked or failing.
Selecting products specifically labeled as paintable or compatible with silicone surfaces reduces failure risk. Shellac-based spray primers work well as adhesion promoters on tricky surfaces like silicone.
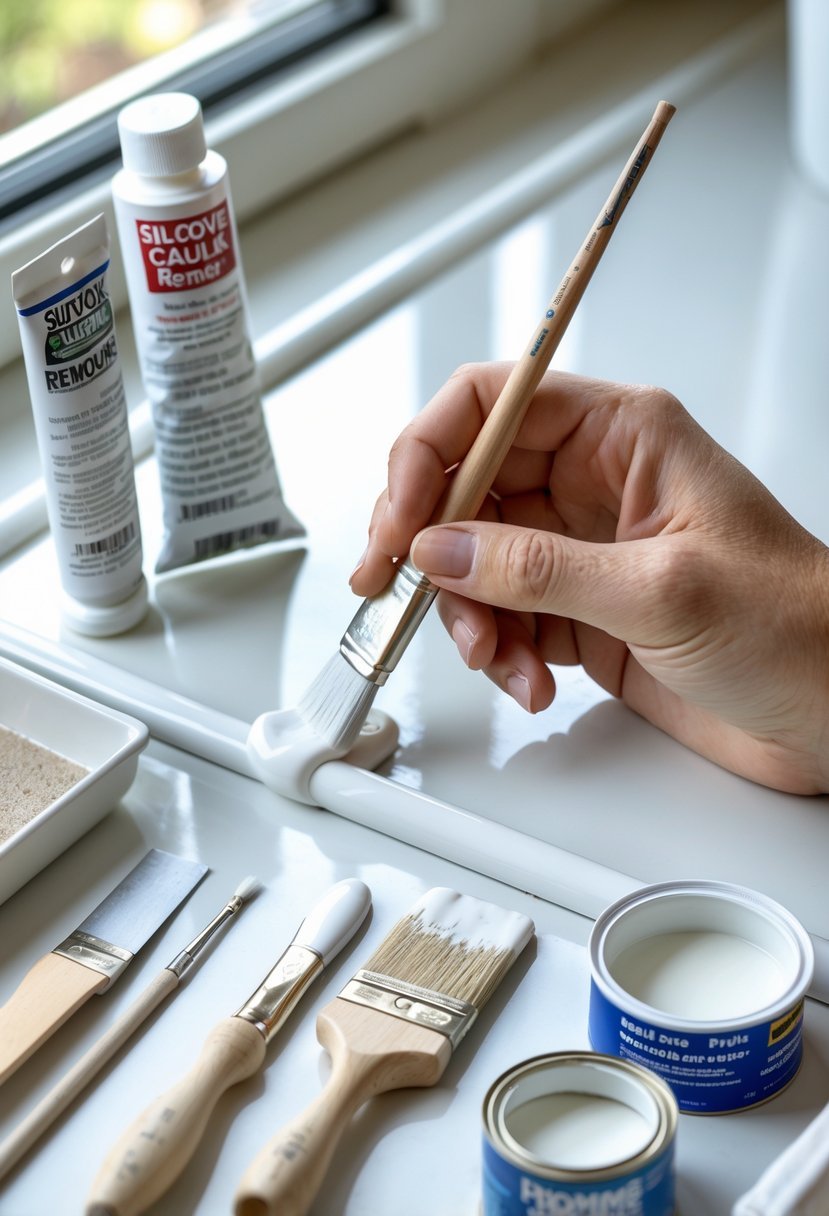
Tools and Safety Equipment Checklist
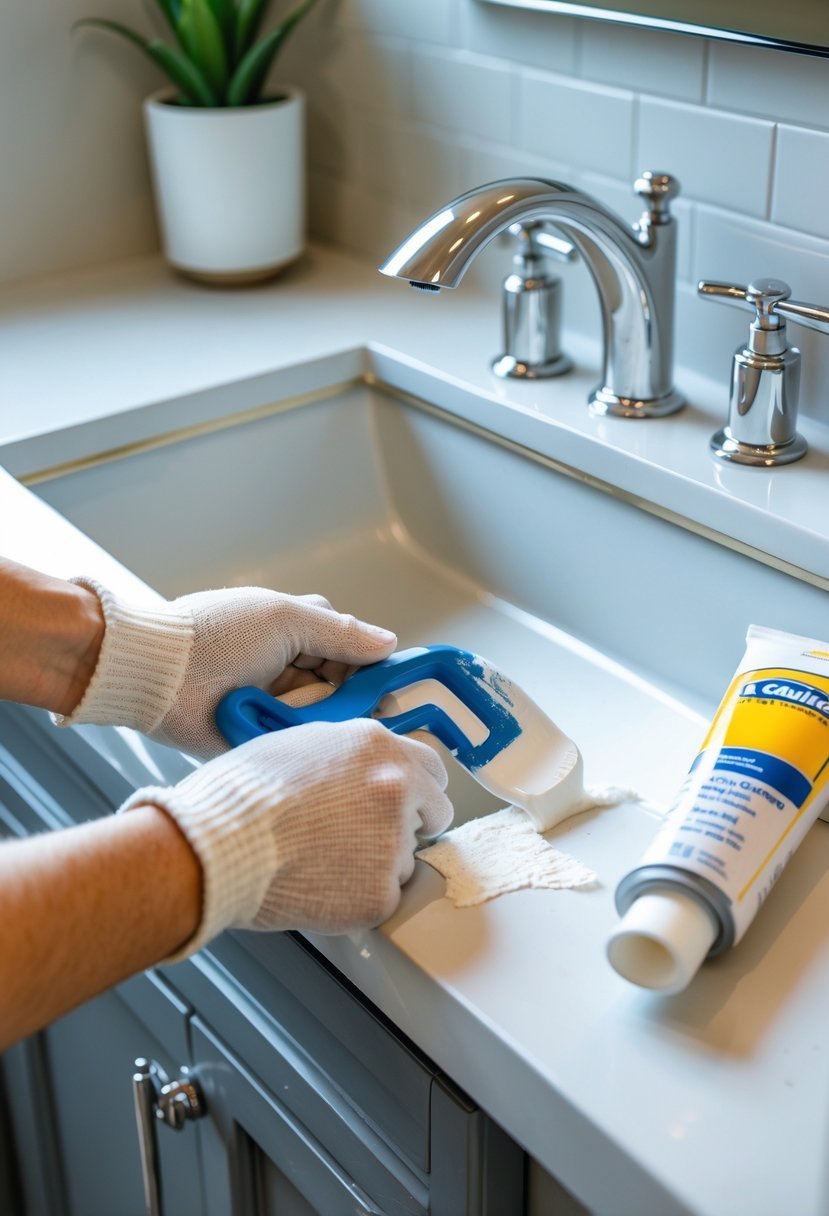
Preparation and painting require a few essential tools: a caulk gun for applying acrylic latex caulk, paintbrushes or spray equipment for primer and paint, and clean rags for surface prep. Sandpaper is optional but can assist in roughening silicone.
Safety is important. Gloves protect skin from irritants in denatured alcohol, caulk, and primers. Respiratory protection is recommended when using solvent-based primers or paints in poorly ventilated areas.
A putty knife or caulk remover tool may be needed for removing old or damaged silicone. Masking tape helps achieve clean edges during painting. Having all these items ready ensures an efficient and effective painting process.
Surface Preparation: Cleaning and Abrading Silicone Caulk
Proper preparation of silicone caulk surfaces requires thorough cleaning and creating a slightly rough texture to ensure paint adhesion. This involves using appropriate cleaning agents, carefully abrading the surface, and removing any residue or dust before primer and paint application.
Cleaning Techniques for Optimal Adhesion
The first step is to remove dirt, oils, and any loose material from the silicone caulk. Using a silicone caulk remover or a dedicated caulk remover can soften the surface, making it easier to clean and prepare. Alternatively, wiping the caulk with denatured alcohol or isopropyl alcohol helps remove surface contaminants without degrading the silicone.
It’s important to wear gloves during cleaning to protect the skin, especially when using chemical removers. The cleaner should be applied with a rag or sponge, thoroughly wiping the caulk to remove any residues that would interfere with adhesion.
Avoid using water or water-based cleaners as silicone repels moisture. Instead, the goal is to create a clean, dry, and slightly tacky surface that will better interact with subsequent layers.
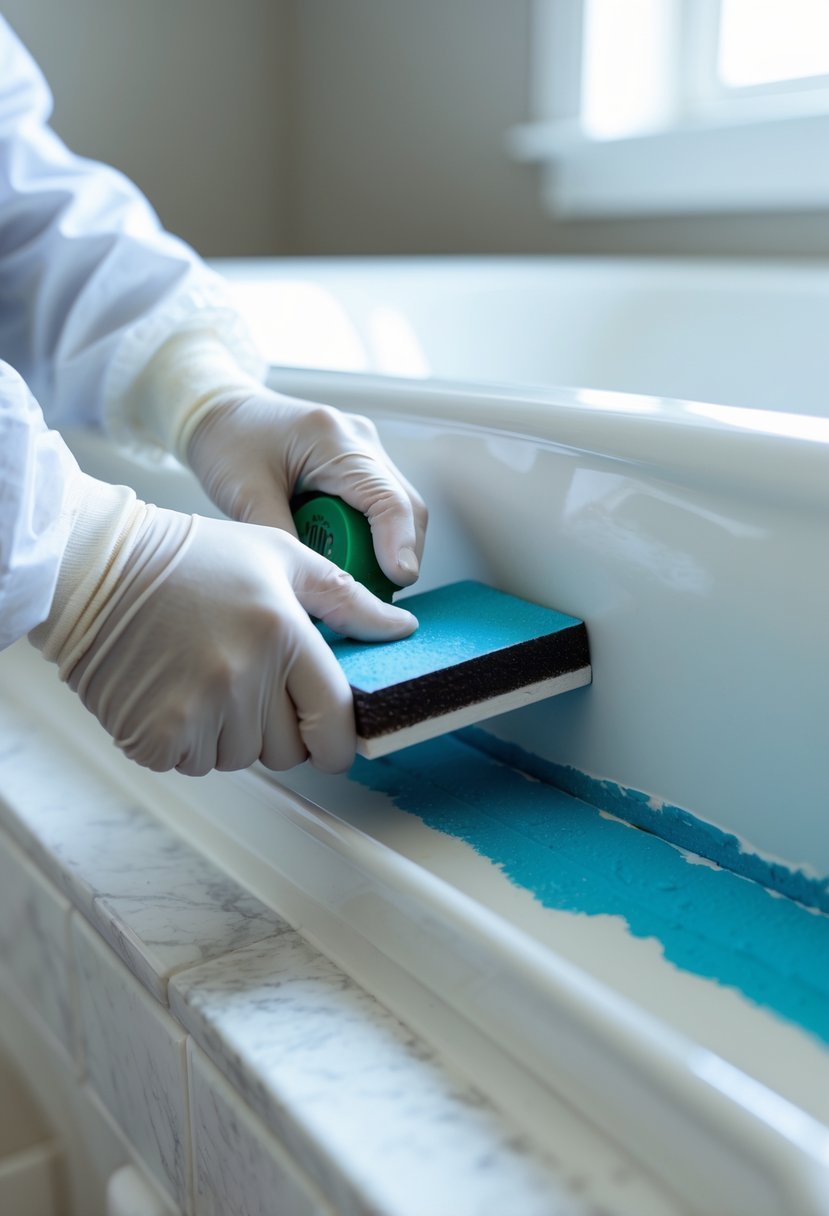
Light Abrasion: Sanding and Etching Methods
Silicone caulk’s smooth, non-porous surface poses a challenge for paint. Light abrasion is necessary to disrupt this slick layer and provide a texture for the primer and paint to grip.
A gentle sanding with fine-grit sandpaper (around 220–320 grit) is effective. The sanding should be moderate — enough to dull the shine but not so harsh as to damage the surrounding materials. In some cases, using the previously applied denatured alcohol can slightly etch or soften the surface.
This abrasion step changes the low surface energy characteristics of silicone, promoting better mechanical adhesion. Care should be taken to wear a mask to avoid inhaling dust and to clean sanding debris promptly.
Surface Drying and Dust Removal
After cleaning and abrasion, the caulk must be entirely dry before primer application. Although some cleaners like denatured alcohol evaporate quickly, dust and particles left behind from sanding can prevent paint from sticking.
Use a clean, dry cloth or a tack cloth to remove any remaining dust. Compressed air is also useful to blow out particles from cracks or uneven areas. Ensuring no residue or moisture remains will help the primer form a consistent bond.
Waiting at least 15–30 minutes after cleaning and sanding before moving to primer allows any residual solvents to evaporate fully. This step safeguards a more durable and even painted finish.
Priming and Painting Techniques for Silicone Caulk
Proper surface preparation and selection of compatible primers and paints are essential for a lasting finish when painting over silicone caulk. Specific primers and paints work better than others to ensure adhesion and durability.
Applying Oil-Based Primers and Shellac Sprays
Oil-based primers create a strong, durable bond on silicone surfaces that are typically smooth and non-porous. Before applying, the silicone caulk surface must be lightly roughened using denatured alcohol or fine abrasive pads to improve primer adherence. The oil-based primer should be applied evenly, either by brush or spray, and allowed to dry thoroughly according to manufacturer instructions.
Shellac spray primers are an effective alternative to oil-based primers and cure faster. They provide excellent adhesion even on difficult surfaces like silicone. When using shellac spray, it’s important to hold the can 2-3 inches away from the surface and apply an even coat. The primer should dry for about 45 minutes before painting. Shellac also offers better moisture resistance during curing compared to oil-based primers.
Using Adhesion Promoters for Maximum Bond
Adhesion promoters or bonding agents enhance paint stickiness on silicone caulk by chemically modifying the surface. They are often applied after roughening and before priming. These products help overcome silicone’s inherent low surface energy, which prevents paint from gripping properly.
For maximum effect, an ultra-thin layer of acrylic latex caulk can be added over the silicone before priming, creating a more paint-friendly surface. This layer must dry fully. Adhesion promoters combined with primer improve longevity and reduce peeling or beading issues. The user should always verify compatibility of adhesion promoters with the chosen primer and paint to avoid adverse reactions.
Choosing Paint: Acrylic, Latex, and Oil-Based Options
Selecting the right paint depends on the primer type and desired finish. Oil-based paints work best with oil-based primers; they provide a durable, flexible coating that resists moisture. However, oil-based paints take longer to dry and may yellow over time.
Acrylic and latex paints, including 100% acrylic latex paint, are popular because they dry quickly and are easy to clean. A high-quality acrylic latex paint offers good adhesion and flexibility, ideal for minor movement in caulk joints. When using acrylic or latex paint over a shellac or oil-based primer, it is critical to ensure full primer curing first.
Avoid using standard latex paint directly on silicone caulk without primer, as it will likely peel or bead due to poor adhesion.
Coating Methods: Brush, Roller, and Spray
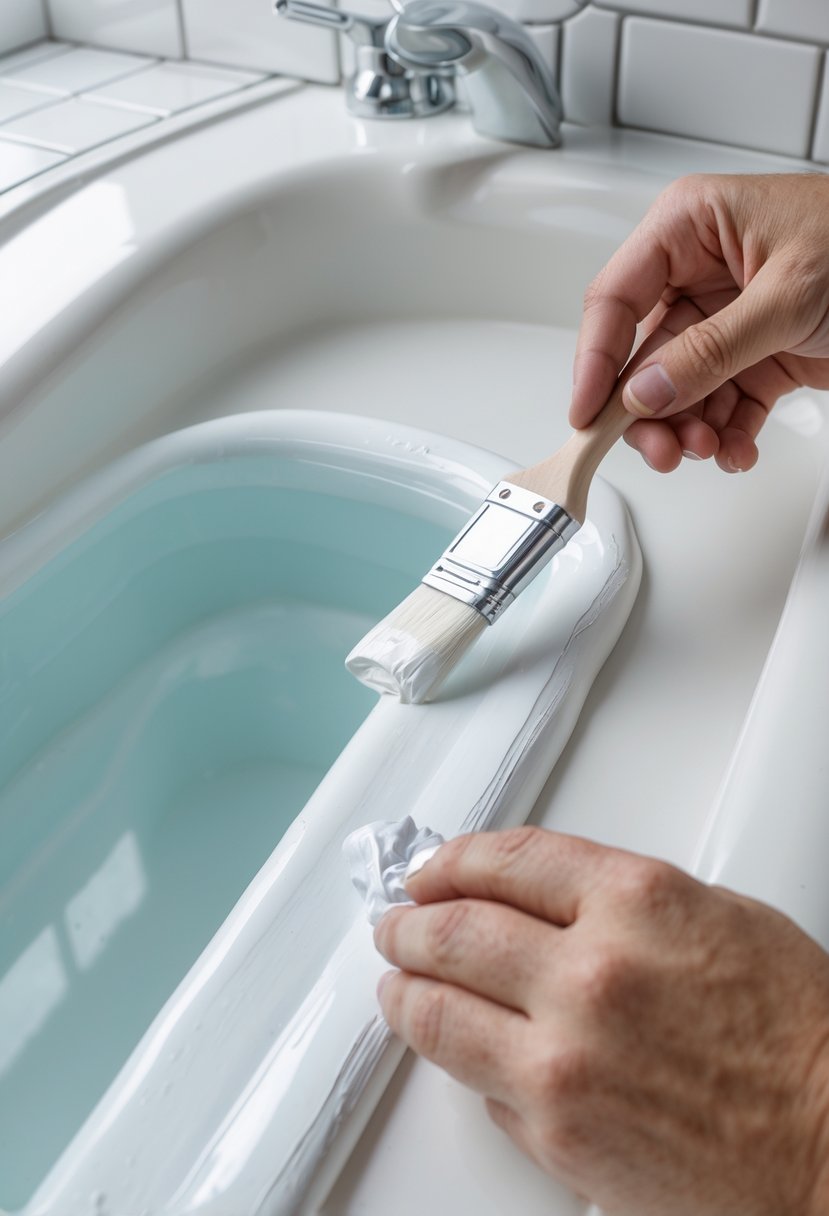
Brush application allows precise control, especially around seams and corners. It is ideal for small surfaces or detailed work on silicone caulk. Brushes distribute primer and paint evenly with less waste, but require slow, careful strokes to prevent drips.
Rollers are efficient for larger, flat areas surrounding the caulk but can cause uneven coverage on narrow silicone beads. Using a small foam roller can improve results on textured surfaces.
Spraying provides the most uniform coating and reaches hard-to-access spots with minimal brush marks. Spray application is recommended for shellac primers and oil-based paints on silicone. It requires proper ventilation and protective gear due to overspray and fumes.
Choosing the coating method depends on the project size, accessibility, and desired finish quality.
Alternative Solutions: Removing and Replacing Silicone Caulk
This approach involves fully removing old silicone caulk and replacing it with a paintable alternative to ensure a durable painted finish. Understanding when to replace, how to remove silicone safely, and installing paintable caulk correctly is essential for a professional and long-lasting result.
When to Replace with Paintable Caulk
Replacement is advised when silicone caulk is badly damaged, moldy, or when a painted surface is required that will not adhere well over silicone. Silicone caulk’s non-porous, flexible nature repels most paints, especially latex-based ones, making direct painting difficult and unreliable.
If a smooth, paintable finish is prioritized, switching to acrylic latex caulk or paintable silicone caulk is recommended. Acrylic latex caulk adheres well to paint and is easier to handle, but it is less waterproof than pure silicone. Paintable silicone caulk combines flexibility and paint compatibility, offering a middle ground suitable for many indoor and outdoor applications.
Choosing replacement also eliminates the need for tedious surface preparation required when painting over silicone.
How to Safely Remove Old Silicone
Removing old silicone requires careful technique to avoid damage to the substrate. First, use a silicone caulk remover product. These chemical removers are designed to soften silicone, making it easier to scrape off without excessive force.
Apply the remover according to the manufacturer’s instructions, allowing sufficient time for it to penetrate the caulk. Once softened, use a plastic putty knife or scraper to lift and peel the silicone away gently. Metal tools should be avoided to prevent scratching.
After removal, clean the surface thoroughly with rubbing alcohol or denatured alcohol to remove residues. This step is critical to ensure proper adhesion of the new caulk and paint.
Installing and Painting Over New Caulk
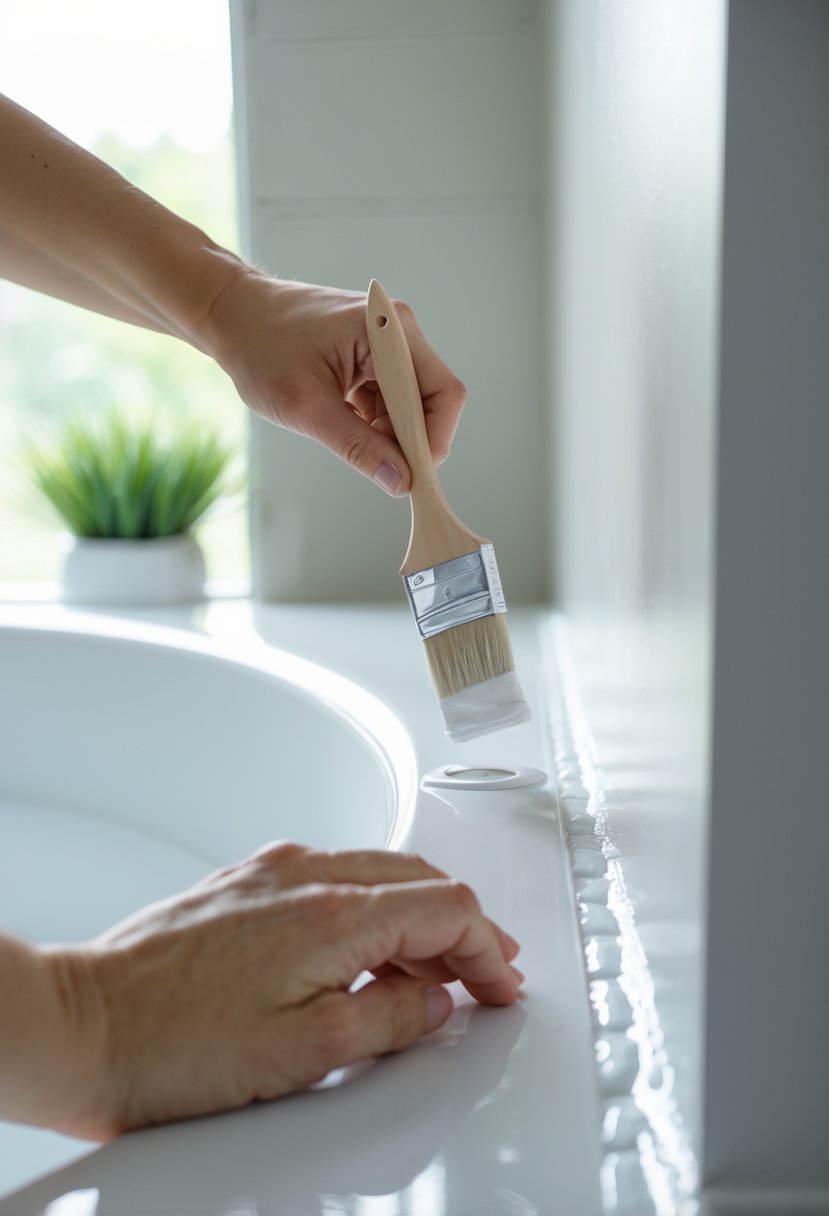
Once the surface is clean and dry, apply paintable caulk using a caulking gun. Cut the nozzle to control bead size, and apply a smooth, continuous bead, filling all gaps completely. Use a damp finger or a caulking tool to smooth out the bead for even coverage.
Allow the new caulk to cure fully based on the product’s guidelines—usually 24 hours. After curing, apply an oil-based or shellac primer over the caulk to promote paint adhesion and durability.
Finally, paint the primed caulk with the desired paint. Two coats are generally recommended for complete coverage, allowing adequate drying time between coats. This process results in a clean, paintable finish that won’t peel or slip.
Longevity and Maintenance of Painted Caulk
Proper curing and protection are essential to ensure painted silicone caulk maintains its adhesion and appearance over time. Regular inspections and timely touch-ups help prevent peeling, cracking, and water damage, extending the lifespan of the paint and caulk.
Curing Times and Protection Against Moisture
Paintable silicone caulk requires a full curing period, usually around 24 hours, before it can be painted and subjected to moisture. Allowing the caulk to cure completely ensures it adheres properly to the surface and reduces the risk of paint peeling or bubbling.
Using a shellac-based primer before painting improves adhesion, especially on non-paintable silicone, but the primer and paint must also dry thoroughly. Keeping the painted area dry for several days after application is critical to avoid damaging the fresh paint.
Moisture is the main threat to painted caulk. Bathrooms and kitchens need adequate ventilation to keep humidity low, preventing premature failure. Sealing the edges of the caulk bead properly also discourages water seepage that might cause paint to blister or flake.
Routine Inspection and Touch-Up Strategies
Frequent visual checks identify early signs of paint wear, cracking, or separation between the caulk and adjacent surfaces. Focus on high-moisture areas like around sinks, tubs, and windows, where movement and water exposure are common.
Minor imperfections can be addressed by cleaning the surface with rubbing alcohol, lightly sanding if necessary, and reapplying a thin layer of paint or paintable caulk. For aged or extensively damaged caulk, removal and replacement with fresh paintable silicone is recommended.
Keeping painter’s tape handy during touch-ups helps maintain clean edges and avoids paint bleeding onto surrounding surfaces. Timely maintenance prevents the need for complete recaulk and paint jobs, saving effort and preserving a clean, professional finish.