How To Paint Brake Calipers Properly for a Professional Finish
Painting brake calipers is a straightforward way to enhance the look of your vehicle by adding a custom, sporty touch. The key to a professional finish is proper preparation, using high-temperature paint, and applying multiple thin coats for durability and appearance. I’ve found that taking the time to clean, sand, and mask the area carefully makes all the difference.
You don’t need to remove the calipers to get good results, although some prefer to do so for easier access and a more thorough job. I’ll guide you through the steps using simple tools and materials, helping you transform your brakes into a standout detail on your car without complicated disassembly.
Essential Tools and Materials
To paint brake calipers effectively, I focus on choosing the right paint, gathering the necessary tools, and using proper protective gear. Each part plays a critical role in achieving a durable and clean finish.
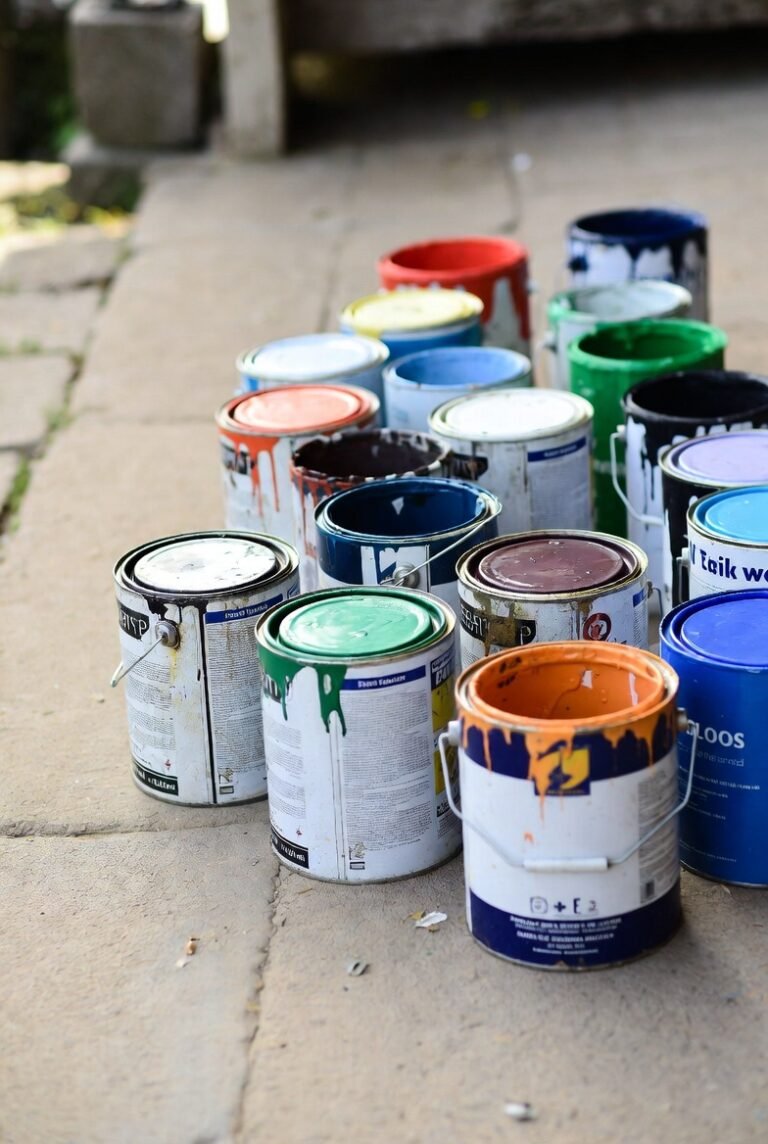
Brake Caliper Paint Types
I always use high-temperature caliper paint specifically designed to handle the intense heat generated by braking. This paint resists heat, fading, and chipping better than regular automotive paint. Available in spray cans or brush-on versions, I choose based on the project size and my preference for control.
Some brands offer ceramic-based paints that add extra durability and resistance to brake dust and corrosion. Primer compatibility is important, so I pair the paint with a recommended high-temperature primer to improve adhesion and longevity. Avoid using standard spray paint or other non-heat-resistant options, as they will fail quickly under braking conditions.
Required Tools and Supplies
I prepare these essentials before starting:
- Jack and jack stands for safely lifting the vehicle
- Wheel chocks to secure the vehicle from rolling
- Lug wrench for removing wheels
- Brake cleaner to remove dirt, grease, and brake dust
- Wire brush and sandpaper (120-320 grit) to clean and roughen the caliper surface
- Masking tape and paper to protect brake lines, rotors, and surrounding areas
- High-temperature primer and brake caliper paint
Having all tools on hand ensures a smooth workflow and avoids interruptions. The surface prep tools like sandpaper and cleaner are crucial for the paint to properly adhere and last.
Protective Gear
When painting brake calipers, I always wear nitrile gloves to protect my hands from chemicals and paint. I also use a respirator mask because high-temp paints emit fumes that are harmful to breathe, even outdoors.
Eye protection is necessary—safety goggles prevent paint or brake cleaner splashes from reaching my eyes. Additionally, I work in a well-ventilated area and keep a fire extinguisher nearby since some materials are flammable.
Proper protective gear minimizes health risks and ensures I stay safe throughout the project.
Preparation Steps
To get a smooth, durable finish when painting brake calipers, I focus on thorough cleaning, careful removal of components, and precise masking. Each step is essential to avoid flaws and ensure the paint adheres properly.
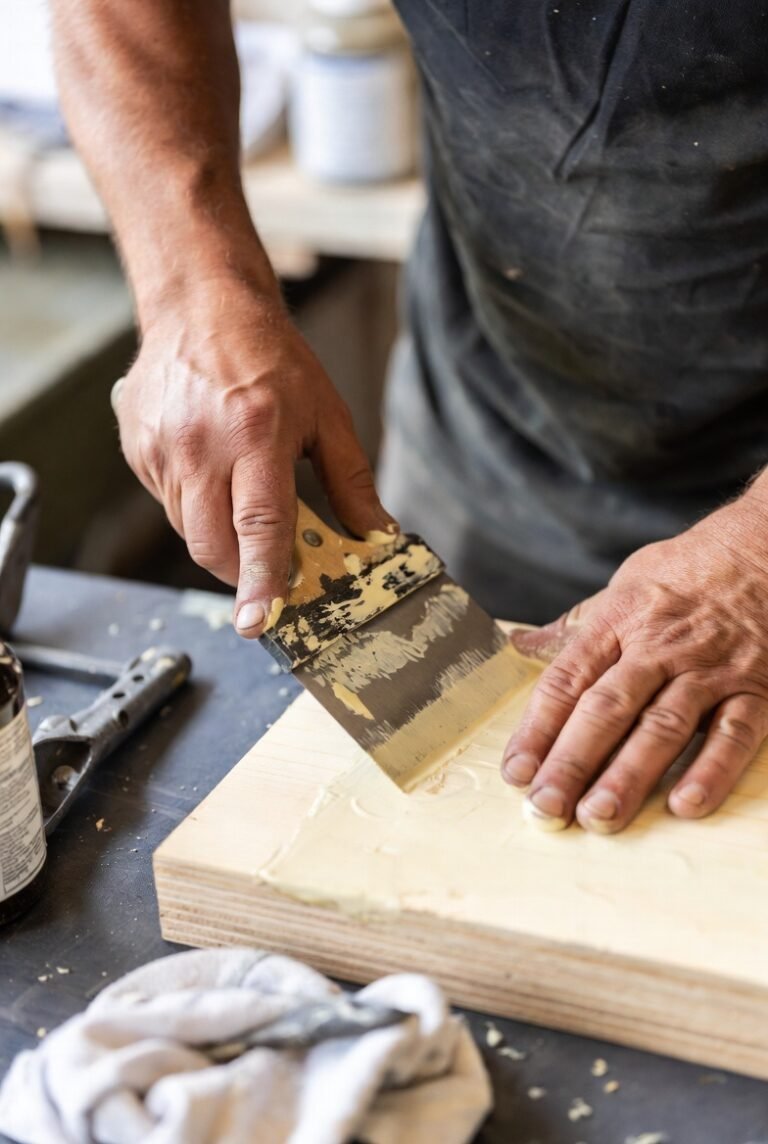
Cleaning and Degreasing
First, I use a brake cleaner or degreaser to thoroughly remove all dirt, grease, and brake dust from the calipers. This step is critical because any residue left behind can prevent the paint from sticking and cause peeling later on. I spray the cleaner generously, then scrub the surface with a wire brush or stiff nylon brush.
After scrubbing, I rinse with water and dry the calipers completely. It’s important to let them dry naturally or use compressed air to avoid trapping moisture, which can lead to rust under the paint.
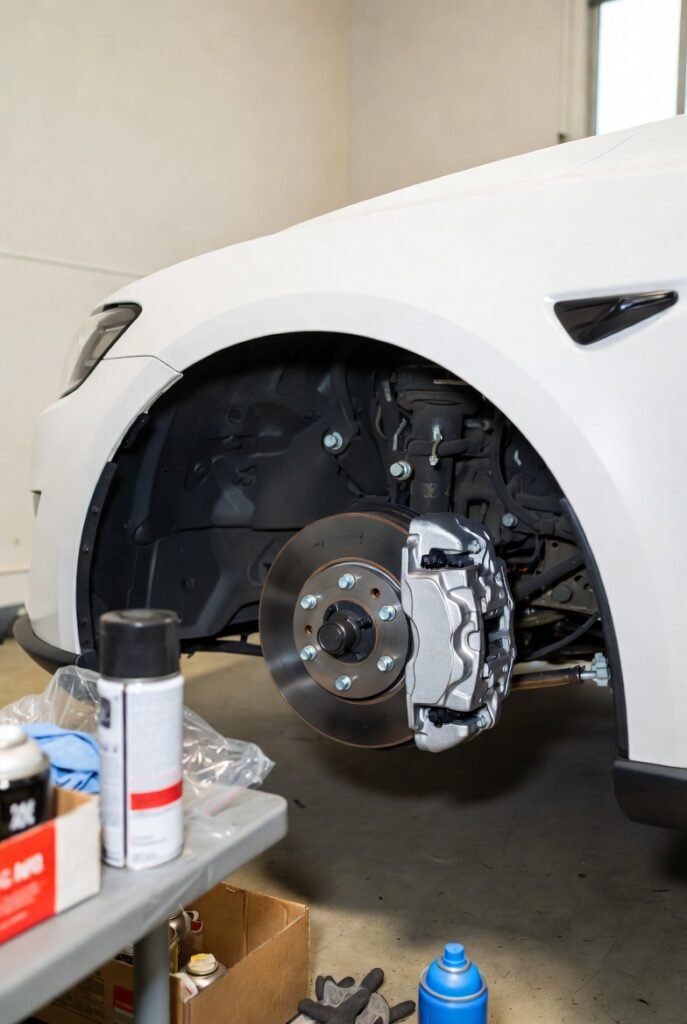
Removing Wheels and Calipers
Next, I jack up the car and securely support it with stands. Then, I remove the wheels to access the calipers fully. For a more professional job, I detach the calipers from the mounting bracket by removing the bolts.
Removing the calipers makes sanding and painting much easier and helps avoid accidentally painting other brake parts. I always make sure to hang the caliper safely, using a wire or bungee cord, so it doesn’t hang by the brake hose, which could cause damage.
Masking Off Surrounding Areas
Before painting, I carefully mask all areas that shouldn’t get paint on them. This includes the brake rotors, brake pads, wheel hubs, and any suspension parts close to the calipers.
I use high-quality automotive masking tape and sometimes aluminum foil for an extra barrier. I press the tape firmly around edges to prevent bleeding during spray painting. Proper masking saves time on cleanup and protects components that could be damaged by paint or solvent.
Painting Brake Calipers
Painting brake calipers requires careful preparation and precise application techniques. The process involves applying a primer that helps the paint adhere properly, followed by careful coating to ensure an even, durable finish. Finally, allowing the paint to cure correctly is essential to achieve a long-lasting result.
Applying Primer
I always start by thoroughly cleaning and sanding the calipers to remove rust, grease, and old paint. This step ensures the primer bonds well with the metal surface. Using a heat-resistant, corrosion-inhibiting primer is critical since brake calipers are exposed to high temperatures and harsh conditions.
When applying primer, I use light, even coats to avoid drips or buildup. Typically, two thin coats are enough, waiting around 10-15 minutes between each. This creates a smooth, tacky surface for the paint to adhere to, improving overall durability.
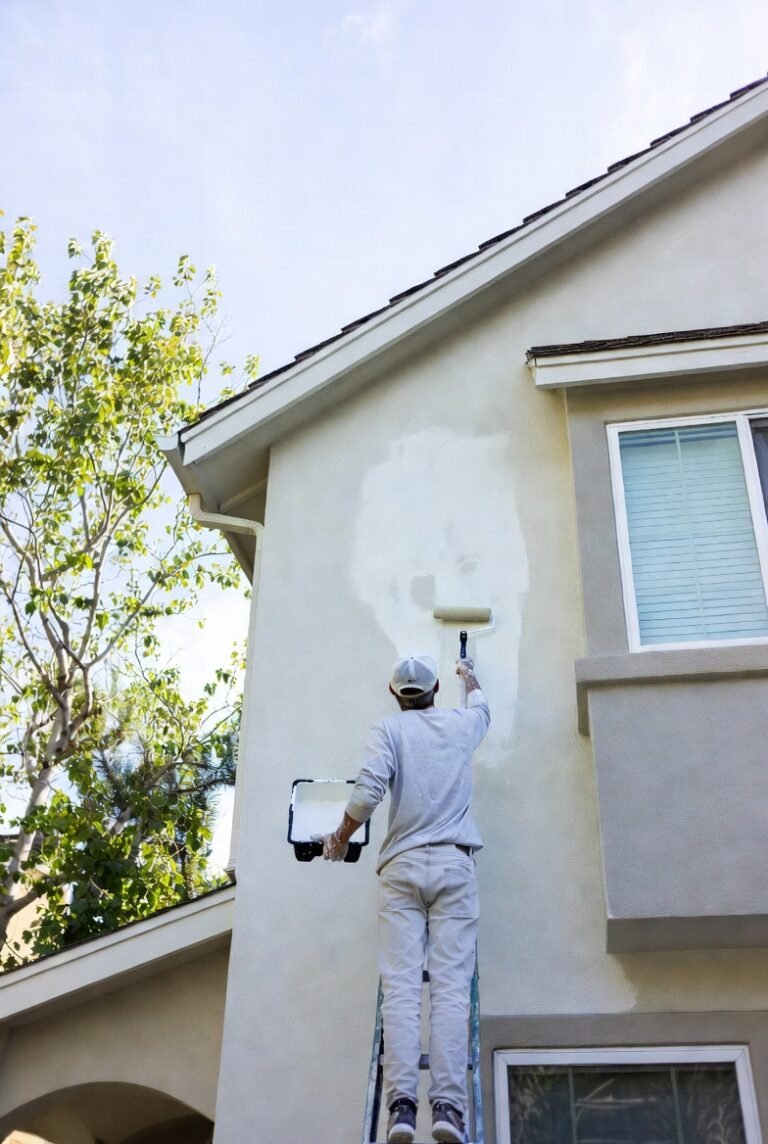
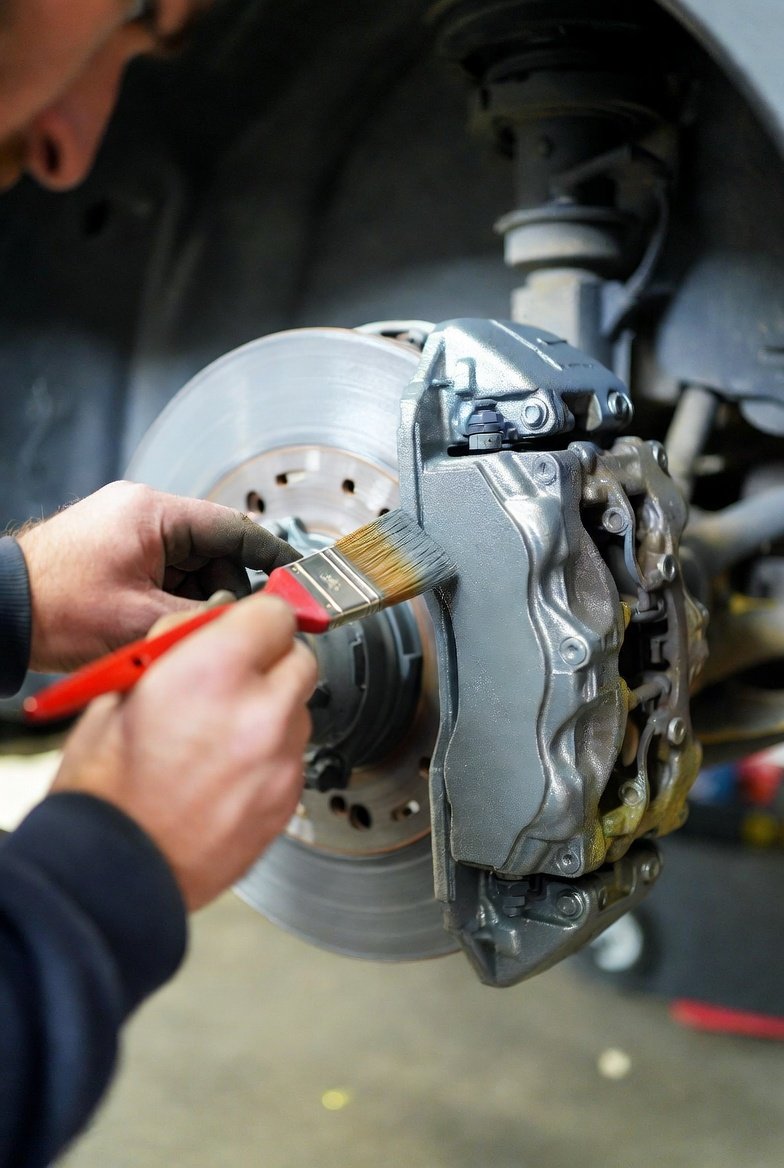
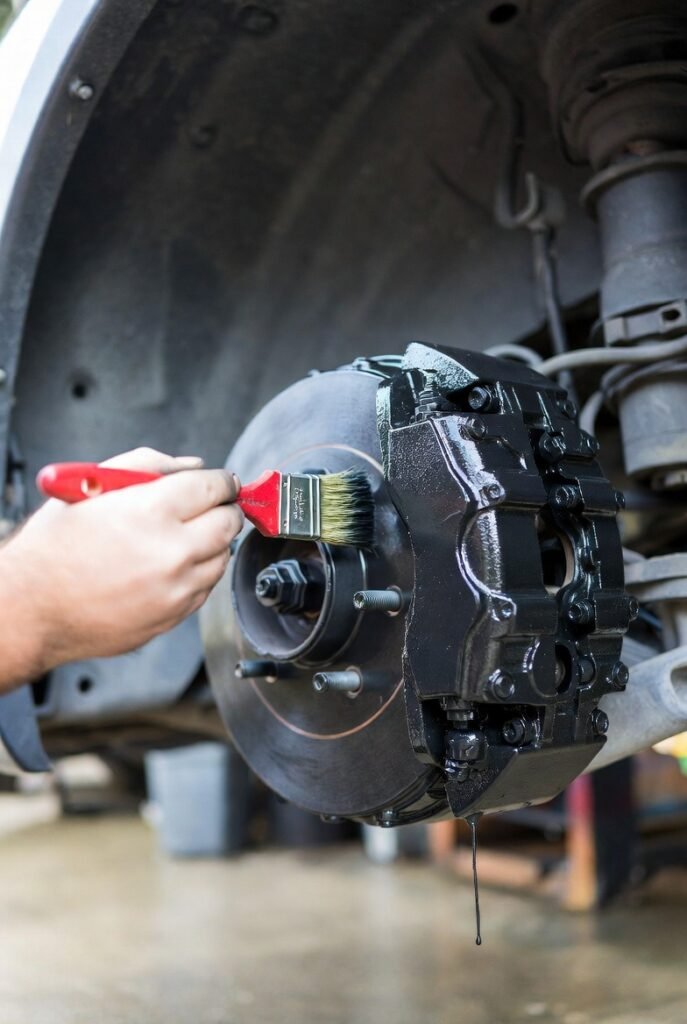
Coating Techniques
For the paint itself, selecting a high-temperature, brake caliper-specific paint is important. I usually apply paint in several light sprays rather than one heavy coat to prevent runs and pooling.
Spraying each side of the caliper individually helps maintain control and a uniform finish. I let each coat dry for about 30 minutes before applying the next. Between two and three coats usually provide adequate coverage and color vibrancy.
Using painter’s tape and masking off surrounding areas helps keep the paint confined to the caliper and prevents overspray on the wheels or tires.
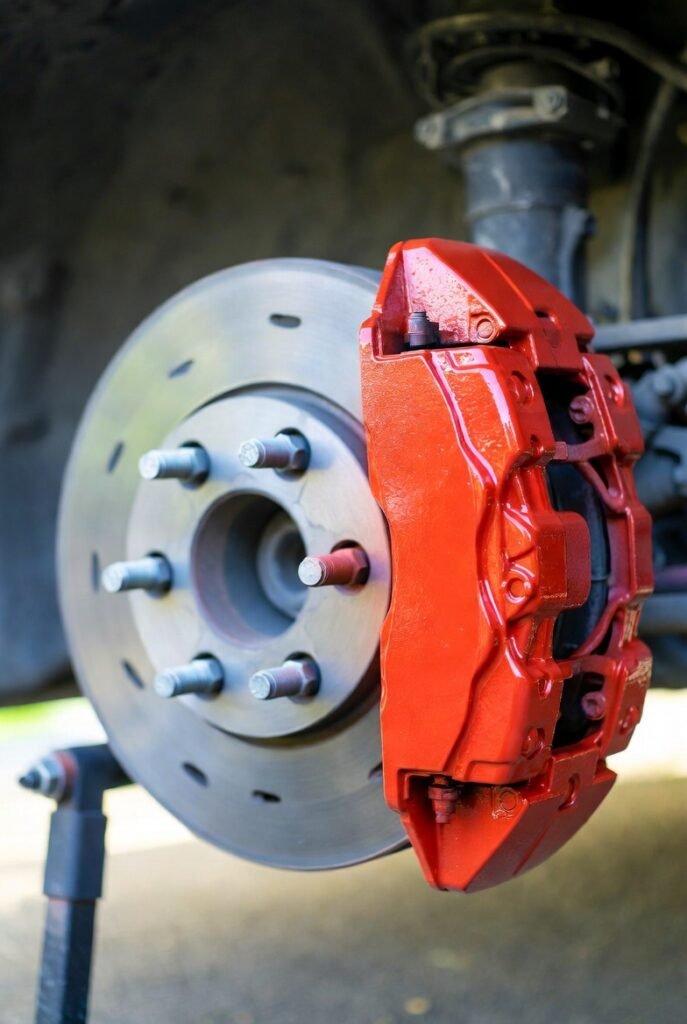
Curing and Drying Process
After the final coat, the curing process is crucial to ensure the paint sets and resists chipping. I let the calipers dry for at least 24 hours at room temperature when possible.
Some recommend gently heating the calipers after drying to accelerate curing. This can be done by safely operating the vehicle for a short drive or using specialized heat lamps.
Avoid exposing the calipers to water or heavy use during the curing period to maintain paint integrity. Properly cured paint resists brake dust, rust, and fading over time.
Reassembling and Final Touches

After the paint has fully cured, I carefully work on putting everything back together and ensuring all parts are properly aligned and clean. This step is crucial for both safety and aesthetics.
Reinstalling Calipers and Wheels
I start by reinstalling the brake calipers onto the mounting bracket. It’s important to tighten all bolts to the manufacturer’s specified torque values to avoid any safety issues. I use a torque wrench to ensure accuracy.
Next, I carefully put the wheels back on. I hand-tighten the lug nuts first, then lower the vehicle slightly so the tires just touch the ground. This prevents the wheels from spinning while I fully tighten the lug nuts in a star pattern, again using a torque wrench for even pressure. Proper tightening reduces vibration and uneven wear.
Inspection and Clean-Up
Once reassembled, I inspect the entire brake area for any paint overspray or debris. If I notice any, I remove it gently with a soft cloth and brake cleaner that won’t damage the new paint.
I also check that the brake lines and sensors are still secure and undamaged. Finally, I wipe down the wheels and surrounding areas to remove any dust or residue from the process. This ensures the brake system functions well and looks clean.
Maintenance and Longevity
Proper upkeep is essential to keep brake caliper paint looking fresh and lasting longer. Paying attention to cleaning routines and knowing how to handle common issues can maintain both appearance and protection over time.
Cleaning Painted Calipers
I clean my painted calipers regularly to prevent dirt, brake dust, and road grime from building up. Using a soft brush with mild soap and warm water works best. Harsh chemicals or abrasive tools can damage the paint or wear away protective coatings.
After washing, I dry the calipers thoroughly to avoid moisture buildup, which can lead to corrosion under the paint. I also recommend avoiding pressure washers too close to the calipers, as the strong spray could chip the paint.
A quick wipe-down every few weeks helps maintain the finish, especially after driving through wet or dirty conditions. Consistent cleaning extends the paint’s lifespan and keeps the calipers looking sharp.
Troubleshooting Common Issues
If I notice the paint chipping or peeling, it usually comes from insufficient prep before painting or excessive heat exposure. Small chips can be touched up with high-temperature caliper paint, but large areas may need sanding and repainting.
Rust under the paint is a sign of moisture infiltration. I inspect calipers regularly for bumps or discoloration that suggest corrosion. If rust appears, I remove it with a wire brush and repaint the affected area promptly.
Fading or discoloration can result from using low-quality paint or exposure to extreme heat. I always use heat-resistant paint rated for brake components to avoid this. If fading happens, repainting is the only option to restore color vibrancy.