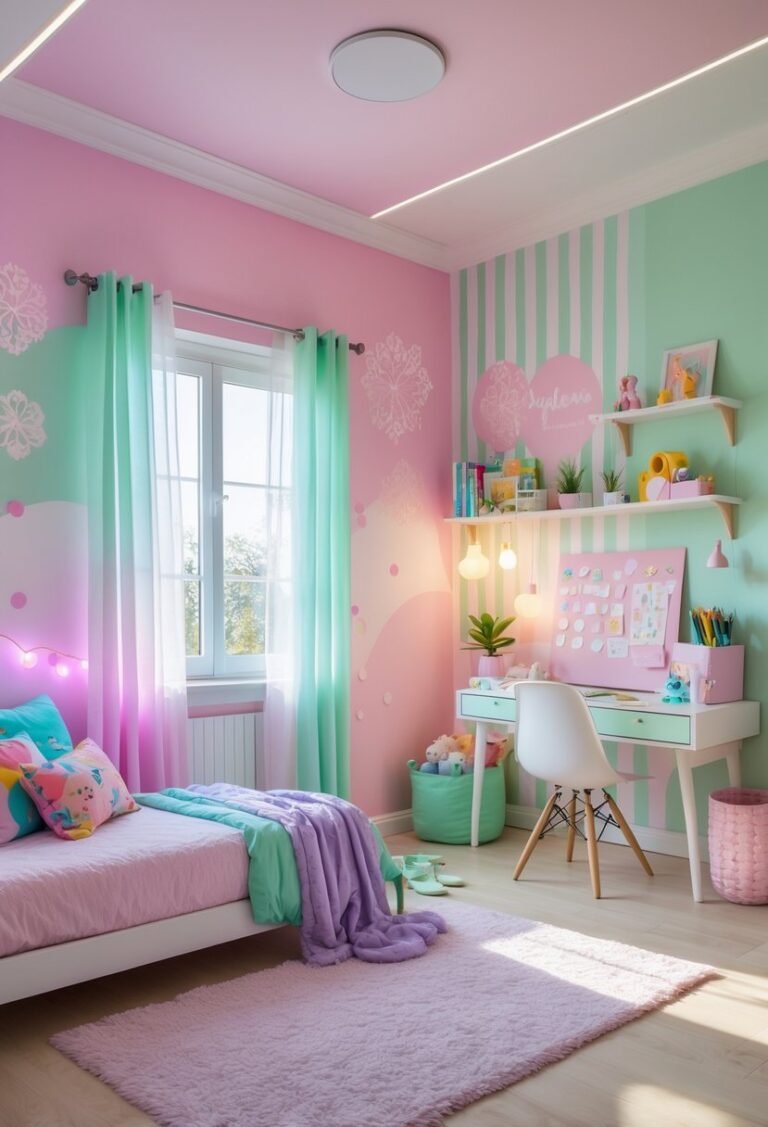
No Plumber Needed: How to Paint Behind a Toilet Tank Like a Pro
Let’s be honest—nobody notices the wall behind your toilet until you decide to paint the bathroom. Then, suddenly, that narrow gap between the porcelain tank and the wall becomes the most frustrating spot in the entire house.
I used to dread this part of a bathroom refresh. I would stare at that tight space and debate whether I should awkwardly shove a brush back there or risk a plumbing disaster by taking the whole thing apart.
But after painting more bathrooms than I care to count, I’ve learned that you don’t need to call a plumber or contort yourself into a pretzel to get a seamless finish.
Whether you have a standard setup or a super-tight squeeze, I’m going to walk you through exactly how to paint behind a toilet tank with zero stress and zero mess.
Why You Shouldn’t Skip This Spot
It might be tempting to just paint as far as you can reach and hope no one looks too closely. I’ve been there. But trust me, skipping this step is a mistake.
First, bathrooms are high-moisture environments. Leaving old, potentially peeling paint behind the tank creates a weak point where mold or mildew can take hold.
Second, the contrast will drive you crazy. If you are changing your wall color from beige to blue, that sliver of beige will stick out like a sore thumb every time you sit down.
The good news is that achieving a professional look is easier than you think. You just need the right strategy for your specific toilet gap.
Prep Like a Pro: Don’t Skip These Steps
Before we even touch a paint can, we need to protect the area. The last thing you want is a permanent paint splatter on your white porcelain.
Start by opening a window and turning on the exhaust fan. Bathrooms are small, enclosed spaces, and paint fumes can build up quickly. You want plenty of fresh air circulating while you work.
Next, remove the toilet lid and set it aside in another room so it doesn’t get broken or splattered.
Grab a large garbage bag—a heavy-duty trash bag works best. Slide it over the entire toilet tank like a sleeve. Use painter’s tape to secure the bag tightly around the base of the tank.
This simple step is a lifesaver. It allows you to work quickly without worrying about drips ruining your fixture.
Finally, clean the wall behind the tank. This area collects a surprising amount of dust and condensation. I use a vacuum with a hose attachment first, then wipe it down with a damp cloth and mild detergent. Let it dry completely before you start painting.
Method 1: The “Slide and Roll” (For Gaps Wider Than 1 Inch)
If you can fit your hand behind the tank, you are in luck. This is the easiest method and usually requires zero plumbing work.
For this approach, your secret weapon is a mini roller.
What You’ll Need:
- 4-inch mini paint roller (with a smooth foam cover)
- Small paint tray
- Painter’s tape
- Angled sash brush
Step 1: Tape the Baseboards and Pipes
Apply painter’s tape to the baseboards behind the toilet. Also, tape around the water supply line where it comes out of the wall. This pipe is usually metal or chrome, and getting paint off it later is a pain.
Step 2: Cut In the Edges
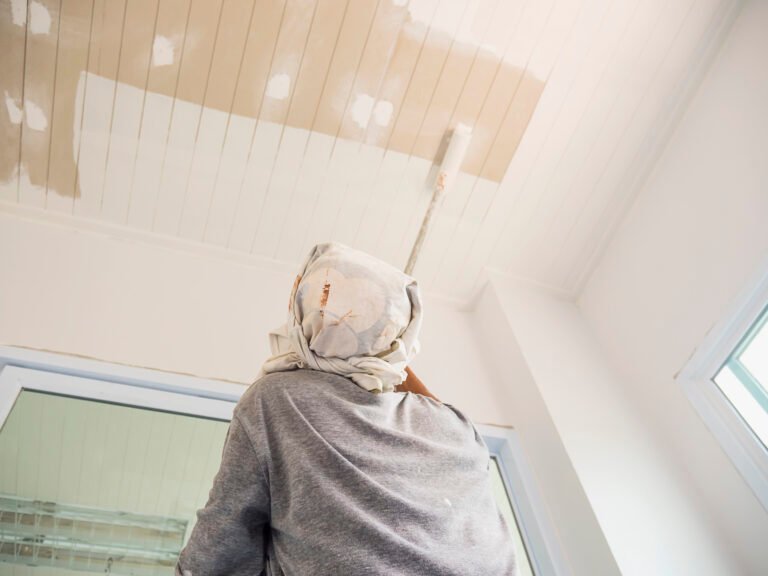
Use your angled brush to “cut in” (paint the perimeter) as far behind the tank as you can reach from the sides and top. Don’t worry if you can’t reach the dead center yet; just focus on getting a clean line along the ceiling, corners, and baseboards.
Step 3: Load Your Mini Roller
Pour a small amount of paint into your tray. Load the mini roller, but be careful not to overload it. A dripping roller is your enemy in tight spaces. Roll it out on the tray’s ridges until the foam is evenly coated but not soaking wet.
Step 4: Roll Behind the Tank
Slide the mini roller into the gap from the side. I find it easiest to turn the roller handle vertically so the roller head is horizontal.
Roll up and down in smooth, even strokes. Work your way across the back of the tank. If you encounter the water supply line, carefully maneuver the roller around it.
Because you are using a mini roller, you might need to reload it a few times to get full coverage. Just keep your strokes light to avoid splatters.
Method 2: The “Stick and Pad” (For Tight Squeezes)
Sometimes, the toilet is installed almost flush against the wall. If you have less than an inch of clearance, a roller simply won’t fit.
In this case, you need a flatter tool. A paint pad is the perfect solution.
What You’ll Need:
- Paint pad edger (or a DIY version)
- Paint stir stick
- Hot glue or heavy-duty tape
- Small paint brush
Step 1: Create Your Reach Tool
If you can’t find a slim paint pad at the hardware store, you can make one in five minutes.
Take a paint stir stick and a clean microfiber rag. Fold the rag into a small, flat square and glue or tape it securely to the end of the stir stick. This gives you a long, thin wand that can slide into the tightest cracks.
Step 2: Load the Pad Carefully
Dip your paint pad (or DIY wand) into the paint. Wipe off any excess on the edge of the can. You want the fabric damp with paint, not dripping.
Alternatively, use a regular brush to paint the paint onto your pad. This gives you total control over how much paint you are using.
Step 3: Slide and Shimmy
Insert your tool from the top or side of the tank. Press it flat against the wall and use a shimmying motion to spread the paint.
This method is a bit slower than rolling. You will likely have to do more “dabbing” than brushing. Just take your time and focus on covering the old color. Since this area is in the shadows, the texture doesn’t need to be absolutely perfect—it just needs to be covered.
Method 3: Removing the Tank (The “Last Resort”)
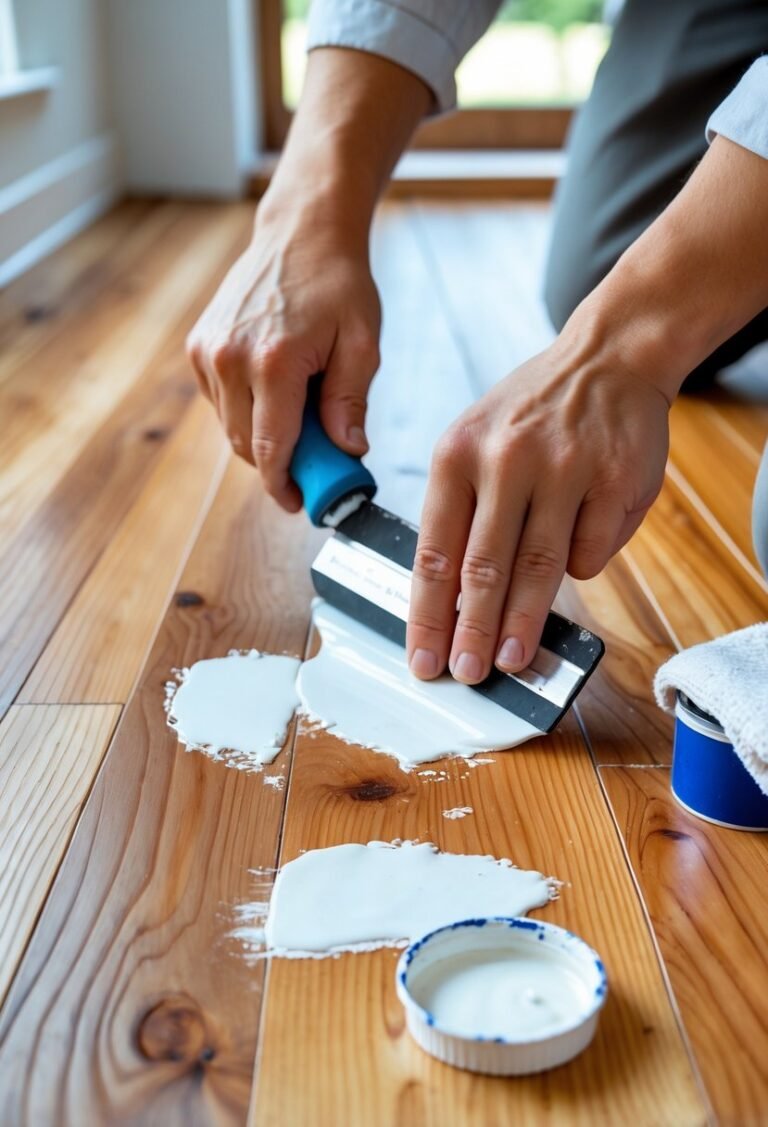
I rarely recommend this for a simple paint job, but sometimes it is necessary. If you are a perfectionist or have extensive wall damage behind the toilet that needs patching, taking the tank off gives you full access.
Warning: Only attempt this if you are comfortable with basic plumbing tasks. Old toilets can have rusted bolts that snap easily.
Step 1: Shut Off the Water
Locate the oval-shaped valve on the wall near the floor (usually on the left side). Turn it clockwise until it stops. Flush the toilet to drain the water from the tank.
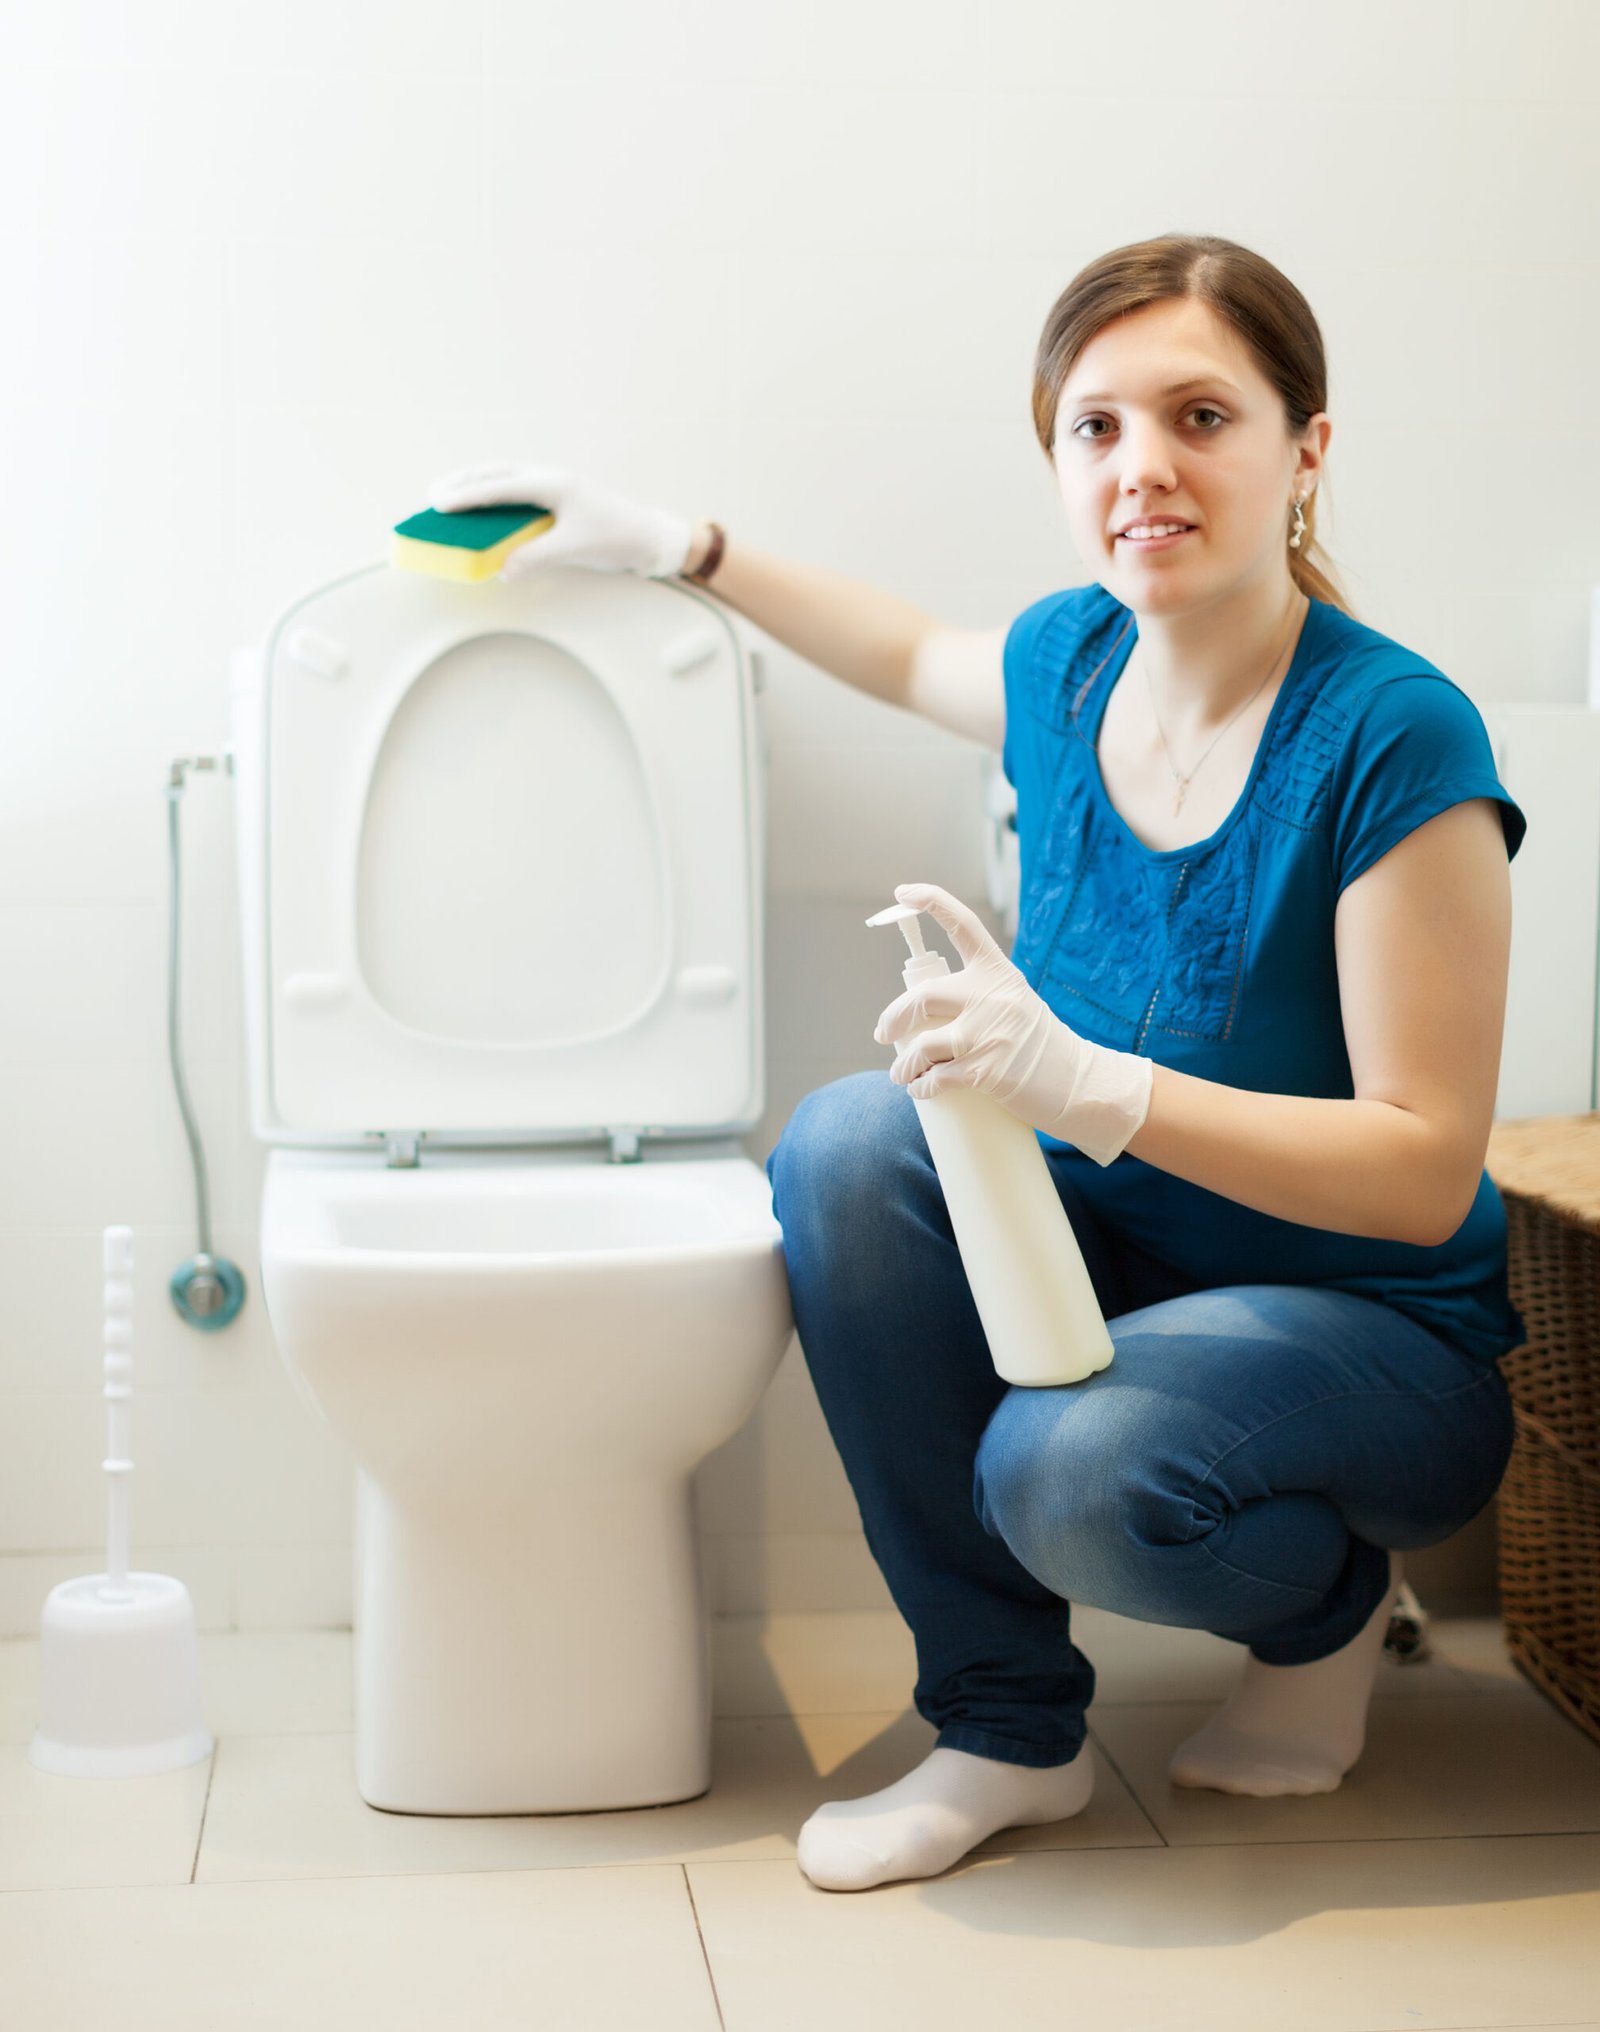
Step 2: Dry the Tank
Use a large sponge or old towel to soak up the remaining water in the bottom of the tank. It needs to be completely empty before you remove it.
Step 3: Disconnect and Lift
Disconnect the water supply line from the bottom of the tank. Then, use a wrench to unscrew the two bolts connecting the tank to the bowl. Lift the tank straight up and set it on a towel in a safe place.
Now you have a completely open wall to patch, sand, and paint just like any other part of the room. Once the paint is fully cured (give it 24 hours), you can reassemble the toilet.
Drying and Cleanup
Regardless of which method you chose, patience is key during the drying process.
Bathrooms usually have poor airflow, which means paint takes longer to dry. Leave the fan running and the door open.
Wait at least 4 to 6 hours before applying a second coat. I know it’s tempting to rush, but if you re-roll over tacky paint, you will pull the texture off the wall and make a mess.
Once your final coat is dry, wait at least one hour before removing your painter’s tape. Pull the tape at a 45-degree angle to get a sharp line.
Remove the garbage bag from the toilet, put the lid back on, and pat yourself on the back.
FAQs
Do I really need to primer behind the toilet?
If you are making a drastic color change (like going from dark grey to white), yes. Otherwise, a high-quality paint with built-in primer usually covers well enough in two coats.
How do I clean paint off the porcelain if I messed up?
Don’t panic. If the paint is wet, wipe it with a damp rag. If it has dried, you can gently scrape it off with a plastic putty knife or your fingernail. For stubborn spots, a little rubbing alcohol (for latex paint) usually does the trick.
What sheen of paint should I use?
For bathrooms, I always recommend Satin or Semi-Gloss. These finishes resist moisture better than flat paint and are much easier to wipe down if they get dusty or splashed.
Final Thoughts
Painting your bathroom can be a rewarding project that refreshes the space and brings new life to your home. By choosing the right sheen, preparing the surfaces properly, and addressing any mishaps with care, you can achieve a professional-looking finish. Remember, the key to success is patience and attention to detail. Happy painting!