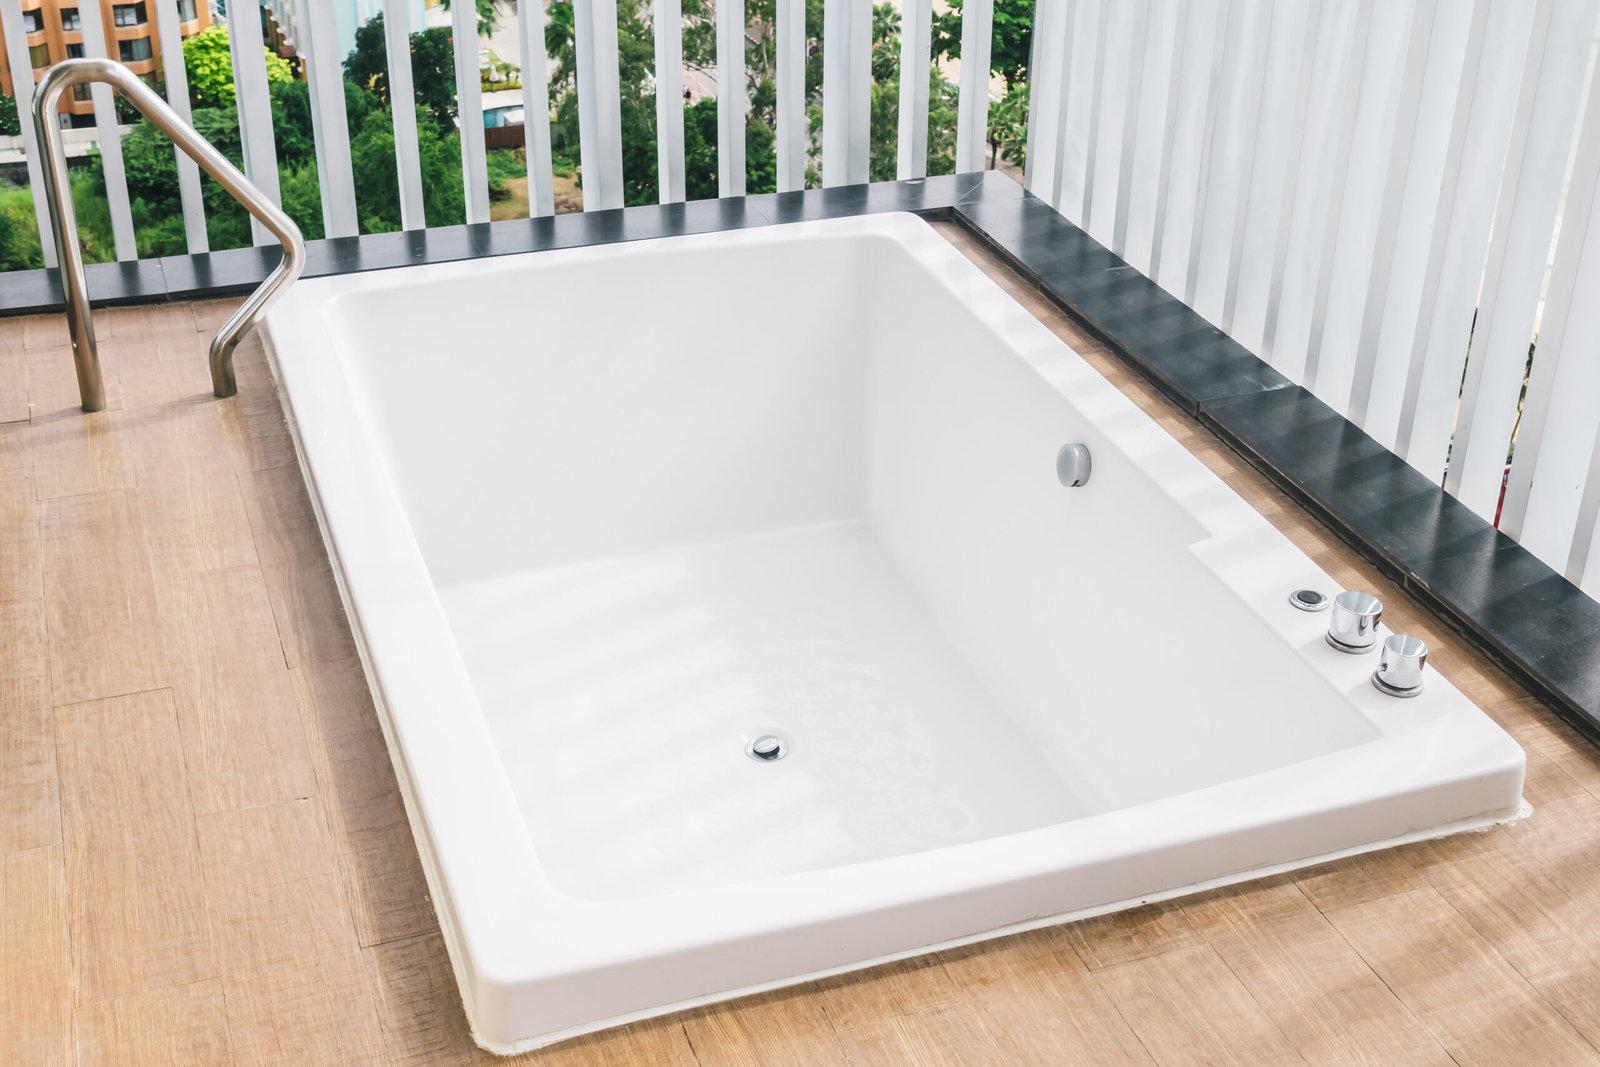
How to Paint a Fiberglass Bathtub
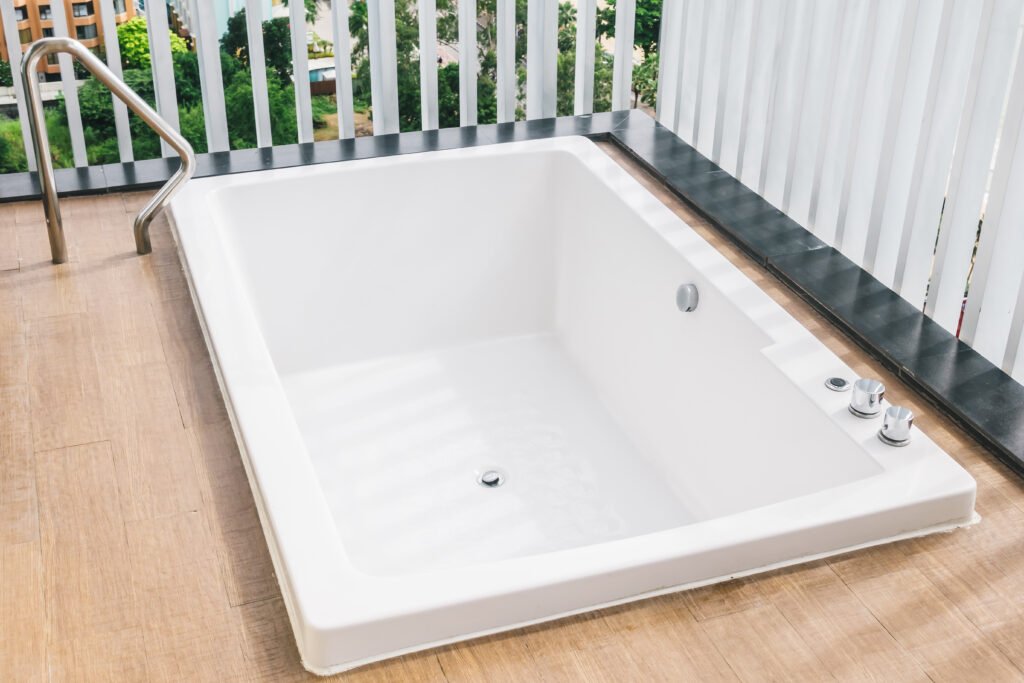
I vividly remember standing in my hallway, staring at the avocado-green fiberglass tub that came with my house. It was outdated, scratched, and frankly, a bit embarrassing.
I called a contractor for a quote to replace it. The number he gave me made my jaw drop. Between the demolition, the new tub, and the plumbing work, I was looking at thousands of dollars.
That simply wasn’t in my budget. I needed a solution that didn’t involve ripping out walls or emptying my savings account. That’s when I discovered tub refinishing.
I decided to tackle the project myself. I learned that with the right preparation and a specific type of epoxy paint, I could make that old tub look brand new.
The process cost me less than $100. The results were shocking—my friends thought I had bought a brand new tub.
If you have a fiberglass tub that’s seen better days, don’t rip it out. I’m going to walk you through exactly how I painted mine, step by step.
Why preparation is more important than painting
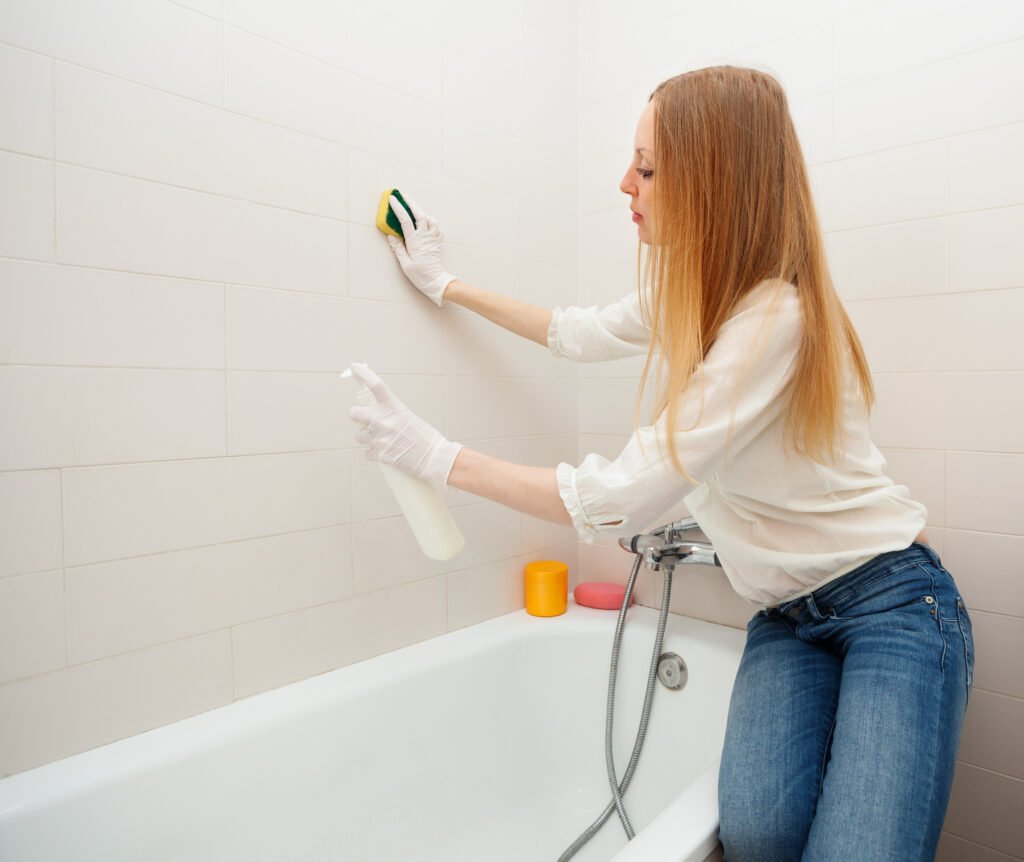
I cannot stress this enough: do not skip the prep work. If you rush the cleaning and sanding, your paint will peel.
Fiberglass is a slick, non-porous surface. Paint struggles to stick to it unless you rough it up and remove every speck of soap scum.
I spent about 70% of my time preparing the surface and only 30% actually painting.
Step 1: Deep clean the surface
First, I removed the metal drains and hardware. If you can’t remove them, tape them off perfectly later.
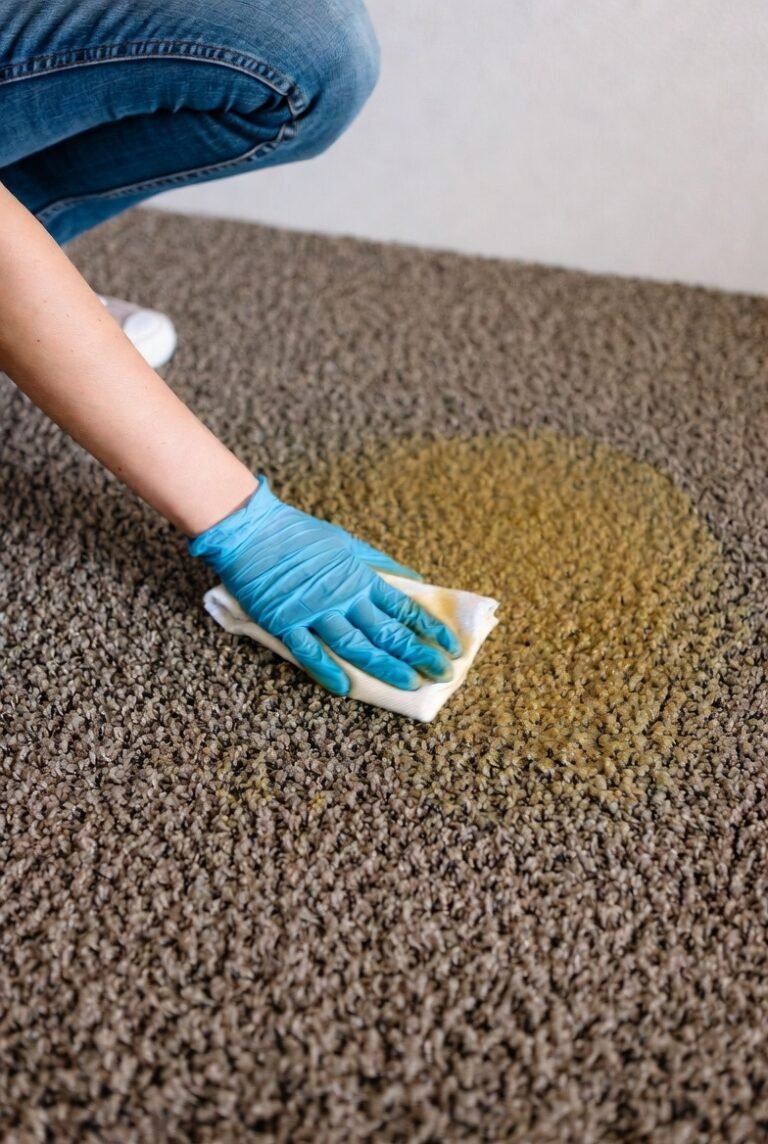
I needed to strip away years of invisible build-up. I used a solution of bleach and water to kill any mildew first.
Then, I scrubbed the entire tub with an abrasive cleaner like Comet. I rinsed it thoroughly.
After that, I used Lime-A-Way and an abrasive pad. This removes calcium deposits and soap scum that standard cleaners miss.
I rinsed it again and let it dry completely.
Step 2: Repair chips and cracks
My tub had a few small dings. I didn’t want to paint over them because they would show through the new finish.
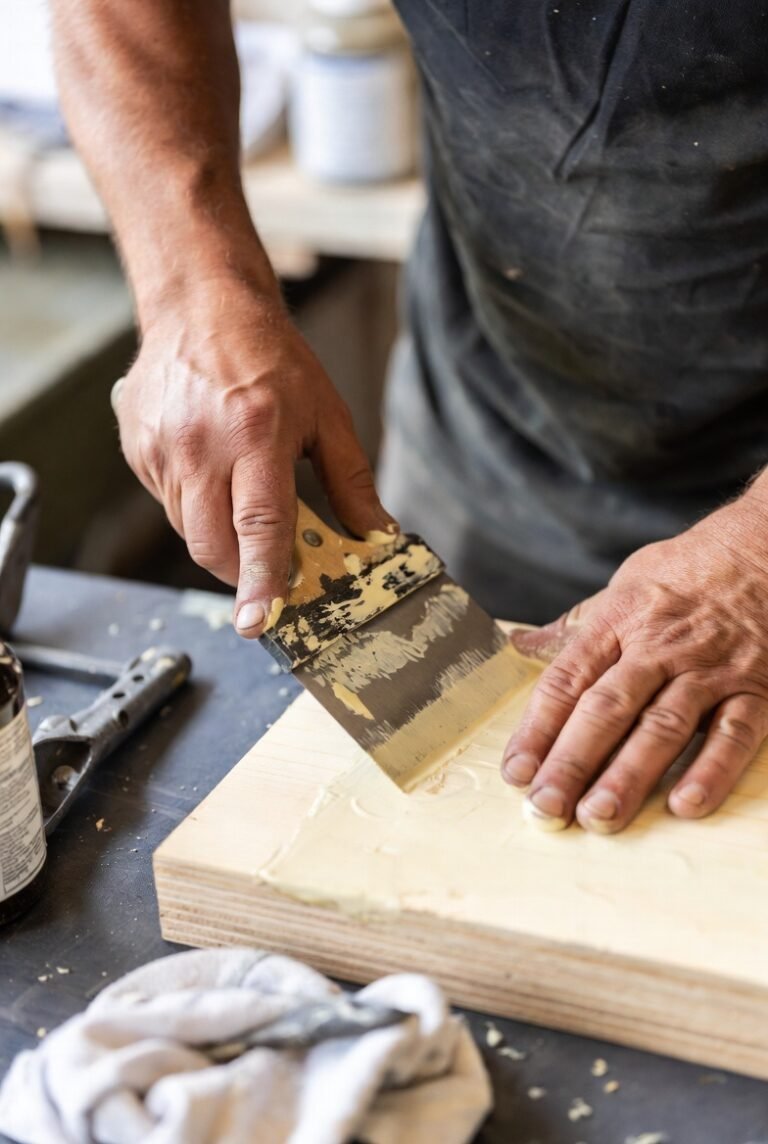
I used a patching compound designed for fiberglass (similar to Liquid Steel). I filled the cracks and let the compound cure according to the package instructions.
Once dry, I sanded the patches flush with the rest of the tub surface.
Step 3: Sand everything
This is the step that makes the paint stick. I grabbed some #400 and #600 grit wet/dry sandpaper.
I sanded the entire surface of the bathtub. I didn’t scrub it down to the bare fiberglass weave, but I sanded enough to take the gloss off.
The goal is to create microscopic scratches. These scratches give the new epoxy something to “grab” onto.
After sanding, I vacuumed up the dust. Then, I wiped the whole thing down with a tack cloth to remove any lingering fine particles.
Important Safety Note: If your home was built before 1978, be careful. Sanding old paint can release lead dust.
Lead is toxic and can cause serious illness. Before you sand, contact the National Lead Information Center at 1-800-424-LEAD for guidance.
Step 4: Mask off the room
Tub refinishing paint is thin and sticky. You do not want it on your tiles or faucets.
I used high-quality painter’s tape to mask off the edges where the tub meets the wall and the floor.
I also taped plastic sheeting over the shower fixtures and the walls surrounding the tub to protect them from accidental roller splatters.
Choosing the right paint kit
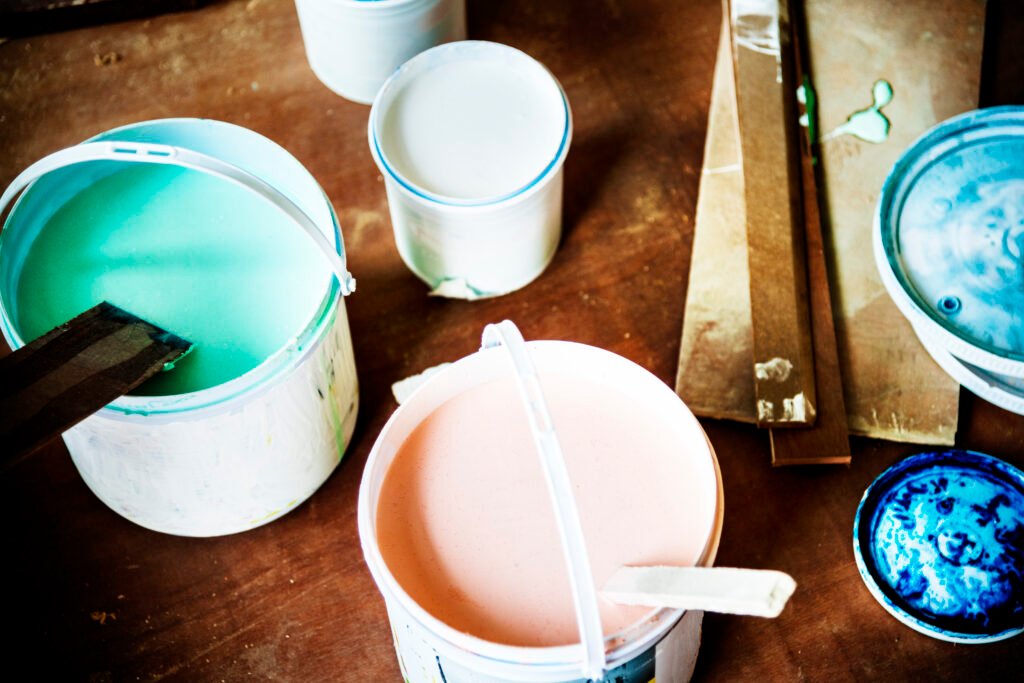
You cannot use standard wall paint or even regular spray paint for this. It will peel off in weeks.
I used a specialized 2-part epoxy acrylic kit, like the Rust-Oleum Tub & Tile Refinishing Kit.
These kits are designed to withstand hot water, soap, and moisture. They cure into a hard, ceramic-like shell.
When you buy your kit, check the expiration date. Fresh epoxy works best.
Make sure you have a high-quality, fine-bristle varnish brush and a high-density foam roller (short nap) meant for cabinets or smooth surfaces.
The painting process
I waited for a day when the humidity was low (below 85%) and the temperature was between 50°F and 90°F.
Ventilation is non-negotiable
The fumes from epoxy paint are incredibly strong. I opened every window in the bathroom and the adjacent rooms.
I set up a box fan in the window blowing out to pull the fumes outside.
I also wore a NIOSH-approved respirator with organic vapor cartridges. Do not rely on a simple dust mask for this.
Mixing the epoxy
The kit comes with two cans: Part A (Base) and Part B (Activator).
I stirred Part B thoroughly first to re-disperse any settled pigment.
Then, I poured Part A into Part B. I mixed them vigorously for exactly one minute.
I didn’t mix the entire batch at once if I didn’t need to, but for a standard tub, you usually need most of it.
If you don’t use the whole kit, you must mix it in a 4:1 ratio. Once mixed, the paint is only good for about 6 hours, so I had to work efficiently.
Applying the first coat
I poured a small amount of the mixed paint into a tray.
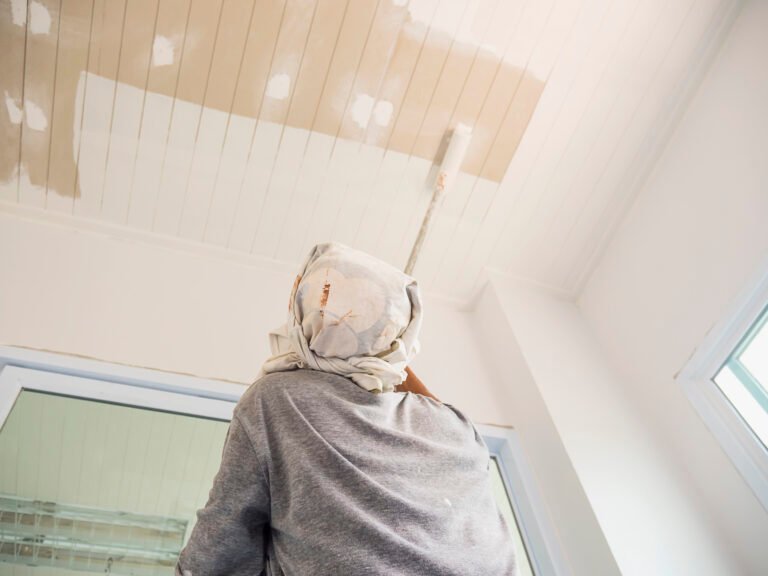
I used my brush to cut in around the corners and the drain. I brushed in one direction to keep it smooth.
Immediately after cutting in, I used the roller for the main flat surfaces.
I rolled slowly to avoid creating bubbles. The paint is self-leveling, so small bubbles usually disappear as it dries, but I tried to be careful.
The first coat looked a bit translucent. I resisted the urge to cake it on thick. Thin, even coats are the secret to a smooth finish.
Applying the second coat
I let the first coat dry for about one hour. It should be tacky but dry to the touch.
Then, I applied the second coat just like the first.
This coat provided the solid, opaque white color I was looking for.
I removed the painter’s tape about 45 minutes after the final coat. If you wait until it fully cures, the tape might pull the paint up with it.
The waiting game
This is the hardest part. You cannot use the tub immediately.
I let the tub cure for full 3 days (72 hours) before I let a single drop of water touch it.
During this time, I kept the bathroom door closed to keep dust/pets out, but I kept the window cracked for airflow.
If you use the tub too soon, the finish can cloud or lift. Patience pays off here.
Maintenance tips for your new tub
My refinished tub has held up beautifully, but I treat it differently than a porcelain tub.
I never use abrasive scrubbers like steel wool or harsh scouring powders. They will scratch the epoxy finish.
I stick to mild liquid cleaners or dish soap.
I also avoid using suction-cup bath mats. The constant pulling can eventually lift the paint from the bottom of the tub.
FAQs
Can I paint a plastic or acrylic tub?
Yes, most epoxy kits work on fiberglass, acrylic, and ceramic. Just check the box. They typically do not work on flexible plastic or galvanized steel.
How long does the finish last?
If you prep correctly, it can last 3-5 years or even longer. It’s not a permanent 20-year fix like a brand new tub, but it extends the life significantly.
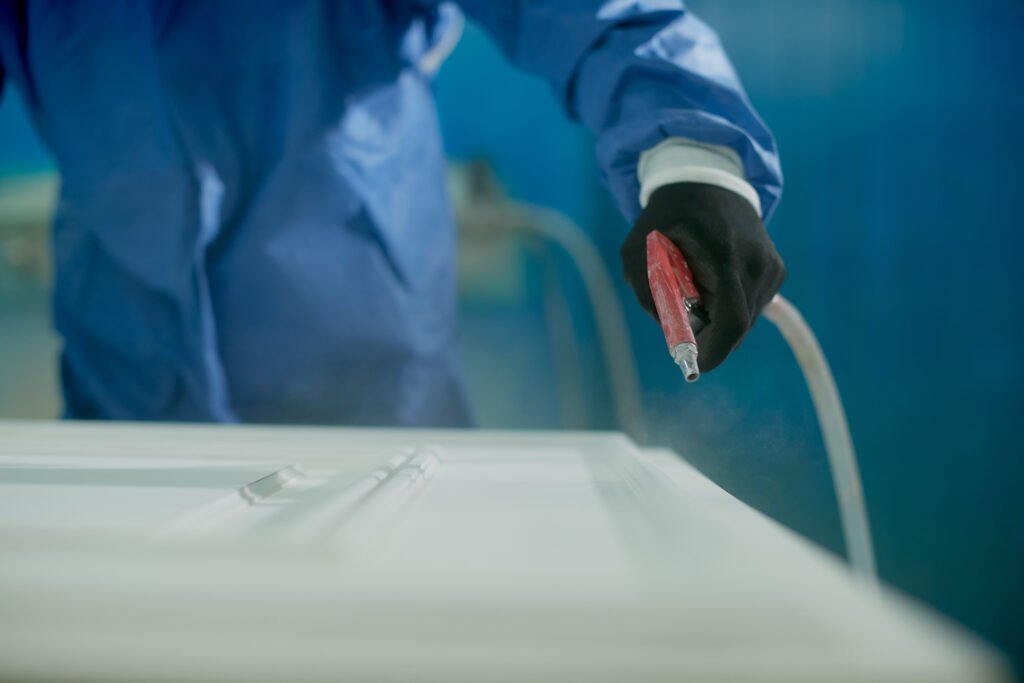
Can I spray the paint instead of rolling it?
You can, using an HVLP sprayer. However, that requires much more masking and creates more airborne overspray. For most DIYers, rolling is safer and cleaner.
Give your bathroom a weekend makeover
Painting my fiberglass tub was one of the most rewarding DIY projects I have ever done. I saved thousands of dollars and completely brightened up my bathroom.
It requires elbow grease and patience, especially during the cleaning phase. But when you peel off that tape and see the gleaming white surface, it is worth every second.
If your tub is bringing down the vibe of your bathroom, grab a respirator and some sandpaper. You’ve got this.