
How to Open Paint Can Safely and Efficiently
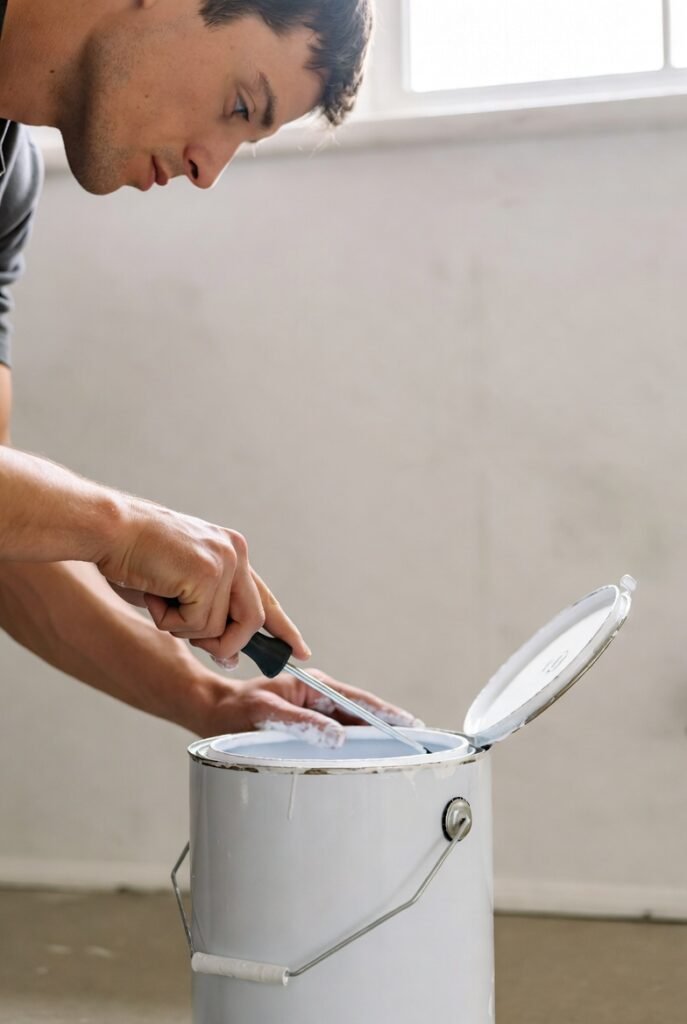
Opening a paint can might seem straightforward, but using the right technique can save you from frustration or a messy spill. The best way to open a paint can is by prying the lid gently with a flat-edged tool like a paint can opener, flathead screwdriver, or putty knife, working your way around the lid slowly until it loosens. This method helps prevent damage to the lid and keeps it reusable.
I’ve found that moving methodically around the edge of the can reduces the risk of bending the lid or spilling paint. Using tools designed for or suited to this purpose makes the process quicker and cleaner, especially if you want to preserve the can for future use.
Essential Tools for Opening a Paint Can
Knowing which tools work best and how to use them properly can save time and prevent damage to both the can and the tool. You need reliable equipment to open the lid safely, minimize spills, and maintain the paint’s quality. I focus on efficient options and safety measures to make the process easier.
Choosing the Right Paint Can Opener
The most effective tool I use is a paint can opener or a painter’s 5-in-1 tool. These are specifically designed to fit under the lid’s lip and provide leverage for lifting. Their flat, sturdy edges reduce the risk of bending the lid or damaging the can.
If you don’t have a dedicated opener, a flat-head screwdriver can work well but requires careful handling to avoid dents or spills. Avoid tools that are too thin or sharp as they can puncture or deform the metal, causing leaks.
Alternative Household Tools
When a paint key or painter’s tool isn’t available, I’ve found other household items effective with caution. A strong butter knife or the back of a spoon can be used to pry open the lid by slowly working around the edges.
Using tools like pliers can help when lids are stubborn. However, I avoid hammers or heavy tools because they can jar the can and cause paint to splash. Applying steady, controlled pressure around the rim is key for avoiding damage.
Safety Precautions
I always wear gloves to protect my hands from sharp edges that may form when opening the can. Covering the lid with a rag while prying helps minimize sudden paint spurts and protects surrounding surfaces from drips.
Work on a stable surface and keep the can steady to avoid spills. Opening slowly and evenly around the lid prevents warping the can or splashing paint. If a tool slips, stopping immediately avoids accidents and repair messes later.
Step-by-Step Guide to Opening a Paint Can

Opening a paint can properly requires the right preparation, the right tools, and careful technique. I’ll walk you through setting up your workspace, breaking the can’s seal without damage, and lifting the lid safely to avoid spills or injuries.
Preparing Your Workspace
Before I open a paint can, I always clear a flat, stable surface. I place a drop cloth or old newspaper underneath to catch any drips or spills. Having paper towels or rags nearby helps clean up small messes immediately.
I also make sure I have the proper tool—a flat paint can opener, a sturdy screwdriver, or a putty knife works best. Avoid using knives or anything sharp that can slip or damage the can. Good lighting is important, so I can see clearly what I’m doing.
Wearing gloves protects my hands from sticky paint. If indoors, I open windows or ensure ventilation, as paint fumes can build up during opening.
Breaking the Paint Can Seal
To break the seal, I slide the paint can opener’s flat tip beneath the lid’s rim. I press down gently on the handle to lift the lid slightly. Then, I move the opener a little along the edge, repeating the pressing motion.
This process should be slow and steady. Forcing the lid quickly risks bending the metal or spilling paint. I continue around the circumference of the can until the lid loosens evenly.
If the can is particularly stubborn, I avoid prying from the same spot repeatedly. Instead, I distribute the pressure evenly to prevent damage to the lid and help it come off smoothly.
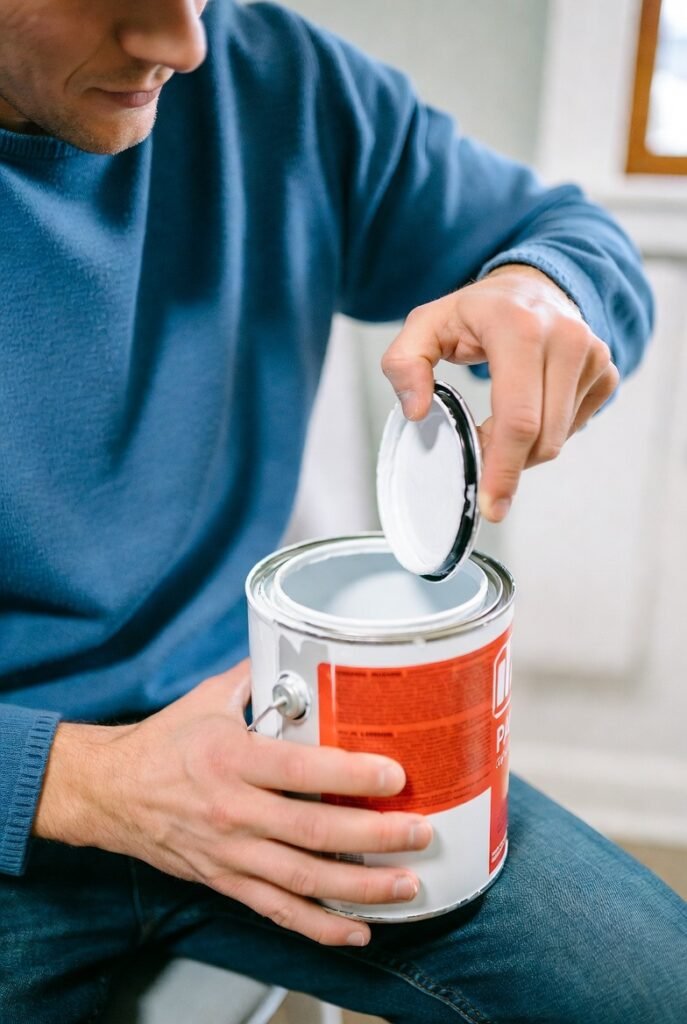
Lifting the Lid Safely
Once the seal is broken, I carefully lift the lid using the opener or my fingers if the lid is loose enough. I support the lid with one hand while lifting to maintain control.
I always keep the lid upright to avoid paint dripping down the side of the can. Placing the lid on a protected surface, like the drop cloth or newspaper, prevents staining.
If the lid is hard to remove, I avoid using excessive force. Instead, I repeat the prying motion around the edge. This minimizes risk of bending or warping the lid, which can cause problems when resealing later.
Tips to Avoid Spills and Mess

When working with paint, minor precautions can prevent a big cleanup. Keeping your workspace clear, managing the lid carefully, and using absorbent materials are essential to maintaining control over the paint.
Protecting Surrounding Surfaces
Before opening the paint can, I always cover the nearby area with a drop cloth or old newspapers. This prevents accidental paint drips on floors and furniture.
I ensure the can is placed on a flat, stable surface to avoid tipping. Keeping the can upright throughout the process minimizes spills.
If possible, I remove nearby objects that could interfere or catch paint accidentally. This simple step reduces cleanup time significantly.
Handling Paint Can Lids
When prying the lid, I use a proper paint can opener or a flat tool gently to avoid bending the lid or damaging the rim. This protects the can from leaks later.
I lift the lid carefully and set it upside down on a protected surface. This way, paint on the lid doesn’t drip onto my work area.
After finishing, I clean the rim and lid edges with a rag to remove excess paint. This prevents hardened paint buildup that makes resealing difficult.
Using Rags and Drop Cloths
I keep a few clean rags nearby to wipe any drips from the rim or brush during the painting process. This stops paint from accumulating and dripping onto surfaces.
A drop cloth beneath the can and my work zone absorbs any accidental spills or splashes. Choosing a waterproof or thick cloth helps contain messes better.
Having materials ready and within reach is key. It lets me manage messes immediately, rather than reacting after paint has spread.
Dealing with Stuck or Rusted Paint Can Lids
Opening a stuck or rusted paint can lid requires patience and the right approach. Applying steady, controlled force combined with appropriate tools often prevents damage. A few simple techniques can help me loosen the lid, use lubricants safely, and handle damaged lids effectively.
Loosening a Sealed Lid
When a paint can lid feels sealed tight, I start by inserting a flat-edged tool like a screwdriver or paint can opener under the lid’s lip. I work slowly, prying around the edge in small sections instead of forcing the lid off all at once.
Tapping gently around the lid with a rubber mallet or the handle of a tool can help break the dried paint seal. Applying heat carefully—using a hairdryer for a few minutes—can expand the metal slightly and loosen stubborn edges, making it easier to pry open.
Using a rubber glove or a cloth improves grip and allows me to twist the lid if prying alone feels insufficient.
Using Lubricants Effectively
Lubricants like WD-40 or a light oil can assist with rusted can lids but must be used sparingly to avoid contaminating the paint. I spray lubricant around the lid’s rim, waiting 5 to 10 minutes to let it penetrate the rust or dried paint.
After lubrication, I use a flat tool to gently pry the lid. If the lid starts to move, I continue applying pressure evenly around its circumference, avoiding sudden force to prevent bending or spilling.
Once open, I clean the lid rim thoroughly to remove any lubricant residue before resealing the can to maintain paint quality.
Addressing Damaged Lids
If the lid is bent or the rim is damaged during opening attempts, I use tools carefully to prevent further distortion. For minor bends, I reshape the rim gently with pliers or by pressing it against a flat surface.
If the lid won’t reseal properly because of damage, I might replace it with a new lid or cover the can securely with plastic wrap and tape to keep paint fresh.
In extreme cases where the lid is unusable, transferring the paint to an airtight container protects it while preventing spills and drying out.
Closing and Storing Paint Cans Properly
To keep paint usable for future projects, it’s crucial to close the can tightly and store it under the right conditions. I focus on sealing the lid firmly, avoiding common problems like sticking, and choosing a storage environment that preserves the paint’s quality.
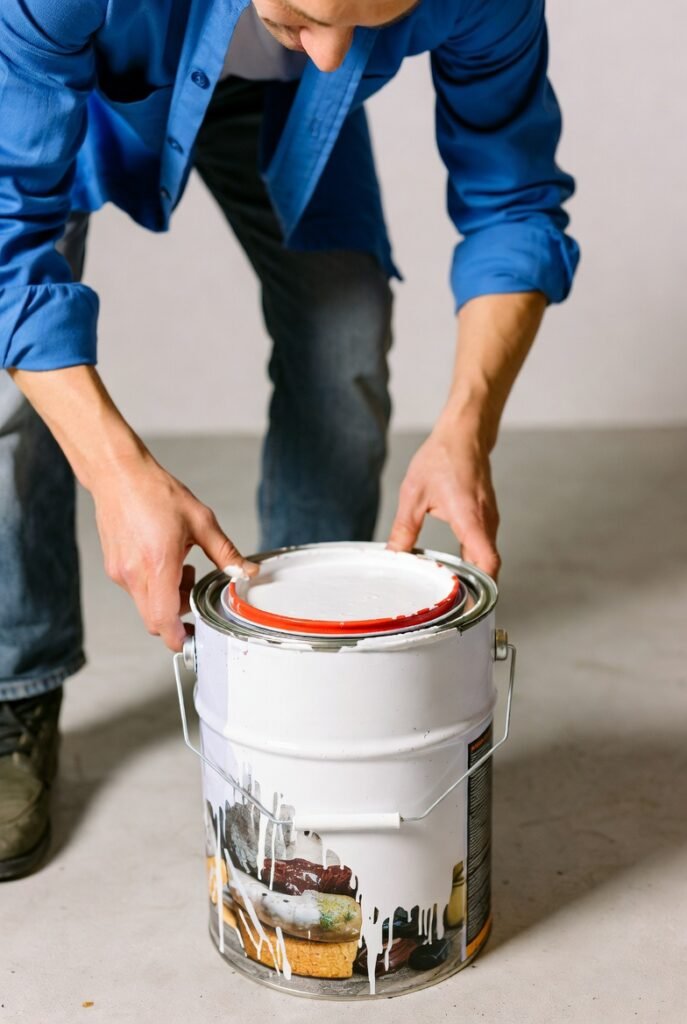
Reattaching the Lid Securely
When closing a paint can, I always ensure the lid fits evenly onto the rim. I place the lid flat on top and gently tap around the edges with a rubber mallet or hammer, applying even pressure. This creates a tight seal that prevents air from entering.
I avoid hitting the lid directly in the center to prevent bending. If you don’t have a mallet, you can press down firmly with your palm on the center first, then tap the edges. An uneven seal risks drying out the paint or causing spills when stored.
Preventing Future Sticking
To keep the lid from sticking to the can, I clean the rim thoroughly before sealing. Any dried paint or debris on the lip will cause the lid to stick tightly.
I wipe the jar rim clean using a cloth or paper towel to remove excess paint. Sometimes applying a thin layer of petroleum jelly around the rim helps the lid come off smoothly later. Proper cleaning before closing always saves effort next time I open the can.
Correct Storage Conditions
Proper storage is key to extending paint life. I store paint cans upright in a cool, dry place, away from temperature extremes. Ideally, temperatures should be between 50°F and 80°F (10°C to 27°C).
Avoid basements with high humidity or places exposed to direct sunlight. I also keep them off concrete floors by placing cans on shelves or wooden pallets to prevent rusting and moisture damage to the can’s bottom.
Keeping cans organized and accessible helps prevent damage and guarantees I can find the right color quickly when needed.