How to Fix Paint Chips on Wall: A Complete Repair and Prevention Guide
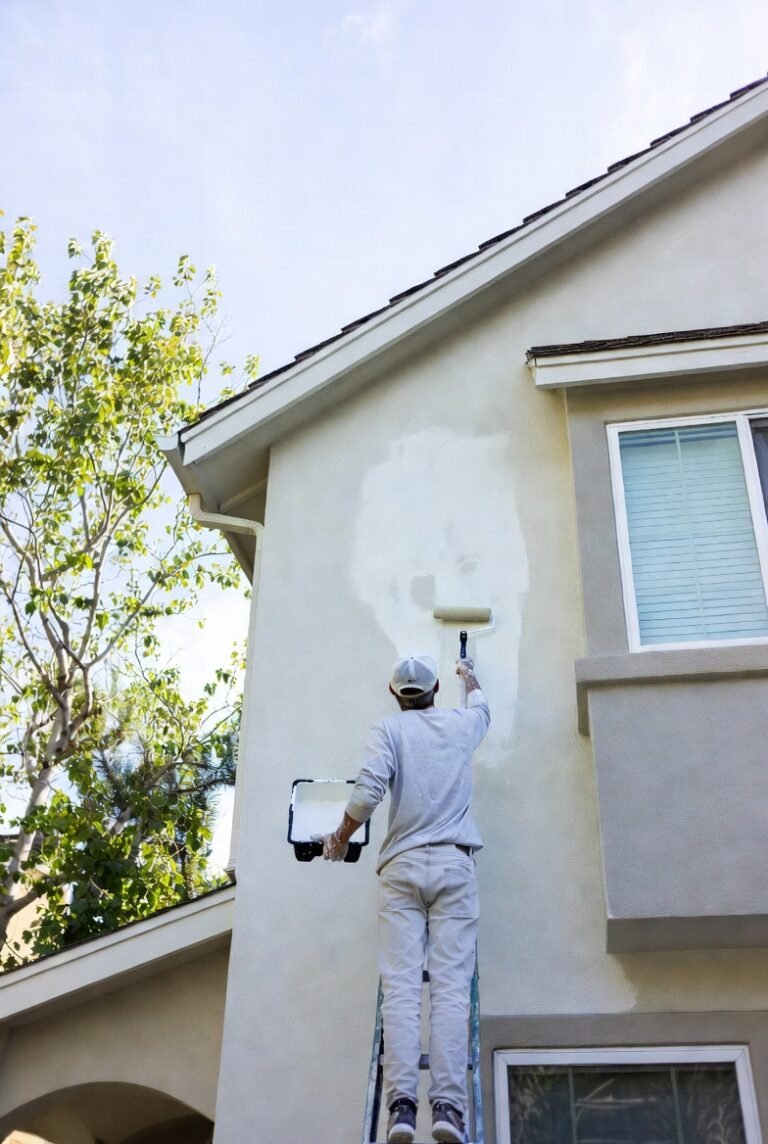
Paint chips on walls are common and can make a space look worn or neglected, but fixing them does not require repainting the entire room. The best way to repair paint chips involves cleaning the damaged area, removing loose paint, applying a lightweight filler, smoothing the surface, and then repainting to match the existing wall. This process restores the wall’s appearance quickly and efficiently.
Chipped paint usually results from physical impact, moisture issues, or improper surface preparation when painting. Addressing these issues with the right tools, such as putty knives and spackle, can prevent further damage and ensure a smooth, lasting repair. A careful repair can blend seamlessly with the surrounding paint, leaving no trace of the chip.
Understanding Paint Chips on Walls
Paint chips and peeling paint commonly appear as small flakes or larger sections of paint detaching from a wall’s surface. These flaws vary in cause and severity, and understanding their nature can help in choosing the right repair method. Factors like physical damage, moisture, and surface preparation often play a role in the development of paint chips.
Common Causes of Chipped Paint
Chipped paint on walls usually results from physical impacts such as bumps or scratches. Frequent contact with furniture or accidental knocks can create small chips. Moisture is another major factor; if walls are damp during painting or exposed to humidity over time, the paint may lose adhesion and peel off.
Poor surface preparation before painting often leads to chips. For example, painting over dirty or glossy surfaces without properly sanding or cleaning reduces paint adhesion. Thick or multiple layers of paint also increase the risk of cracking and chipping as the paint loses flexibility.
Types of Wall Paint Damage
Paint chips present in different forms on walls. The most common type is a small, isolated chip where the paint layer peels away, exposing the underlying wall material such as drywall or plaster. Larger peeling areas indicate more extensive adhesion failure.
Other types of damage include fine cracks and bubbling. Cracking paint suggests the surface or paint layers are brittle, while bubbles under the paint can indicate trapped moisture or poor surface preparation underneath. Each type requires tailored repair approaches, but paint chips specifically involve surface detachment without penetrating deep wall damage.
Assessing the Severity of Paint Chips
Not all paint chips require the same level of intervention. Small paint chips with clean edges and minimal peeling can often be fixed with simple filling and touch-up painting. However, chips surrounded by peeling or flaking paint indicate underlying issues.
If the paint chip exposes bare drywall or plaster that appears damaged or moist, more extensive repair is necessary. It’s important to check the size of the chip and the condition of the surrounding area before proceeding. In some cases, primer and multiple filler applications are required to restore the surface properly.
Preparing the Wall for Repair
Proper preparation ensures a smooth, long-lasting fix for paint chips. It involves cleaning the area thoroughly, removing any loose material, smoothing rough edges, and having the right tools ready for the job.
Cleaning the Damaged Area
The surface must be clean before any repair begins. Dirt, grease, and dust reduce the filler and paint’s ability to adhere properly. Using a soft cloth dampened with mild detergent and water, the chipped area and surrounding wall should be wiped down carefully.
After cleaning, the area should be allowed to dry completely. Moisture trapped under filler or paint can cause future peeling and bubbling. Ensuring a dry surface improves the adhesion and durability of the repair.
Removing Loose Paint and Debris
Loose paint around the chip weakens the repair. A putty knife is ideal to gently scrape away peeling or flaking paint without enlarging the damaged area. For finer removal, a wire brush or gentle scraping can help, but care should be taken not to gouge the wall underneath.
Removing debris includes dust and any crumbling plaster or filler dust from previous repairs. This prevents any bumps under the new layer of filler and paint. This step ensures only firmly adhered paint remains.
Sanding and Smoothing Edges
After cleaning and scraping, sanding the edges is essential. Using fine-grit sandpaper (around 120 to 220 grit), the rough edges of the chipped paint should be smoothed out. This process blends the damaged area into the surrounding surface.
Sanding prevents visible ridges after painting and improves the transition between old and new layers. It also roughens the existing paint slightly, helping the primer and paint stick better.
Gathering Essential Tools and Materials
Having the right tools ready streamlines the repair process. Essential items include:
| Item | Purpose |
|---|---|
| Putty knife (2-inch) | Apply filler precisely and evenly |
| Putty knife (4-inch) | Smooth filler flush with the wall |
| Fine-grit sandpaper | Sand edges of chip and repaired area |
| Soft cloth | Clean and dust the surface |
| Mild detergent | Remove dirt and oils |
| Paintbrush | Apply primer and paint |
Using these tools with care allows a clean, professional-quality repair that blends well with the surrounding wall.
Filling and Repairing Paint Chips
Fixing chipped paint on walls requires selecting the right repair material, applying it properly, and smoothing the area to blend seamlessly with the surrounding surface. Each step affects the durability and appearance of the patch.
Choosing Between Spackle, Joint Compound, and Wall Filler
When repairing paint chips, the choice of filler depends on the size and depth of the damage. Spackle and spackling compound are lightweight and dry quickly, making them ideal for small to medium-sized chips. They shrink less and are easier to sand smooth than joint compound.
Joint compound is heavier and better suited for larger or deeper repairs. It takes longer to dry but provides a strong, durable surface. Wall filler is a broader category that includes products like spackle and joint compound, but some fillers are specialized for quick touch-ups.
Using a putty knife with a blade slightly wider than the chip helps apply the filler efficiently. It’s important to avoid excessive filler application to reduce sanding time later.
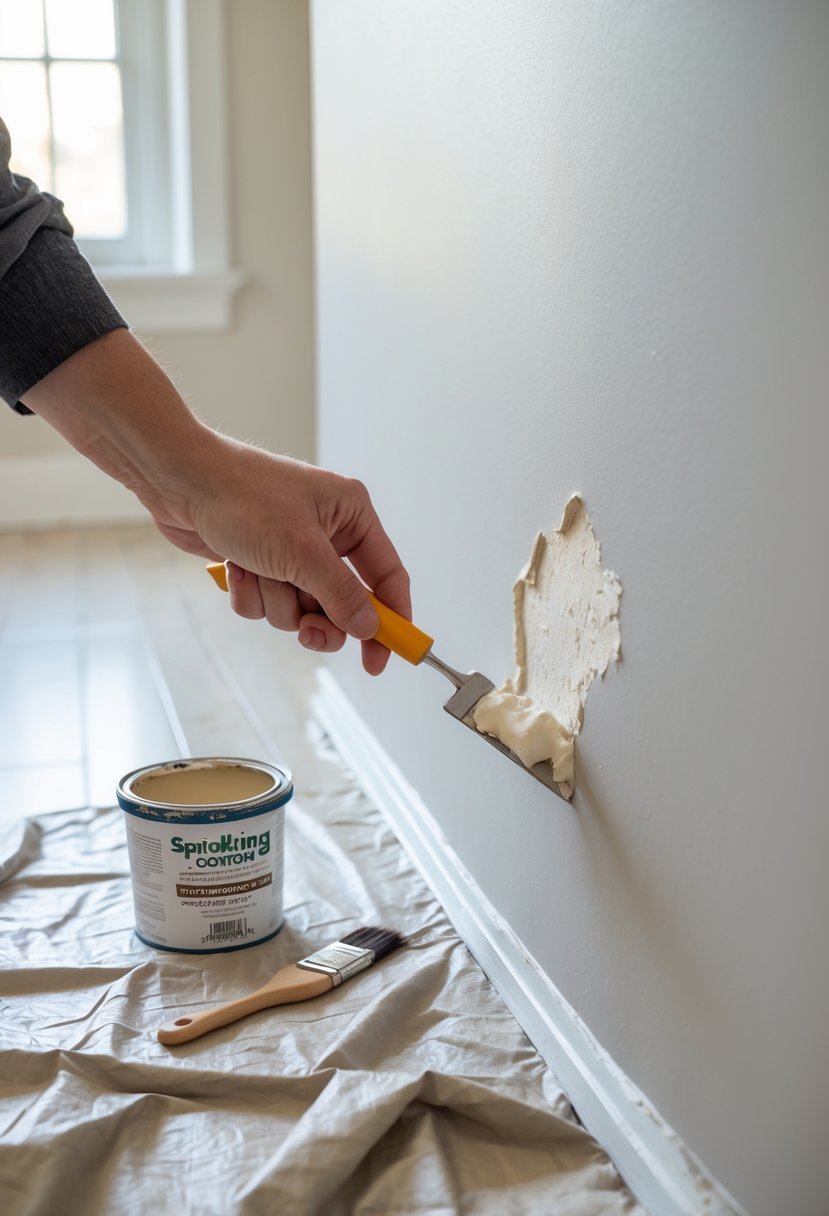
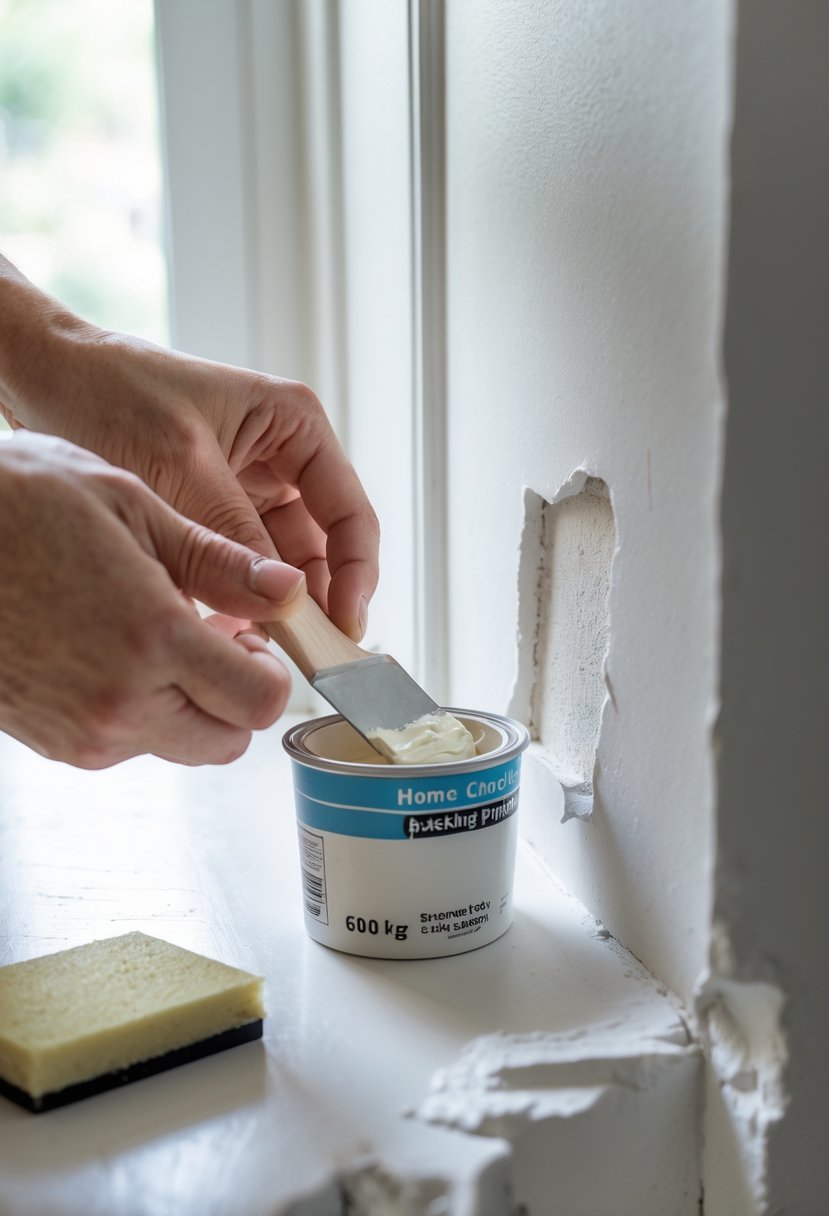
Applying Filler for Small and Large Chips
For small chips, the filler should be pressed firmly into the damaged area with a putty knife to ensure full coverage and adhesion. After filling, excess material is scraped off to prevent lumps.
Larger chips or holes may require multiple layers. Each layer should be thin and allowed to dry completely before adding the next to avoid cracking. Using a 2-inch putty knife helps control the amount of filler, while a 4-inch knife can smooth larger patches more effectively.
Applying too thick a layer causes longer drying times and uneven surfaces. Proper technique involves building up the patch gradually for better strength and finish.
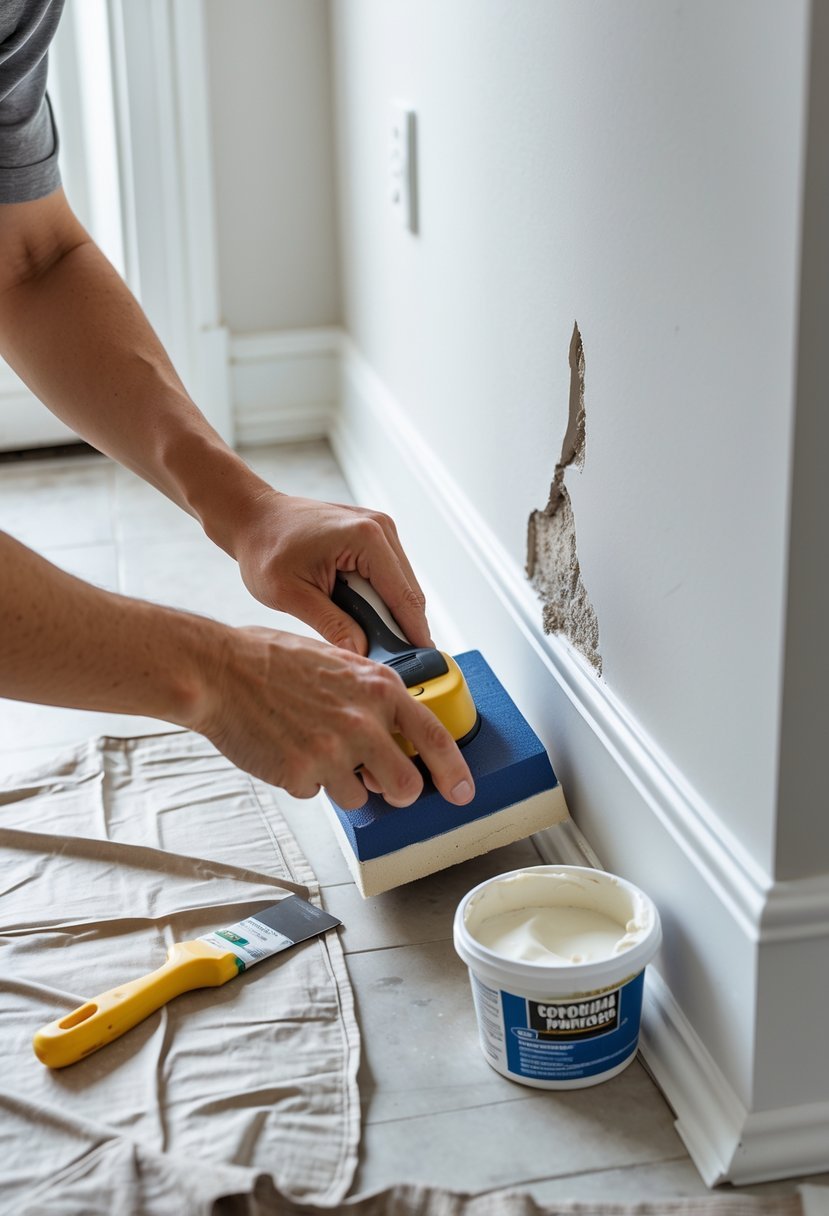
Leveling and Smoothing the Repaired Area
Once the filler is dry, sanding with fine-grit sandpaper blends the repair into the surrounding paint. Sand gently to avoid damaging the wall beneath.
A clean putty knife can be used before sanding to remove any sharp edges or ridges. After sanding, wiping the area with a damp cloth removes dust and prepares the surface for priming and painting.
Achieving a smooth, level patch ensures the paint adheres evenly and the repair remains invisible. This step is critical for fixing paint chips on walls in a way that restores a flawless finish.
Priming and Painting the Patched Area

Proper preparation and precise technique are essential for a durable, invisible repair. The following steps cover ensuring good paint adhesion, choosing the right touch-up paint, and applying it to blend with the surrounding wall.
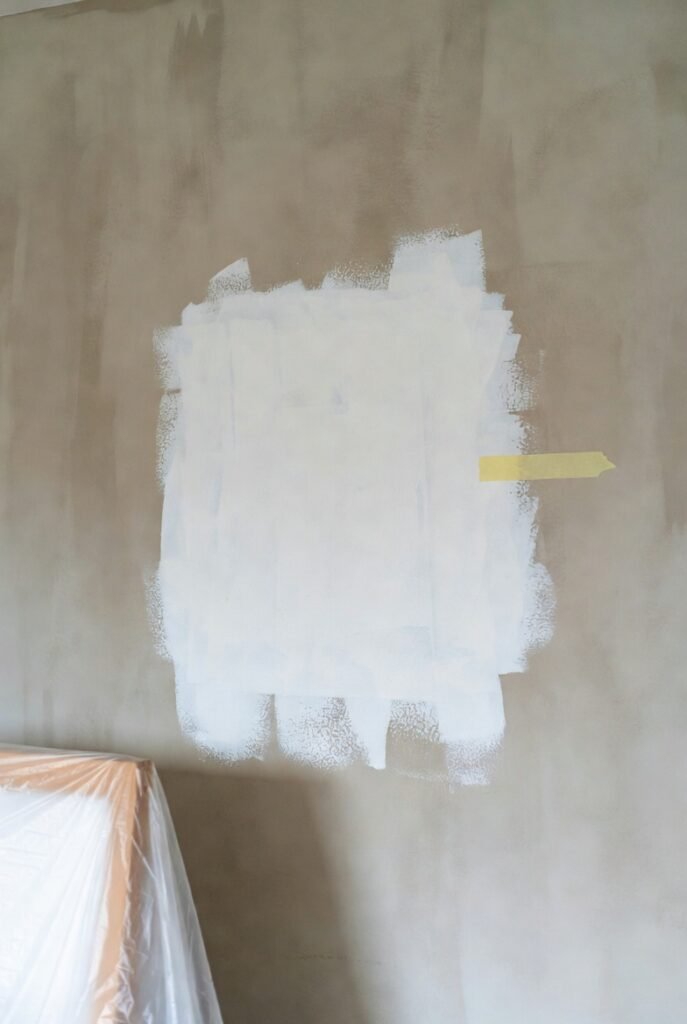
Priming for Better Paint Adhesion
After the patched area has fully dried and been sanded smooth, applying a primer is crucial. Primer seals the porous spackle or filler, preventing uneven paint absorption that would cause visible differences in texture or color. Use an interior-grade latex primer compatible with the existing wall paint.
A thin, even coat applied with a small brush or roller ensures full coverage without build-up. Allow the primer to dry completely, usually within one to two hours, before proceeding to paint. Skipping primer risks poor adhesion, leading to flaking or peeling of the touch-up paint over time.
Selecting and Matching Touch-Up Paint
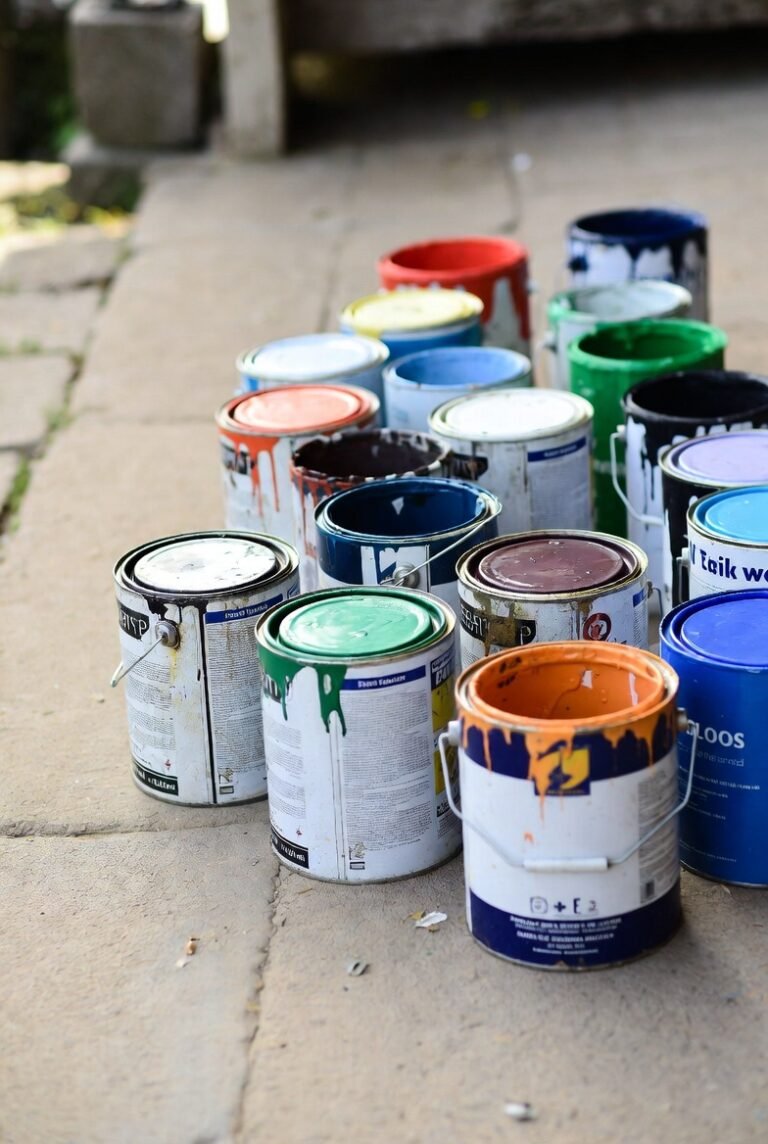
For paint chips, matching the wall’s original color and sheen is vital. The sheen—whether flat, eggshell, or semi-gloss—affects how light reflects and influences how visible the repair will be. Using paint with a different gloss level than the wall will highlight the patched area.
If the original paint is unavailable, a color matching service at paint stores can produce an accurate match. Small touch-ups typically use an artist brush, allowing precise control. For larger chips, a mini-roller or small foam roller replicates the texture better.
Applying Paint for a Seamless Finish
Applying the paint involves the feathering technique to blend edges smoothly. Start from the center of the patch, applying thin layers of paint with light brush strokes outward. Gradually decrease pressure and the amount of paint toward the edges of the patch.
Avoid overloading the brush to prevent drips and visibly thick paint. Allow each coat to dry fully before applying the next to build even coverage. Feathering creates a soft transition between new and old paint, making the repair less noticeable. For textured walls, stippling or rolling with a matching tool helps replicate the finish.
Tips for Preventing Future Paint Chips
Preventing paint chips requires attention to surface condition, paint choice, and ongoing care. Preparing the wall correctly, selecting the right paint finish, and protecting areas prone to damage all contribute to a longer-lasting paint job.
Proper Surface Preparation Before Painting
Thorough surface preparation is crucial for strong paint adhesion. The wall should be clean, dry, and free from peeling paint or loose debris. Using fine-grit sandpaper to smooth rough spots and feather the edges of peeled areas helps create an even surface.
Removing grease, dust, and dirt with a mild detergent prevents adhesion problems. If moisture damage is present, it must be addressed before painting to avoid recurring peeling. Applying a suitable primer ensures the paint sticks well and provides a uniform base, especially on patched or repaired sections.
Choosing Durable Paint Types and Finishes
Selecting a paint formulated for durability can significantly reduce paint chipping. High-quality acrylic latex paints offer flexibility and resistance to cracking. Paints with semi-gloss or satin finishes perform better in high-wear environments because they resist scuffs and wash easily.
Flat or matte paints, although popular for aesthetics, tend to chip more easily as they lack the toughness of glossier paints. Heavier traffic or moisture exposure areas benefit from finishes designed to withstand abrasion and frequent cleaning. Testing a small patch can help confirm the paint’s durability before applying it widely.
Maintenance and Protection for High-Traffic Areas
Maintaining painted surfaces involves regular cleaning to prevent buildup of dirt and grime that can weaken the paint film. Using mild cleaners and soft cloths avoids scratching or stripping the surface.
In spaces with frequent contact, such as hallways and kitchens, furniture pads and door stoppers help prevent impacts that cause chips. Repainting touch-ups promptly can stop chips from expanding. Protecting vulnerable areas with trim or chair rails also reduces direct damage. Addressing moisture sources like leaks and improving ventilation limits paint failure caused by humidity.