How Long Does It Take for Paint Primer to Dry Explained Clearly and Accurately
When I start a painting project, one of the first things I consider is how long the primer needs to dry. The drying time can vary significantly depending on the type of primer, the surface I’m working on, and the environmental conditions like temperature and humidity. Generally, primers dry to the touch in one to four hours, with latex primers drying faster than oil-based ones, which may take six to eight hours.
Knowing the drying time is crucial because painting over a primer that isn’t dry can ruin your work and cause the paint to peel or bubble. I also keep in mind that while a primer may feel dry to the touch, it can continue curing for days or even weeks to reach full durability.
In this post, I’ll break down the factors that affect primer drying time and share tips on how to ensure your primer is ready before you paint. This way, you can avoid mistakes that cost time and money.
Standard Drying Times for Paint Primer
Primer drying times vary widely depending on the product type, environmental factors, and the surface you’re working with. Understanding these differences helps avoid issues like peeling or uneven paint application. Knowing when to paint over the primer ensures you get a strong, durable finish.
Average Dry Time for Different Primer Types
Latex-based primers generally dry faster, usually within 1 to 4 hours. These primers become dry to the touch relatively quickly and are suitable for many interior and exterior surfaces. Oil-based primers take longer, often requiring 6 to 8 hours or even up to 24 hours to dry properly, especially in high humidity or cooler temperatures.
Wood surfaces can extend drying times because primer soaks in, meaning you might wait longer than with smoother surfaces. Temperature and ventilation also impact how fast primers dry. Warmer, well-ventilated areas speed the process, while cold or humid conditions slow it down.
Recommended Time Before Painting Over Primer
Most manufacturers suggest waiting at least 60 minutes before applying paint over primer, but I typically allow 2 to 4 hours to be safe. This window lets the primer dry enough to avoid peeling or bubbling when paint goes on.
With oil-based primers, the wait extends significantly, often 6 to 24 hours, giving the primer enough time to cure to a hard, adherent layer. If you paint too soon, adhesion suffers. Checking the product label for specific drying and curing times is wise.
Quick-Dry vs. Traditional Primers
Quick-dry primers, like some water-based bonding primers, can be ready for painting in about an hour. They’re useful if you need fast turnaround, but they may not offer the same durability in all situations. I use these mainly for small projects or when conditions are ideal.
Traditional primers, especially oil-based ones, emphasize strong adhesion and durability but require longer drying. Choosing between quick-dry and traditional depends on your timeline and the surface’s needs. If I’m working on bare wood or problematic surfaces, I lean toward slower, more thorough primers despite the time.
Factors That Affect Primer Drying

Several factors influence how quickly primer dries, impacting when you can safely paint over it. These include environmental conditions, the surface you’re working on, and the way the primer is applied. Understanding these can help avoid common pitfalls that slow the drying process or affect the finish.
Temperature and Humidity
Temperature and humidity directly affect primer drying times. Higher temperatures speed up drying by increasing the rate at which solvents or water evaporate from the primer. Ideally, temperatures between 50°F and 85°F (10°C to 29°C) create the best conditions for primer to dry within typical timeframes.
Humidity slows drying because moisture in the air reduces evaporation. When humidity is above 60%, I find primer often takes much longer to dry or may remain tacky. Poor airflow in the workspace compounds this effect by trapping moisture close to the surface. To manage this, I try to keep painting areas well-ventilated and pick days with lower humidity if possible.
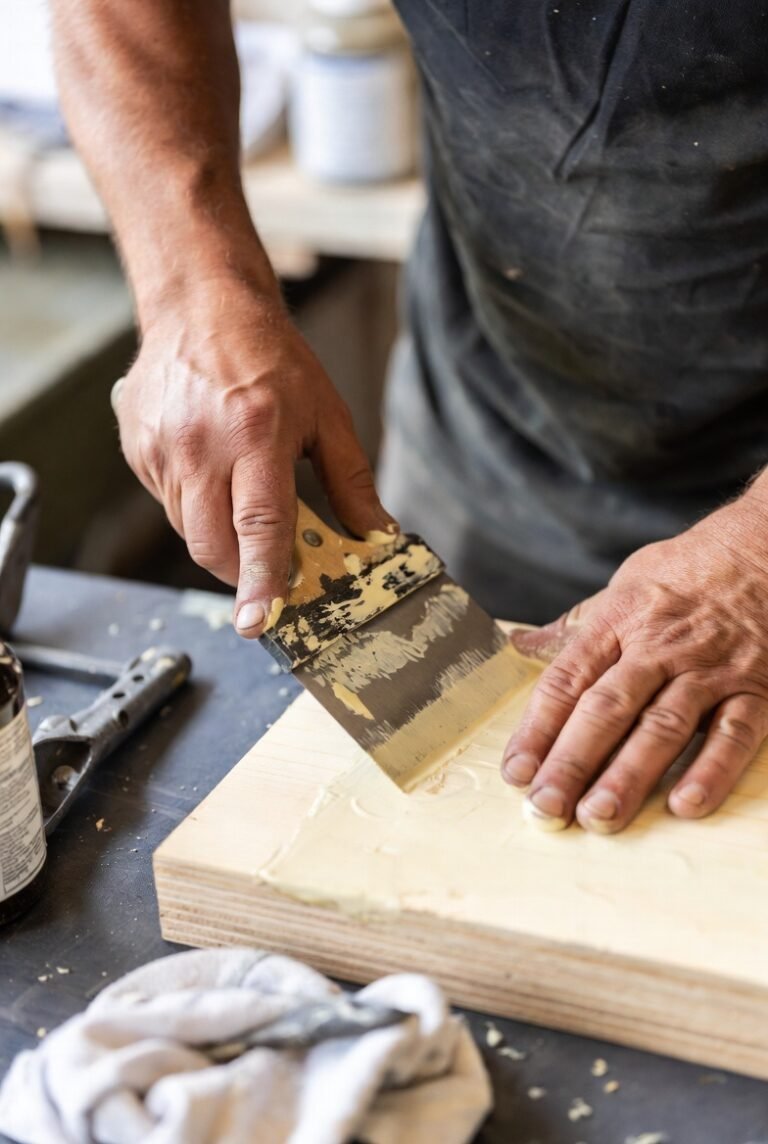
Surface Material and Condition
The type and condition of the surface matter significantly. Porous surfaces like bare wood or drywall absorb primer, causing it to soak in and sometimes dry faster on the surface but slower overall because the material retains moisture. Non-porous surfaces like metal or plastic don’t absorb primer, so drying depends more on surface evaporation.
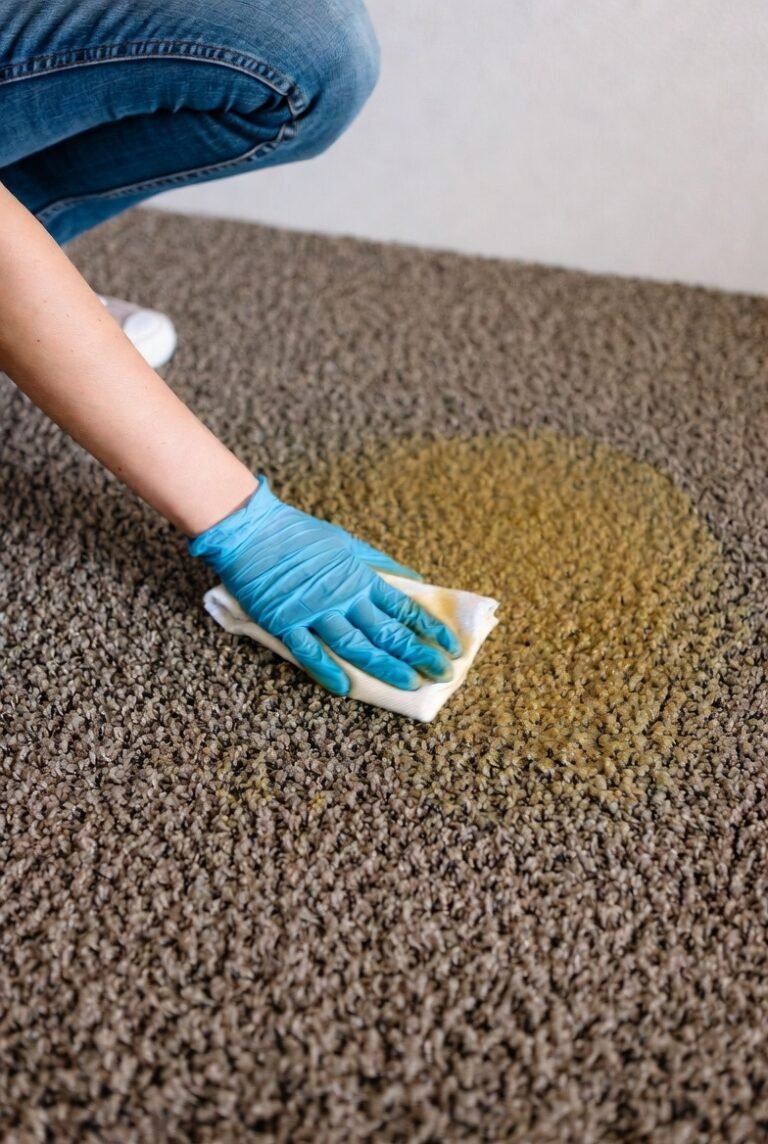
If the surface is dirty, oily, or damp, primer drying slows dramatically or adhesion may fail. I always clean and prepare surfaces thoroughly before priming. Even small amounts of residue can interfere with drying and cause inconsistent results.
Application Thickness
How thickly I apply primer changes drying times markedly. Thin, even coats dry much faster—generally within 1 to 3 hours for latex primers—because the solvents evaporate quickly across a small volume. Thick or uneven layers trap solvents inside, leading to longer drying times and sometimes sticky patches.
Manufacturers often recommend applying one thin coat and waiting the full recoat time before adding more. If multiple coats are necessary, each should dry completely between applications to avoid trapping moisture or solvent underneath. I find using a roller or spray applicator helps control thickness and promotes even drying.
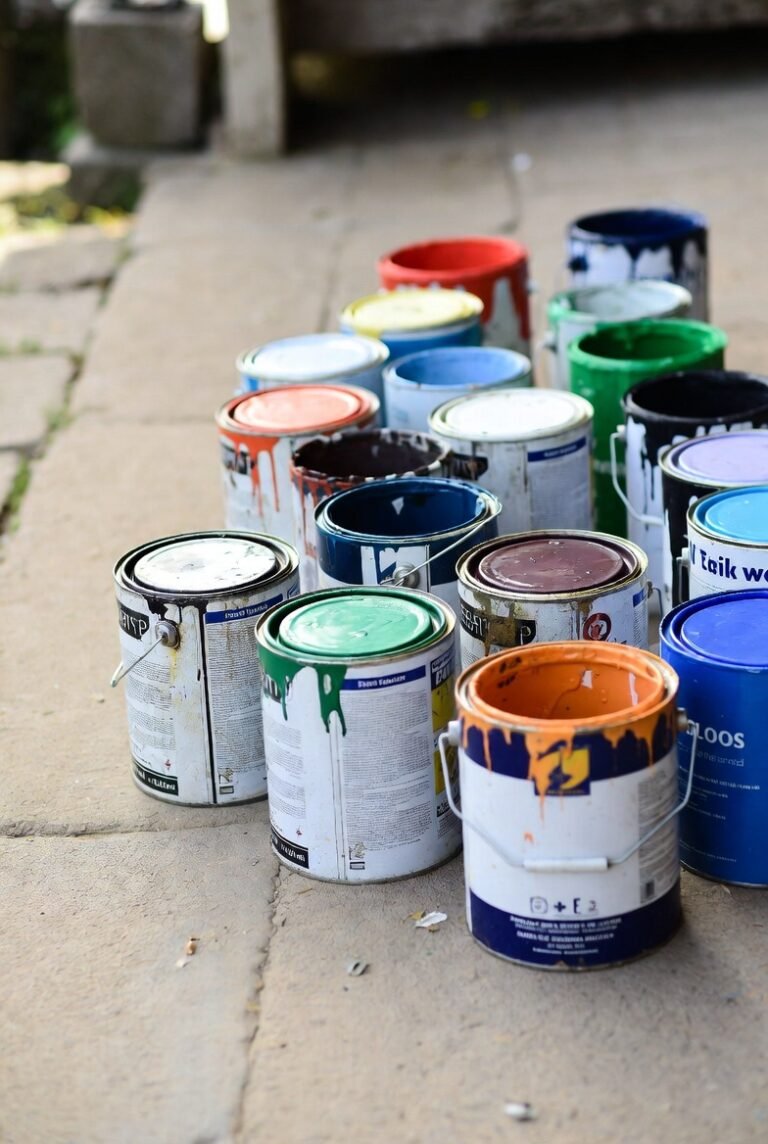
Types of Paint Primer and Their Drying Rates
Primer drying times vary mostly depending on the primer’s composition. Factors like application thickness and environmental conditions influence drying, but the main difference lies in the type of primer used.
Water-Based Primers
Water-based primers, often referred to as latex primers, dry the fastest among common primer types. They typically become dry to the touch within 30 minutes to 1 hour. Depending on humidity and temperature, you can usually apply a second coat in 1 to 3 hours.
These primers soak into surfaces effectively and bond well to a variety of materials, including drywall and wood. Their quick drying time makes them a good choice for projects needing speed without compromising adhesion. However, they may require longer curing before heavy topcoats.
Oil-Based Primers
Oil-based primers take longer to dry compared to water-based ones. They generally require 4 to 6 hours to be dry to the touch, with recommended recoat times stretching from 6 to 8 hours, sometimes up to 24 hours in cooler or humid conditions.
These primers offer excellent sealing properties and stick well to challenging surfaces like metal or glossy finishes. Their slower drying time allows for better flow and leveling but increases overall project time. I prefer oil-based primers when sealing knots or stains is critical.
Shellac-Based Primers
Shellac primers dry the fastest of all, often within 15 to 30 minutes. Their quick drying enables recoating or painting shortly after application, sometimes within an hour.
They have strong stain-blocking abilities and adhere well to tricky surfaces such as wood and metal. While they dry quickly, they tend to have a strong odor and require alcohol-based cleaners for cleanup. Shellac primers suit restoration or spot primer jobs where speed is essential.
How to Ensure Proper Primer Drying

To get the best primer performance, I focus on how I apply it and avoid common timing errors. The right conditions and application methods affect drying speed and durability the most.
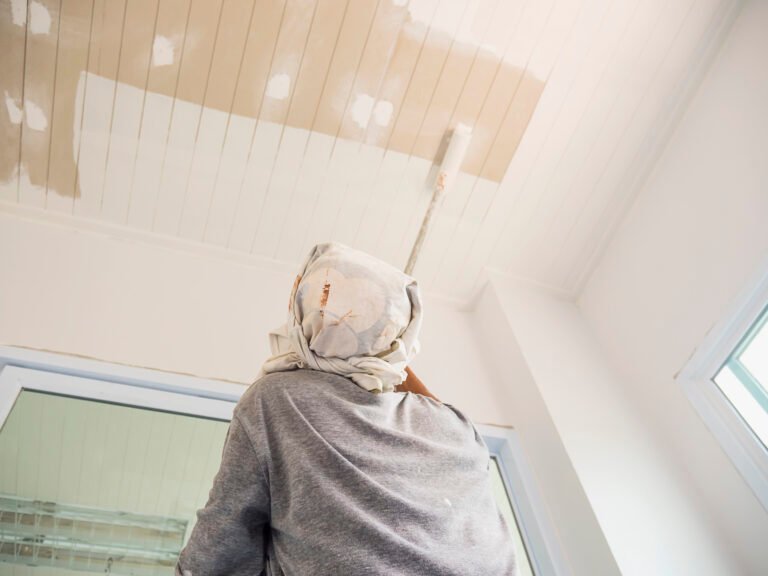
Best Practices for Application
I always apply primer in thin, even coats to promote faster and more uniform drying. Using a quality brush or roller suited to the primer type helps avoid uneven layers or bubbles. When working indoors, I control the room temperature and humidity, aiming for around 70°F and low moisture to speed drying.
If I’m using oil-based primer, I expect longer drying times—typically 6 to 8 hours before it’s touch-dry. Latex primers dry faster, usually within 1 to 3 hours. I also avoid applying primer too thickly or in multiple heavy layers, as that prolongs curing. Waiting the manufacturer’s recommended recoat time before painting ensures the primer has set well.
Drying Time Mistakes to Avoid
One common mistake I avoid is painting over primer before it’s dry to the touch, which can cause peeling or streaking. Rushing the process risks trapping moisture or damaging adhesion. Another error is neglecting environmental factors; high humidity or low temperatures can significantly extend drying times, so I adjust my schedule accordingly.
I also steer clear of heavy applications or multiple coats without enough drying time between, since this slows curing. Even if the primer feels dry, full curing can take days, especially with oil-based primers. Patience here prevents problems like cracking or poor paint durability later on.
Troubleshooting Slow or Uneven Drying

Knowing why primer might not dry as expected helps me address the issue efficiently. Factors like humidity, temperature, and surface condition often play a crucial role. I focus on observing specific signs and applying targeted fixes.
Identifying Common Drying Problems
One common issue I notice is uneven drying, where some areas feel dry while others remain tacky. This often happens when the primer is applied too thickly or on surfaces with varying porosity. Paint or primer that stays tacky after 24 hours can be caused by high humidity or insufficient airflow in the room.
Low temperatures can slow the chemical process that allows primer to dry. Surfaces that are dusty, oily, or not properly prepared also prevent primer from drying evenly. Sometimes, using the wrong type of primer for the material leads to inconsistent drying times.
Solutions for Improving Dry Time
To speed up drying, I adjust the environment by increasing ventilation and using fans to circulate air. Maintaining a room temperature between 65°F and 75°F helps the primer dry faster and more evenly. Reducing humidity with a dehumidifier also improves results.
If the primer layer is too thick, I wait longer or sand lightly before applying a thinner second coat. Choosing a quick-dry primer that fits the surface type, like Kilz Original for wood, can make a difference. Before starting, I always ensure the surface is clean, dry, and free from contaminants to promote better adhesion and quicker drying.