
How to Paint Kitchen Cabinets Step-by-Step for a Professional Finish
Painting kitchen cabinets is one of the most effective ways to update your kitchen without the expense of a full remodel. It’s a manageable DIY project that can completely transform the look of your space with the right tools and proper steps. From prepping the surfaces to choosing the best paint, every detail matters to achieve a professional finish.
I’ve done this myself and learned that careful preparation, including cleaning and priming, is key to ensuring the paint adheres well and lasts. You don’t need to be an expert painter, but following a clear process makes a big difference in the final result.
If you’re ready to refresh your kitchen cabinets with a fresh coat of paint, I’ll walk you through the essential steps to help you avoid common mistakes and get a smooth, durable finish on your own.
Choosing the Right Paint and Materials
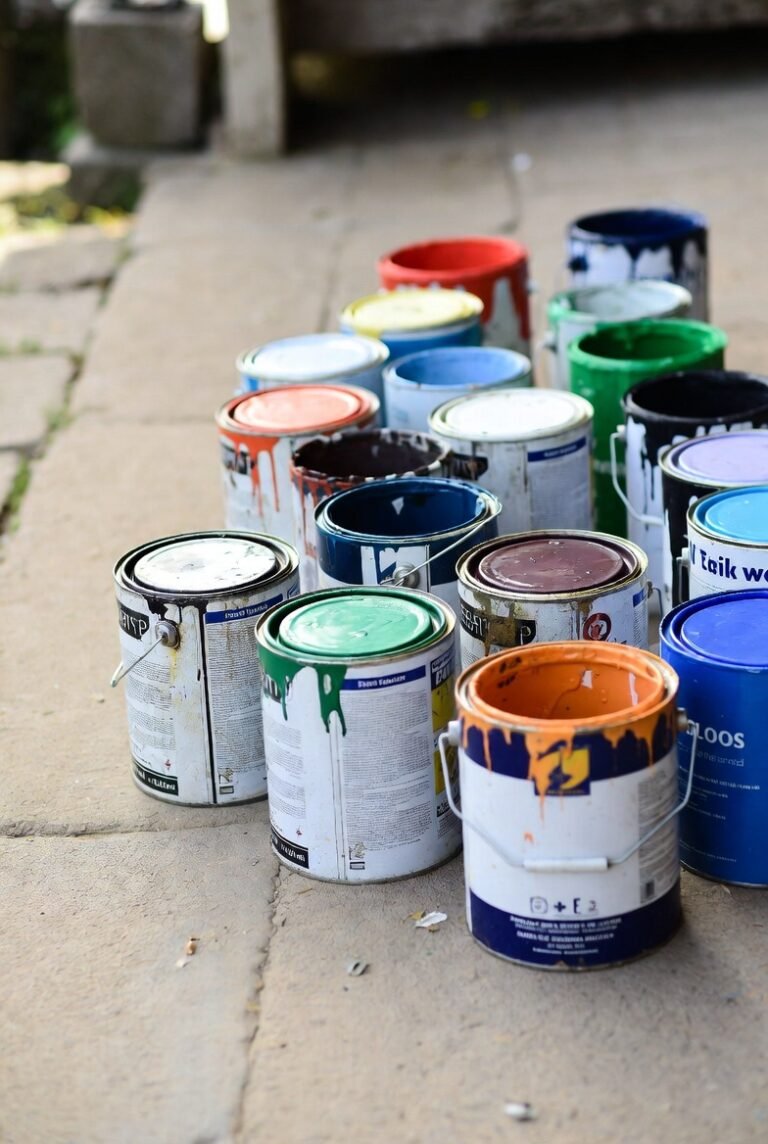
Selecting the correct paint and materials sets the foundation for a successful kitchen cabinet makeover. The type of paint, primer, and tools I use directly affect the final look and durability. Below, I break down the key elements to focus on.
Types of Paint for Kitchen Cabinets
I prioritize paint types known for durability and smooth finishes. Acrylic latex paints are popular because they dry quickly and resist chipping. For a tougher surface, alkyd (oil-based) paints provide a hard, smooth coating but require longer drying times and strong ventilation.
Paint finish matters. I usually choose semi-gloss or satin finishes because they balance appearance with easy cleaning. Matte finishes tend to absorb dirt and are less practical in kitchens.
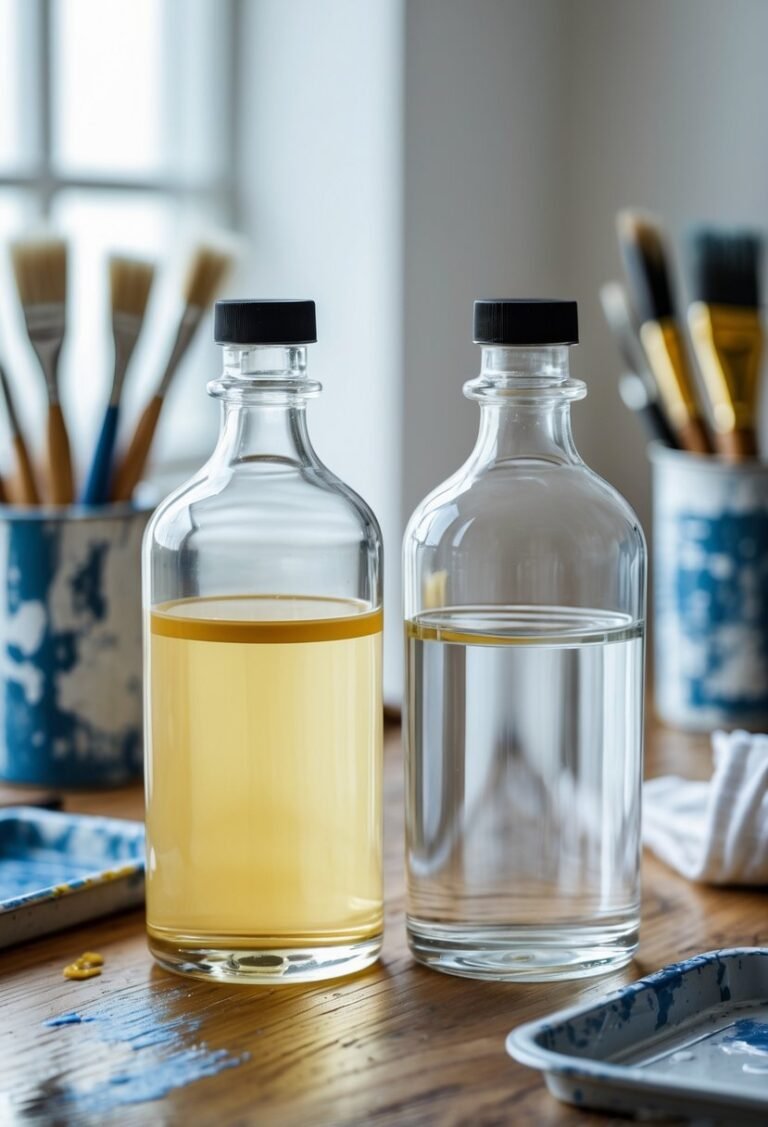
When painting laminate cabinets, I specifically select paints formulated for plastic surfaces to ensure adhesion. Water-based paints are preferable for easier cleanup and less odor, but oil-based paints excel on high-use cabinets.
Best Primers for Lasting Results
Primer is essential for adhesion and stain blocking. I always start with a high-quality bonding primer especially on glossy or laminate surfaces, to create a proper base for paint.
For wood cabinets, an oil-based primer can help seal knots and prevent tannin bleed-through, which can discolor paint.
If I’m painting previously painted cabinets, I opt for a stain-blocking primer that prevents old stains or colors from showing through.
Using the right primer not only extends the life of the paint but ensures a smoother, more professional finish, reducing peeling and chipping over time.
Recommended Tools and Supplies
Having the right tools makes the job easier and the finish better. I use:
- High-quality brushes with synthetic bristles for latex paint or natural bristles for oil-based paint.
- A foam roller designed for smooth surfaces to avoid texture marks.
- Painter’s tape to protect adjacent walls and countertops.
- Sandpaper (120-220 grit) or a sanding sponge to prep surfaces for primer and between coats.
- A degreaser or TSP (trisodium phosphate) to clean cabinets thoroughly before painting.
I also keep clean rags and a tack cloth handy to remove dust. Proper preparation and application tools are just as vital as paint selection for achieving professional results.
Preparing Kitchen Cabinets for Painting
Proper preparation is crucial before applying any paint to kitchen cabinets. It involves thorough cleaning, removing parts, smoothing surfaces, and fixing imperfections. These steps help ensure paint adhesion, a clean finish, and long-lasting results.
Cleaning and Degreasing Surfaces
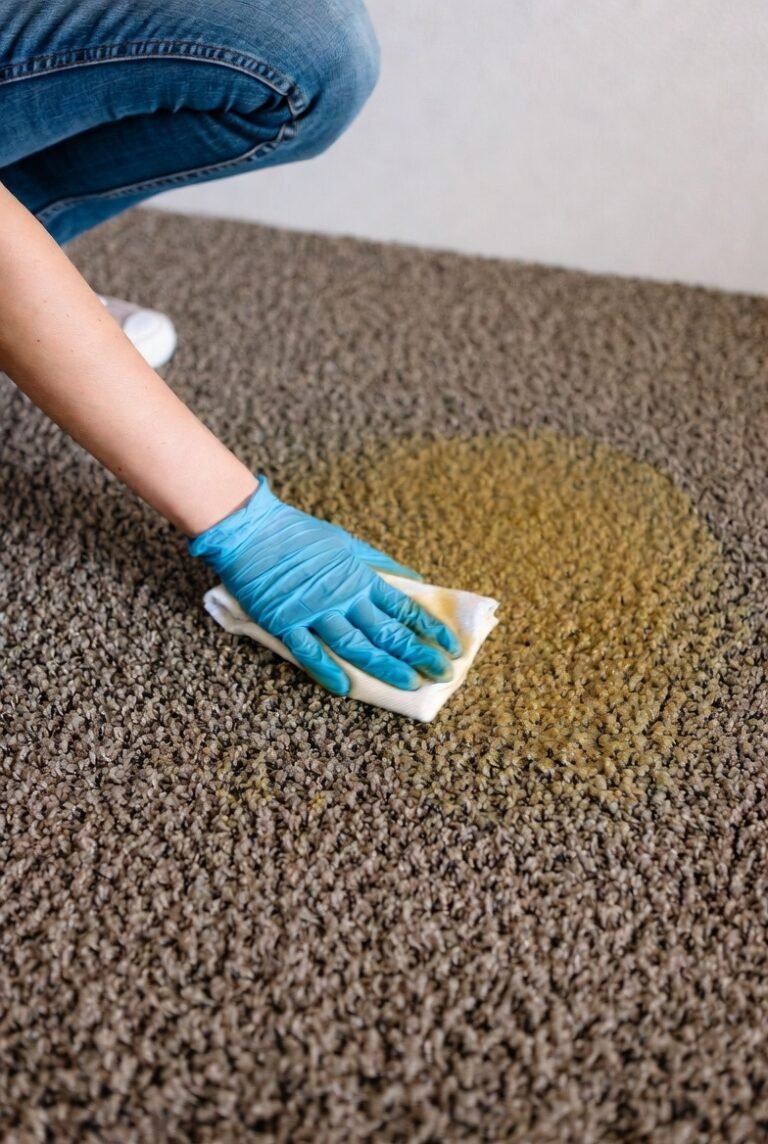
I start by cleaning all cabinet surfaces carefully to remove grease, dirt, and grime. Kitchen cabinets accumulate oils from cooking, which prevent paint from sticking properly. I use a strong degreaser or a mixture of warm water and trisodium phosphate (TSP).
I apply the solution with a sponge, scrubbing gently but thoroughly. After degreasing, I rinse the surfaces with clean water and dry them fully. Any residue left can cause paint to peel or bubble over time, so this step is key for durability.
Removing Cabinet Doors and Hardware
Next, I remove the cabinet doors, drawers, and all hardware, including hinges, handles, and knobs. This prevents paint from getting on these parts and ensures clean edges on the doors and frames.
I label each door and its corresponding location to make reassembly easier. Removing these components also allows me to work on each piece flat, making sanding and painting much more effective.
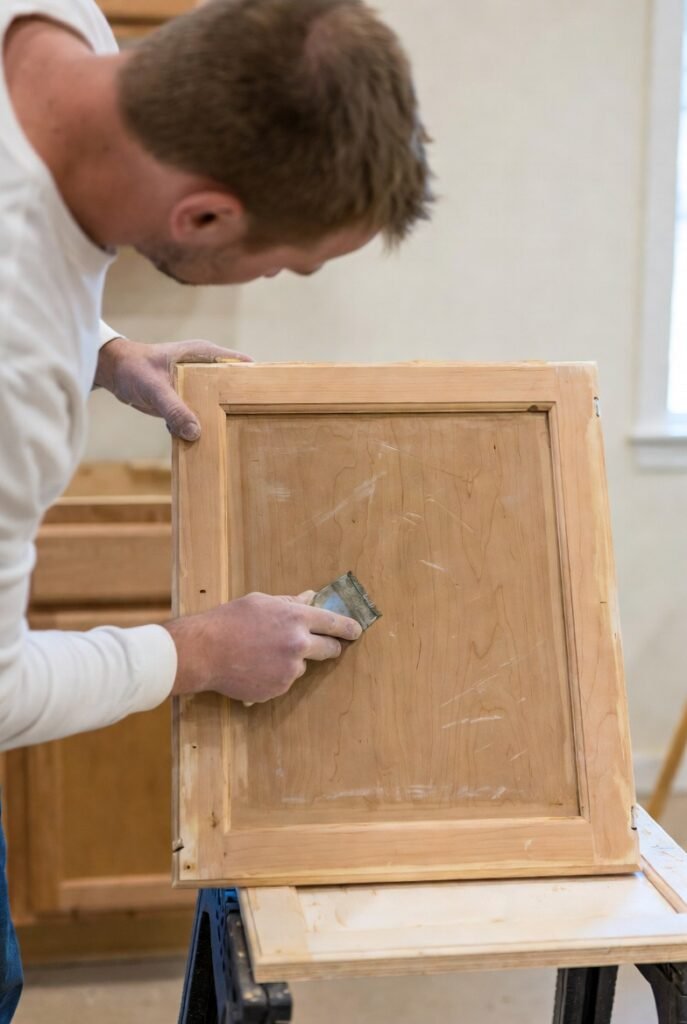
Sanding Techniques for a Smooth Finish
Sanding creates a surface that paint can firmly grip. I use medium-grit sandpaper (around 120 to 150 grit) to smooth out the existing finish and dull the glossy surface if the cabinets are sealed or varnished.
For previously painted or varnished cabinets, light sanding avoids peeling of the old topcoat. I pay close attention to edges and any raised details to ensure even preparation without damaging the wood. After sanding, I clean off dust with a vacuum or tack cloth.
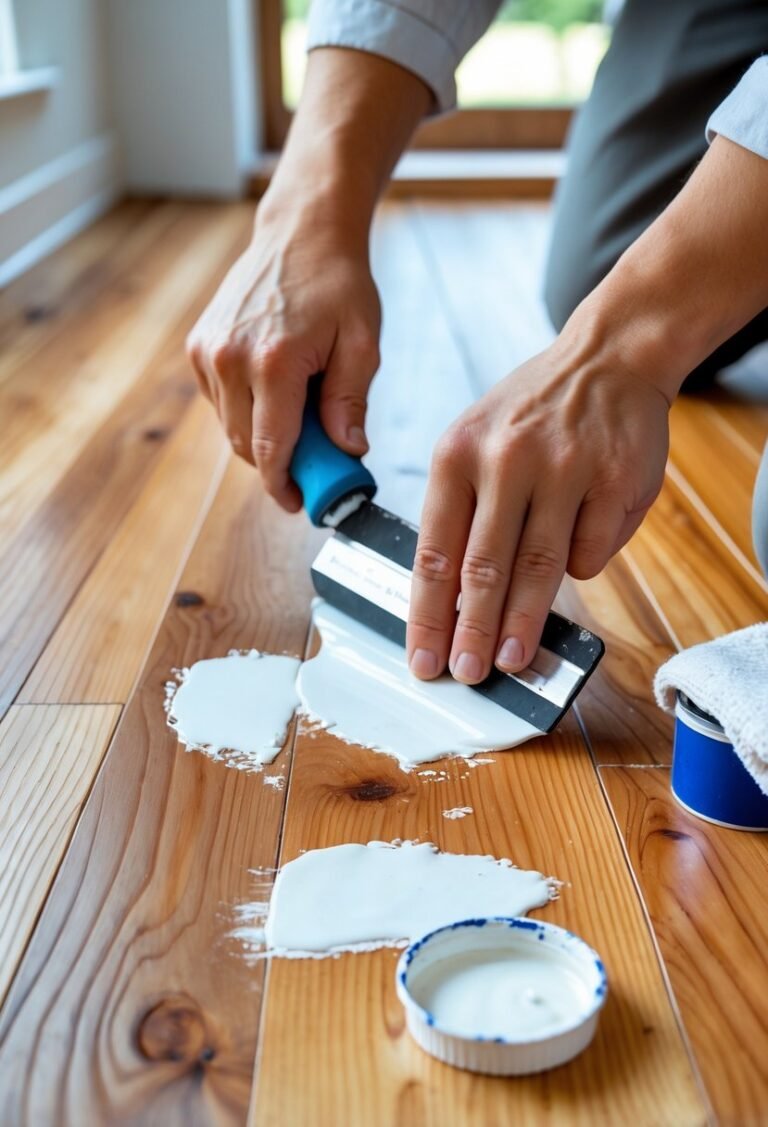
Making Minor Repairs and Filling Holes
Before painting, I inspect all cabinet surfaces for dents, scratches, or nail holes. I use a wood filler or putty for small imperfections. After it dries, I sand the filled areas smooth to blend seamlessly with surrounding surfaces.
For deeper gouges, multiple applications may be necessary. This step prevents blemishes from showing through the paint and helps maintain smooth, flat cabinet surfaces. I consider this repair process essential for a professional finish.
Painting Techniques for Professional Results
To get a professional look, attention to detail in preparation and application is essential. Using the right primer, applying paint with the best method, and controlling drying processes all contribute to a smooth and durable finish.
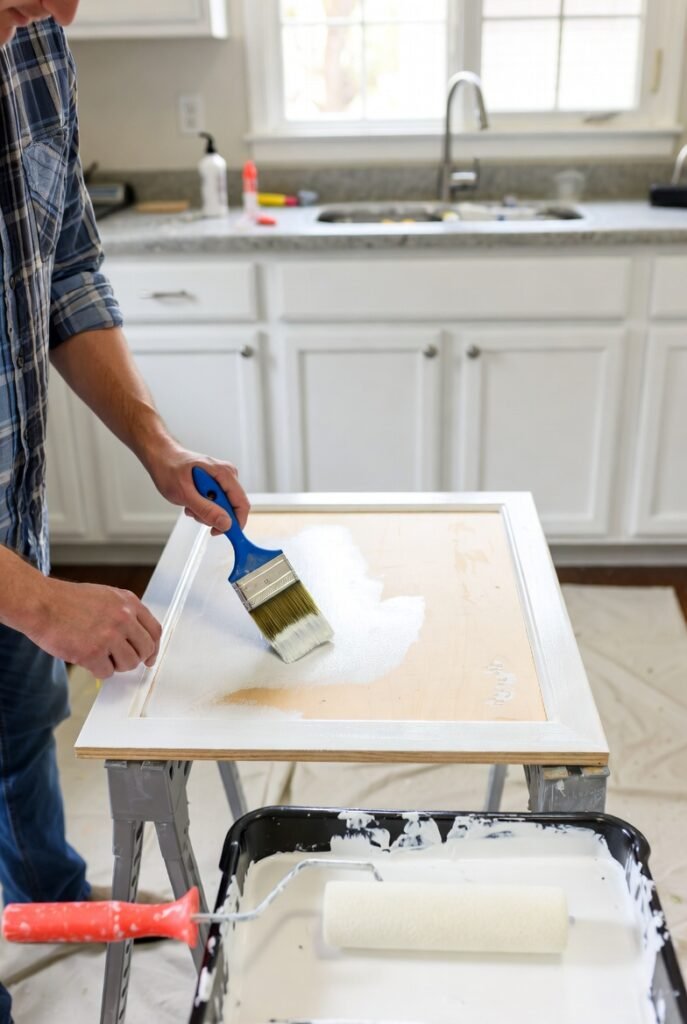
Applying Primer Evenly
Applying primer evenly sets the foundation for paint adhesion and durability. I start by cleaning all surfaces thoroughly and lightly sanding them to remove gloss. This ensures the primer grips the cabinet properly.
I use a high-quality brush or a foam roller designed for smooth finishes to spread a thin, consistent layer. Avoid thick coats, which can create drips and uneven texture. Let the primer dry fully according to the manufacturer’s instructions to prevent issues later.
If there are any imperfections after drying, I lightly sand again to ensure a smooth base before painting. Proper primer application reduces the risk of peeling or uneven color.
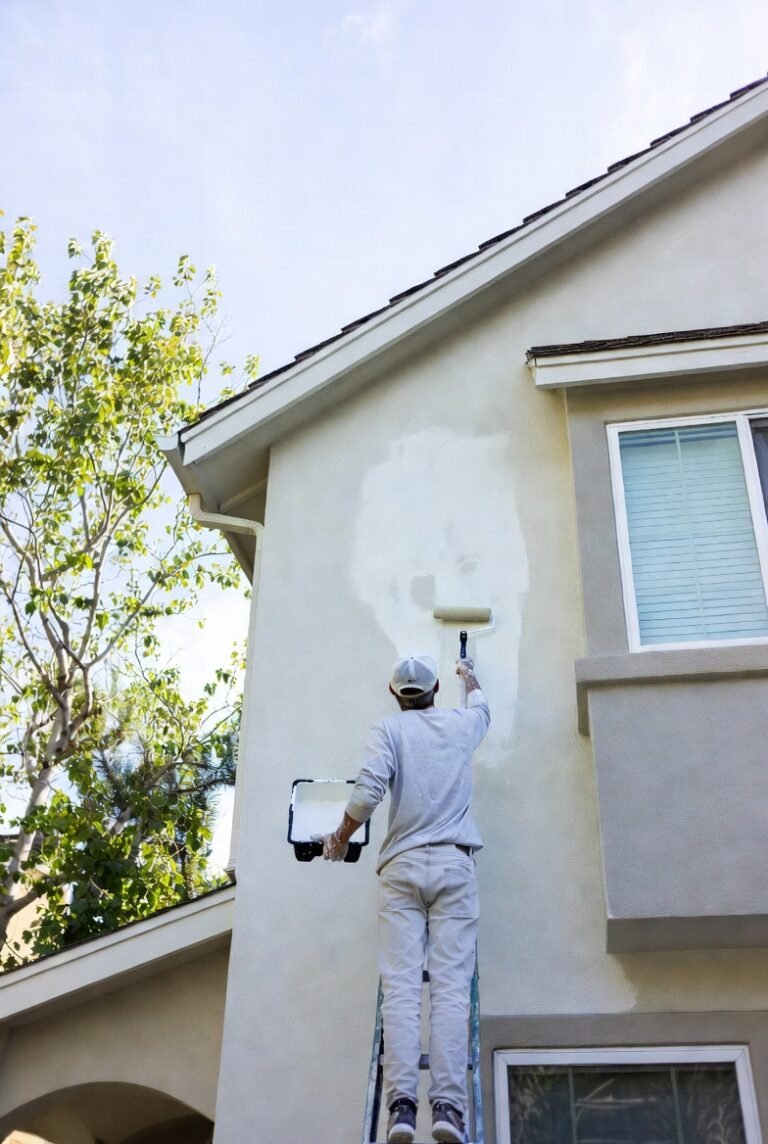
Methods for Brushing, Rolling, and Spraying
Choosing the right application method depends on cabinet style and personal comfort with tools. I often combine techniques for best results.
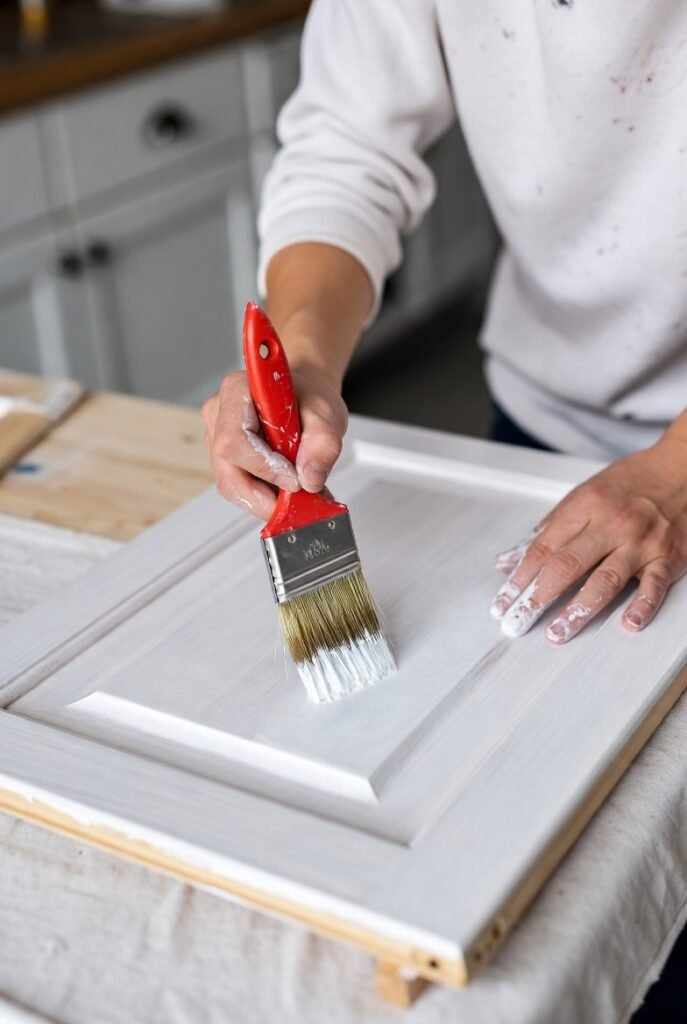
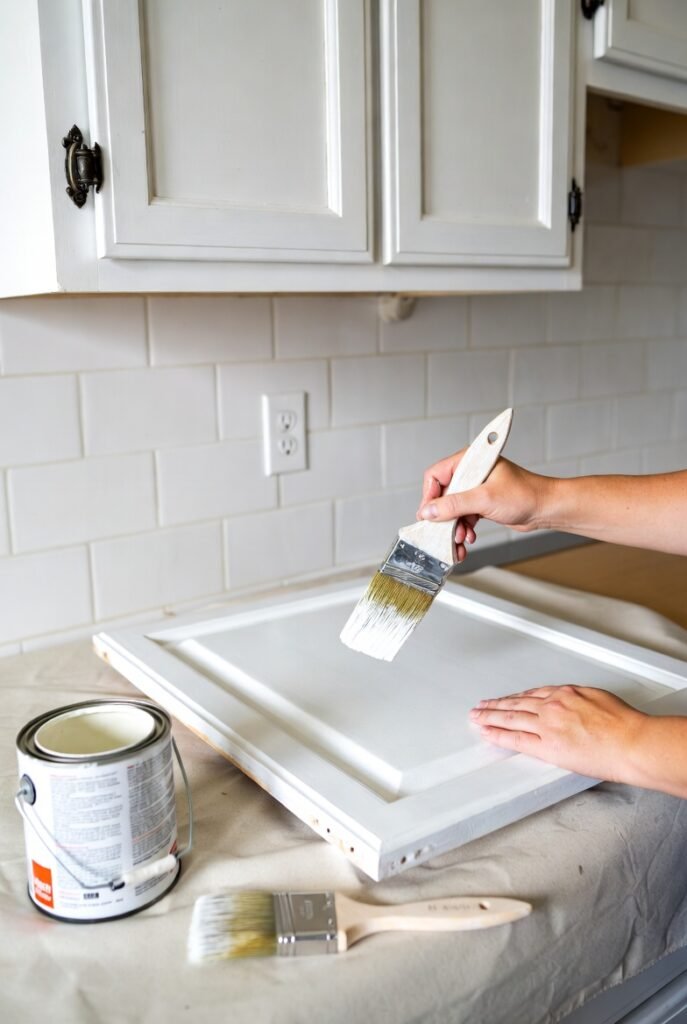
Brushing works well for detailed areas or inside corners. I use a high-quality synthetic brush and apply paint in long, even strokes with minimal pressure.
For flat surfaces, a foam roller can speed up coverage and reduce brush marks. I roll lightly in multiple directions to avoid bubbles or streaks.
Spraying provides the smoothest finish but requires space and protection from overspray. When I spray, I keep the nozzle 6-8 inches away and apply thin, consistent coats, moving steadily to avoid drips.
Each method should include multiple thin layers rather than one thick coat.
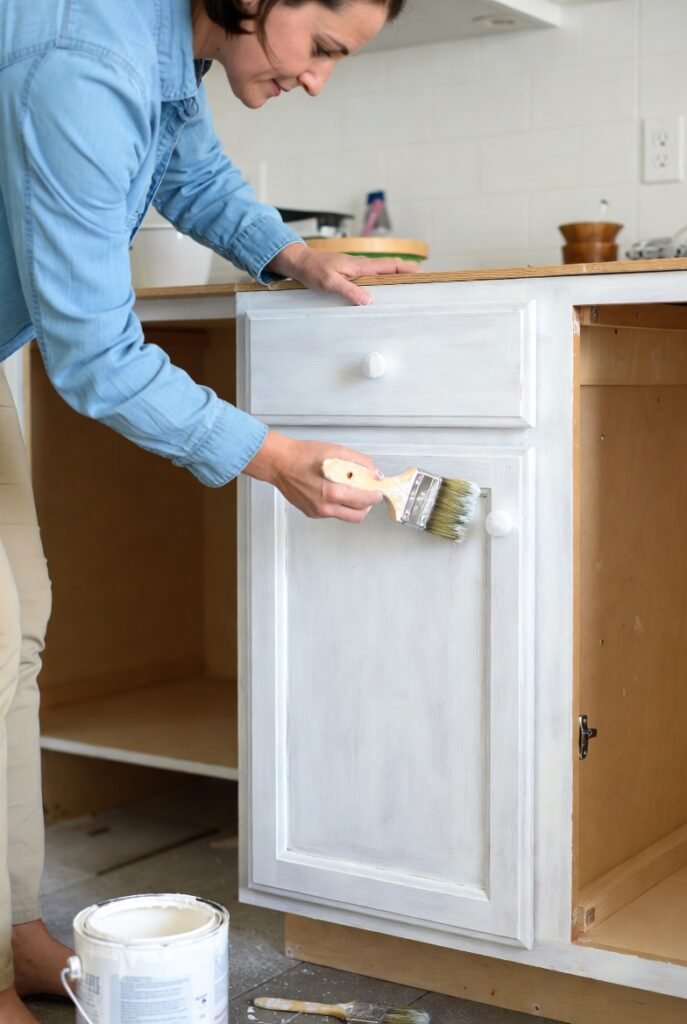
Achieving a Flawless Finish
A flawless finish starts with sanding between coats. I use fine-grit sandpaper (220 grit) after the primer and after each paint layer to knock down imperfections like dust particles or brush strokes.
Dust is a common problem, so I wipe surfaces with a tack cloth before each new coat. Temperature and humidity also affect finish quality, so I paint in a clean, dust-free environment with moderate conditions.
Using paint formulated for cabinetry or trim helps. These usually have higher levels of binders, creating a harder, more durable surface.
Finally, I apply 2-3 light coats of paint, allowing each to dry fully. Thin coats avoid runs and create a smooth, long-lasting surface.
Drying and Curing Times
Drying time affects the ability to work efficiently and the final durability of the finish. I follow product guidelines but typically wait at least 2-4 hours between coats of primer and paint.
Even if the surface feels dry, curing—the process that hardens the paint—takes longer. For kitchen cabinets, I allow at least 24-48 hours before light use and up to a week before heavy use, like opening and closing doors repeatedly.
Good ventilation helps speed up drying but avoid drafts that bring dust. Temperature should be steady, ideally between 65-75°F (18-24°C), and humidity below 50% for optimal drying.
Patience during this phase prevents damage and ensures lasting results.
Reassembling and Finishing Touches
Once the paint is fully dry and cured, it’s important to carefully put everything back together and protect your work. Properly reattaching doors, applying protective coatings, and establishing a maintenance routine will keep your cabinets looking clean and durable for years.
Reattaching Doors and Hardware
I start by inspecting all hardware pieces—hinges, knobs, and handles—to ensure they are clean and undamaged. If needed, I clean or replace any worn screws or fittings before reinstallation. It’s best to reattach the cabinet doors slowly, aligning them properly to avoid scratches or misalignment.
Using a screwdriver, I reinstall hinges first. I tighten screws enough to hold the door securely but leave minor adjustments open for fine-tuning later. Next, I reattach knobs and pulls. After all pieces are installed, I check that doors open without rubbing and adjust hinge screws as needed.
Adding Protective Topcoats
Applying a protective topcoat improves durability and resistance to daily wear. I prefer using a water-based polyurethane because it dries clear without yellowing or altering the paint color. Applying two thin, even coats with a high-quality synthetic brush creates a smooth, hard finish.
Before applying, I lightly sand the painted surface with fine-grit sandpaper to ensure adhesion. After the first topcoat dries, I clean off dust with a tack cloth and apply the second. Proper ventilation and drying times—usually 2 to 4 hours per coat—are crucial to avoid sticky finishes.
Cleaning Up and Maintenance Tips
Keeping your painted cabinets fresh requires gentle daily care. I avoid harsh chemicals and abrasive scrubbing, opting for a soft cloth and mild soap solution instead. Quick clean-ups prevent buildup of grease and dirt, which can degrade the paint over time.
For minor chips or scratches, I keep leftover paint handy for timely touch-ups. Regularly checking hinges and hardware for loosening prevents damage and ensures smooth operation. A few simple upkeep steps extend the life of my cabinet finish and maintain their appearance.
Troubleshooting and Common Mistakes
When painting kitchen cabinets, issues like uneven finishes, paint peeling, and discoloration are common. Addressing these problems early ensures a smooth and durable result. I focus on careful preparation, proper technique, and correct materials to avoid or fix these setbacks quickly.
Avoiding Brush Strokes and Drips
Brush strokes and drips often appear when paint is applied too thickly or without proper technique. To prevent this, I always use a high-quality synthetic brush or a foam roller designed for cabinet paint. Applying multiple thin coats rather than one heavy coat helps the paint level out smoothly.
Sanding between coats with fine-grit sandpaper is crucial. It smooths out imperfections and removes any raised brush strokes. I also maintain a consistent brush direction with slow, even strokes. Avoiding excess paint on the brush lessens drips and uneven texture.
If brush strokes or drips do appear, light sanding once the paint is dry usually fixes the surface before the next coat. Avoid rushing the drying time between coats, as this can cause paint to sag or peel.
Fixing Peeling or Chipping Paint
Peeling or chipping paint usually results from poor surface preparation or using the wrong type of paint. I always start by removing dust, grease, and old loose paint before painting. Sanding the surface first promotes better adhesion.
For repairs, I gently scrape any peeling paint away and sand the edges smooth. Applying a high-adhesion primer before repainting helps the new paint bond firmly. Using durable, cabinet-specific paint also reduces future chipping.
Avoid painting over glossy or untreated surfaces without proper sanding and priming. Ignoring these steps risks peeling and a patchy finish. If chipping occurs later, spot sanding and repainting affected areas is an effective fix.
Preventing Yellowing and Stains
Yellowing happens when oil-based paints age or react with environmental factors. I avoid this by choosing water-based or acrylic paints designed for cabinets, which resist yellowing better. Proper ventilation during and after painting also slows discoloration.
Stains from food splatter or grease buildup under paint layers can bleed through if the surface is not primed correctly. Using a stain-blocking primer stops these stains from ruining the finish.
Regular cleaning with gentle, non-abrasive cleaners extends the cabinet’s appearance and prevents stains from setting. I refrain from harsh chemicals that can damage or discolor the paint over time.