How to Paint a Pool: Step by Step Guide for a Smooth Finish
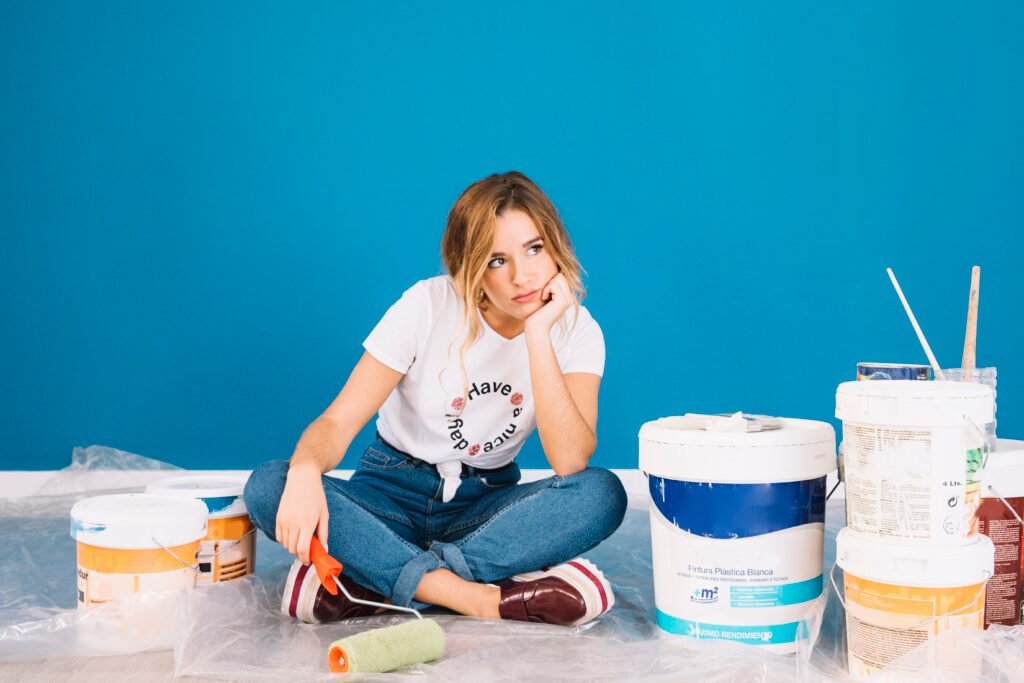
Painting a pool is a daunting project. I remember staring at my own pool a few years back, looking at the faded, chipping paint and wondering if I was really capable of fixing it myself.
The quotes I got from professionals were eye-watering. That was enough motivation for me to roll up my sleeves and learn exactly how to do it right.
I discovered that while it is a labor-intensive job, it isn’t actually that complicated. The secret isn’t in the painting itself, but in the preparation.
If you rush the prep work, your new paint will bubble and peel within a year. But if you take your time and follow the right steps, you can get a finish that looks brand new and lasts for years.
In this guide, I’ll walk you through the entire process I used, from choosing the right paint to filling the pool back up.
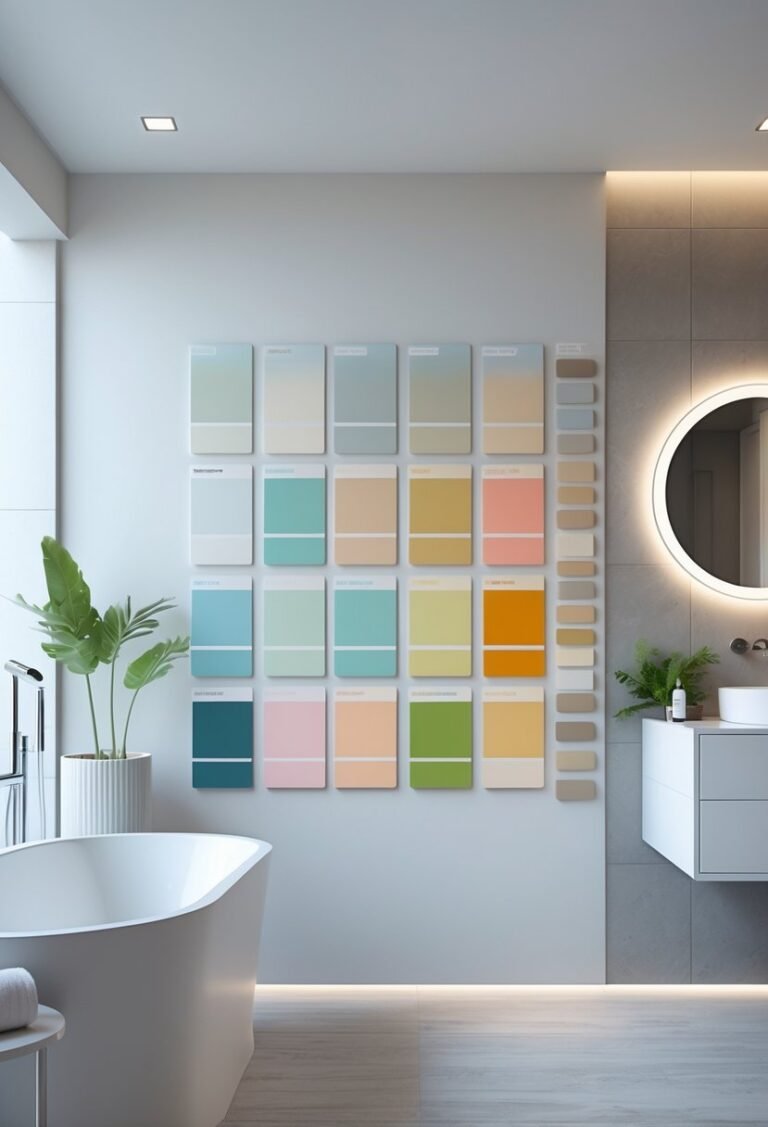
Step 1: Choose the right paint
You can’t just grab any paint off the shelf. You need to match the new paint to the old paint, or it won’t bond correctly.
If you don’t know what paint is currently on your pool, you need to test it. I recommend taking a small chip of the existing paint and trying to dissolve it.
Soak the chip in denatured alcohol. If it dissolves, it’s a water-based acrylic. If it doesn’t, try a mix of 75% mineral spirits and 25% Xylol. If that dissolves it, you have synthetic rubber-based paint.
If neither of those works, try 100% Xylol. If it dissolves now, it’s chlorinated rubber. If the chip is still solid after all that, you have epoxy.
Here is a quick breakdown of your options:
Epoxy is the gold standard. It lasts about 7-8 years and is very durable against chemicals and stains. It works on concrete, plaster, and fiberglass. However, it takes the longest to cure.
Premium Acrylic is a good middle ground. It is easier to apply and can go on damp surfaces, but it only lasts about 4 years. It’s a smart choice if you need to repaint a surface that previously had rubber-based paint.
Water-Based Acrylic is the budget-friendly, quick-fix option. It dries fast (3 days) but typically only lasts about two years. I only recommend this if you are in a huge rush or on a very tight budget.
Step 2: Drain and prep the pool
This is the most dangerous part of the job, so pay attention. You need to drain the pool using a submersible pump.
Be very careful about hydrostatic pressure. If the ground water table is high, the pressure from the wet soil outside the pool can actually pop your empty pool shell right out of the ground.
I always check the local water table or consult a pro before draining. Once the water is out, remove the hydrostatic relief plugs immediately to relieve that pressure.
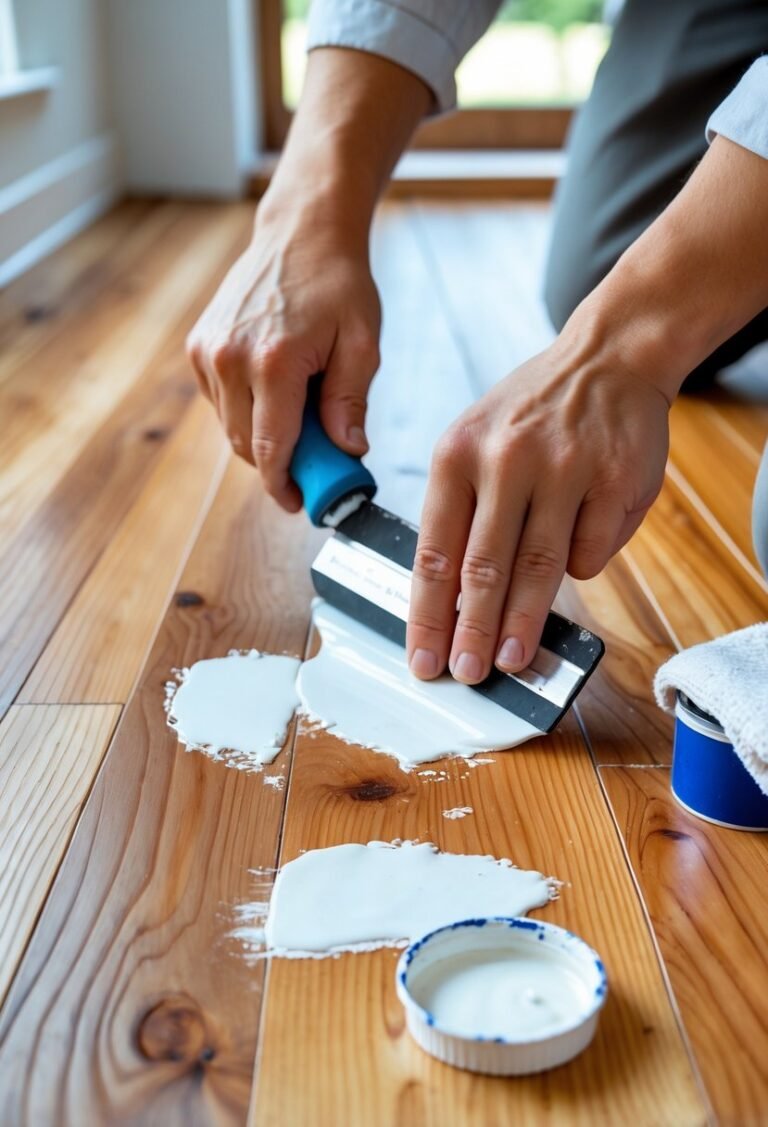
Next, you need to repair any cracks or hollow spots. I use hydraulic cement for this because it sets fast and seals tightly.
Step 3: Clean and degrease
You can’t paint over oil, grease, or suntan lotion. I scrub the entire pool with a citrus-based degreaser or a TSP (Tri-Sodium Phosphate) substitute.
Pay special attention to the waterline and the steps. This is where body oils and sunscreen accumulate the most.
I like to use a pressure washer to rinse everything down thoroughly. If you leave any residue, the acid wash in the next step won’t work evenly.
Step 4: Acid wash the surface
This step sounds scary, but it is essential. Acid washing etches the concrete, making it feel like sandpaper. This rough texture gives the new paint something to grip onto.
I mix a solution of 10% muriatic acid and water. Always add acid to water, never water to acid, to prevent dangerous splashing.
I wear full protective gear for this: rubber boots, gloves, goggles, and a respirator. Safety is non-negotiable here.
Work in small sections. I scrub the acid mixture onto the walls with a long-handled brush. You will see it bubble and fizz—that means it’s working.
After the bubbling stops, rinse it immediately. You don’t want the acid to dry on the surface. Once you finish the whole pool, neutralize the leftover water in the bottom with soda ash before pumping it out.
Step 5: Let it dry completely
This is where most people mess up. They get impatient.
If you are using epoxy, the pool must be bone dry. I tape a square of clear plastic to the pool floor and leave it for 24 hours.
If I see condensation under the plastic when I peel it back, I know it’s still too wet to paint.
For epoxy, I usually wait 5 to 7 days of dry, sunny weather before I even open a paint can. If you are using acrylic, you can get away with a damp surface, but drier is always better.
Step 6: Apply the paint
Check the weather forecast before you start. You don’t want rain, and you don’t want extreme heat.
I try to paint when it’s between 65°F and 85°F. If it’s too hot, the solvents evaporate too fast and cause bubbles.
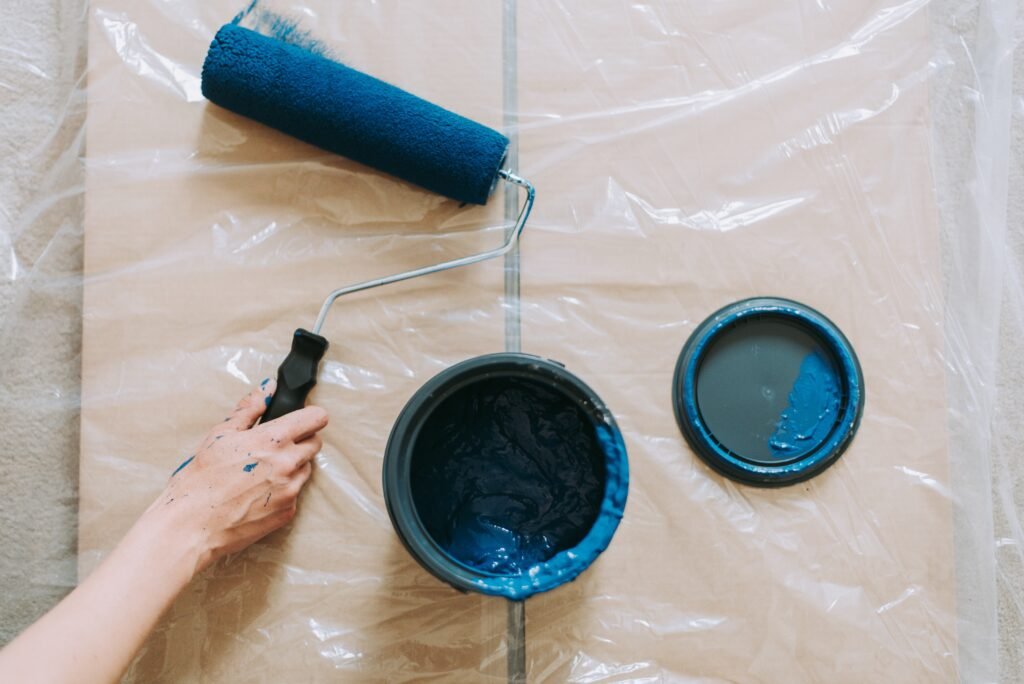
I start at the deep end and work my way back to the shallow end. I use a 3/8-inch nap roller for a smooth finish.
If you are using epoxy, you have to mix the catalyst and the base and let it sit (induct) for a specific time, usually 30 minutes.
Don’t apply the paint too thick. Two thin coats are far better than one thick coat. A thick coat will just peel later.
Wait the recommended time between coats—usually overnight.
Step 7: The waiting game
You have finished painting, and it looks amazing. But you can’t fill it up yet.
Epoxy needs about 7 days to cure outdoors (longer if it’s indoors). If it rains during this time, you might have to dry it off and wait longer.
If you fill it too soon, the water pressure and chemicals will destroy your hard work. I know it’s tempting to jump in, but patience pays off.
Once the curing time is up, start the hose. Balance your water chemistry immediately, and enjoy your brand-new looking pool!
Conclusion
Taking the time to properly complete each step ensures that your pool not only looks incredible but will last for years to come. Patience and attention to detail truly make all the difference.
Now, with your pool refreshed and ready, you can relax and enjoy a beautiful, sparkling oasis right at home. Cheers to all your hard work paying off!